Advertisement
Table of Contents
PULSAR 4 Standard
Change Measuring Mode
Both analog outputs correspond to the displayed measuring temperature RT, GT, or FF.
1. Press and hold the "Out" button (both LEDs Out1 and Out2 on).
2. While holding the "Out" button down, press the "Mode / Save" button to switch the displayed/
measuring temperature between RT, GT, or FF.
3. Release the "Out" button to exit (both LEDs Out1 and Out2 off).
Adjust Emissivity
See Section 5.8.2 of the manual for more information.
Press
or
changing.
Press
or
temperature.
Note: The value changes more quickly the longer the button is held. If the parameter was changed, the
display will pulsate. By pressing the "Mode / Save" button, the value is accepted (stored) and the display
changes to the temperature for the selected measuring mode. If the new value is not stored with the
"Mode / Save" button within 30 seconds after the last pressing of a button, the display changes to tem-
perature indication without storing the emissivity changes.
Note: The "FMA" button has no function in the standard PULSAR 4 (without the Advanced option).
Also, in the standard version (without the Advanced option), the "Mode / Save" button works only in its
"Save" function.
IMPAC Non-Contact Infrared Temperature Sensors
IMPAC Non-Contact Infrared Temperature Sensors
PULSAR 4 Quick Start Guide
See Section 5.8.1 of the manual for more information.
and release to show the current emissivity for the selected mode (e.g. "RT") without
again to increase or decrease the emissivity value for the selected mode
Advertisement
Table of Contents

Subscribe to Our Youtube Channel
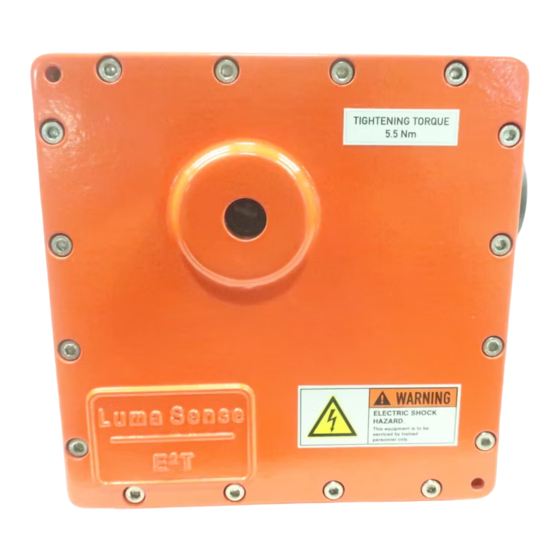
Summary of Contents for LumaSense E2T PULSAR 4
- Page 1 IMPAC Non-Contact Infrared Temperature Sensors IMPAC Non-Contact Infrared Temperature Sensors PULSAR 4 Quick Start Guide PULSAR 4 Standard Change Measuring Mode See Section 5.8.1 of the manual for more information. Both analog outputs correspond to the displayed measuring temperature RT, GT, or FF. 1.
- Page 2 LumaSense Headquarters European Office www.lumasenseinc.com 3301 Leonard Court Kleyerstraße 90 LumaSense Technologies, Inc., reserves the right to Santa Clara, CA, USA Frankfurt, Germany change the information in this publication at any time. Ph: +1 800 631 0176 Ph: +49 (0) 69 973 73 0 ©2015 LumaSense Technologies.
Need help?
Do you have a question about the E2T PULSAR 4 and is the answer not in the manual?
Questions and answers