Table of Contents
Advertisement
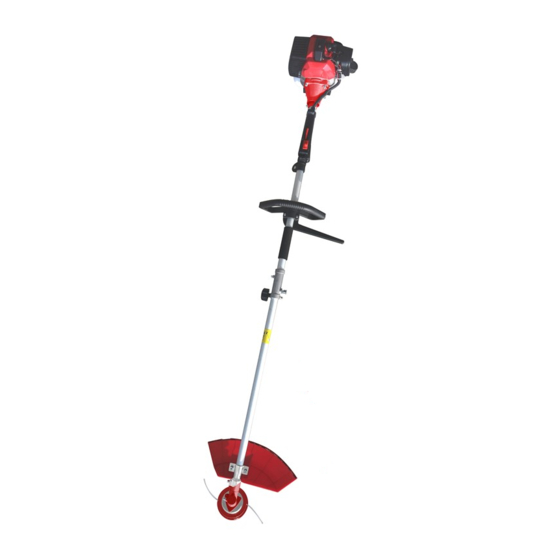
PETROL 4-IN-1 GARDEN
MULTI-TOOL SET
PGT 4 in 1-S
Read these operating
instructions carefully before
use.
Matrix GmbH
Postauer Str. 26
D-84109 Wörth/Isar
Germany
Fax: +49 (0) 8702/45338 98
E-Mail: info@matrix-direct.net
Original Operating Instructions
EN
PETROL 4-IN-1 GARDEN MULTI-TOOL SET
Art.-No.: 310.550.630
PLU: 3.338
Advertisement
Table of Contents


Need help?
Do you have a question about the PETROL 4-IN-1 and is the answer not in the manual?
Questions and answers