
Summary of Contents for Fibre WR7010v2
- Page 1 ROUTER SET UP GUIDE: WR7010v2 Fibre WiFi Router A STEP-BY-STEP GUIDE TO SETTING UP YOUR NEW FIBRE WiFi ROUTER...
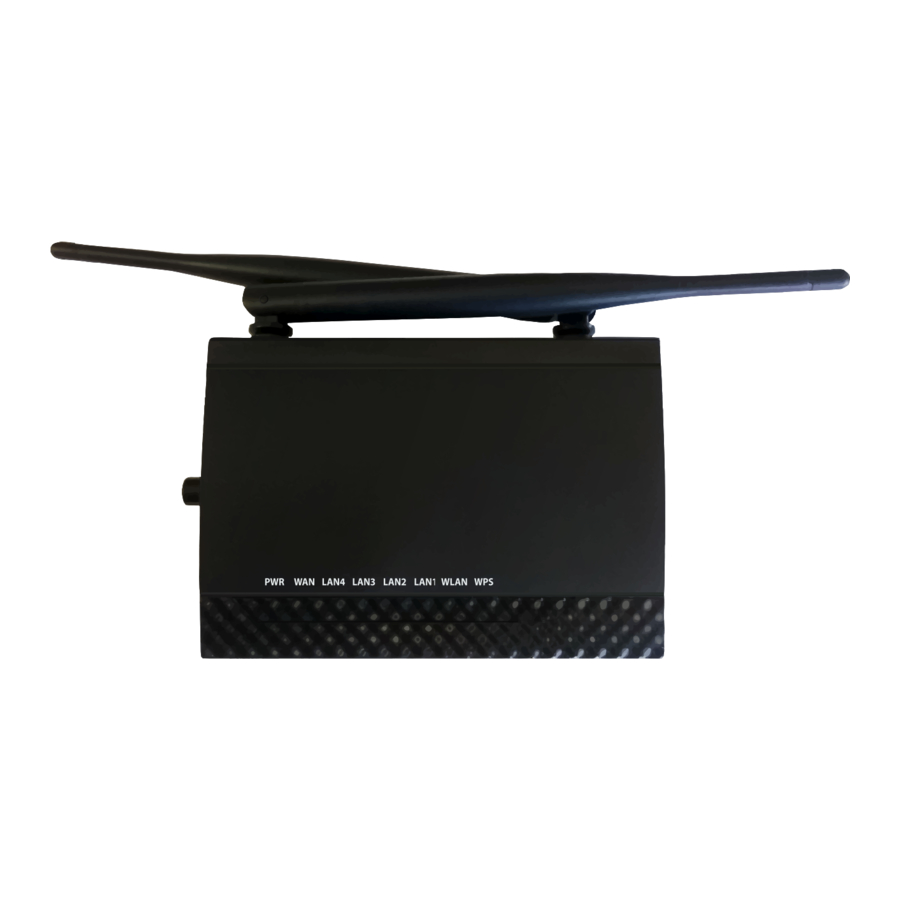
- Page 2 IN THE BOX Make sure you have the following: WR7010v2 Router Power Supply Unit Quick Start Guide Blue Ethernet Cable WR7010v2 FIBRE WiFi ROUTER UPDATE THIS IMAGE...
- Page 3 ROUTER DIAGRAM: Front Panel WLAN LAN1 LAN2 LAN3 LAN4 Power...
- Page 4 ROUTER DIAGRAM: Back Panel LAN Ports 1-4...
-
Page 5: Status Lights
STATUS LIGHTS COLOUR STATUS DESCRIPTION The router is receiving power and ready for use. POWER WHITE The router is not receiving power. The router detects an Ethernet connection on the Ethernet WAN port. WHITE BLINKING The router is sending or receiving data to/from the Ethernet WAN port. The router does not detect an Ethernet link on the Ethernet WAN port. -
Page 6: Connecting The Router
ONT device, others just have an ONT device and in some security complexes and apartments the cable itself enters the home. However, when the Fibre connection enters your home, it will need to be plugged into a Fibre router to allow you to access the Internet. -
Page 7: Connecting The Power Supply
CONNECTING THE POWER SUPPLY Plug the power supply unit into the wall socket and the small round plug from the power supply unit into the power socket on the side of the router. Switch the power on at the wall socket. - Page 8 CONNECTING YOUR DEVICE TO THE ROUTER VIA ETHERNET CABLE (Device could be a Laptop, PC, tablet etc.) You will need a second Ethernet cable for this step. If you do not have a spare Ethernet cable, skip step 5 to connect via WiFi. Plug one other end of the Ethernet cable into the yellow LAN port labelled “LAN1, LAN2, LAN3, or LAN4 at the back of the router .
- Page 9 AUTOMATICALLY CONNECTING YOUR DEVICE TO THE ROUTER VIA WiFi TIP: For this step you will need the default SSID (WiFi Network Name) and WiFi key (WiFi Password) which are displayed on the bottom of your router. Before you start ensure that the WLAN LED on top of your router is lit up. If the LED is not lit you will need to use an Ethernet cable to setup the WiFi Manually (as described in Step 6), or perform a factory reset to restore default settings (advanced users).
-
Page 10: Manual Wifi Set Up
MANUAL WiFi SET UP (You will first need to be connected to the router using an Ethernet Cable as described in Step 4) Open a web browser on your device and type 192.168.1.1 into the address bar at the top . Enter the username and password (default :admin/admin) Click on WLAN in the menu on the left. - Page 11 CONNECTING WITH A USERNAME AND PASSWORD Open an Internet browser (e.g. Google Chrome, Firefox, Internet Explorer, Safari, etc.) on your device (PC, Laptop, Smartphone, Tablet, etc.). Enter 192.168.1.1 in the address bar and enter the default username (admin) and password (admin). Click on WAN in the menu on the left and then Ethernet WAN.
- Page 12 MANUAL ROUTER SET UP FOR IP BASED USERS Follow the steps in 7a to get to the Ethernet Wan settings. In the settings near the top find the Channel Mode drop down and change it to IPoE. Leave all the other settings at default and click Apply Changes.
Need help?
Do you have a question about the WR7010v2 and is the answer not in the manual?
Questions and answers
Hi, hope you are well My wifi key is scratched out and I can't make out the first letter so I can't connect after resetting it, is there any way that you can provide it for me?
After resetting the WR7010v2 router, follow these steps to find or set the WiFi key:
1. Connect your device to the router using an Ethernet cable.
2. Open a web browser and go to http://192.168.1.1.
3. Enter the default username and password (admin/admin).
4. In the menu on the left, click on "WLAN."
5. Click on "Basic Settings" and ensure “Disable WLAN Interface” is unchecked. Click "Apply Changes."
6. Then click on "Security" in the left menu.
7. The Pre-Shared Key field shows the current WiFi password. You can view or change it.
8. Click "Apply Changes" to save.
This is how you find or set the WiFi key after a reset.
This answer is automatically generated