Advertisement
Advertisement
Table of Contents

Summary of Contents for Viatek Fitnation TREAD01
- Page 1 SLIMLINE TREADMILL INSTRUCTIONS...
- Page 2 WARNINGS IMPORTANT SAFETY INSTRUCTIONS • When using an electrical appliance, basic precautions should always be followed, including the following: • Read all instructions before using (this appliance). • DANGER – To reduce the risk of electric shock: 1) Always unplug this appliance from the electrical outlet immediately after using and before cleaning.
- Page 3 WARNINGS GROUNDING INSTRUCTIONS This product must be grounded. If it should malfunction or breakdown, grounding provides a path of least resistance for electric current to reduce the risk of electric shock. This product is equipped with a cord having an equipment- grounding conductor and a grounding plug.
- Page 4 WARNINGS • Read, understand, and carefully follow all warnings, instructions, and procedures on treadmill and in this instruction manual before using. • Inspect treadmill for incorrect, worn, or loose components and then correct, replace, or tighten prior to use. • Care should be used when mounting or dismounting the treadmill. •...
-
Page 5: Technical Specifications
WARNINGS • Do not attempt to service the treadmill beyond what is instructed in this manual as this could cause serious injury and void warranty. Call customer service if problem occurs. • Do not have more than one person using treadmill at once. •... -
Page 6: Display Diagram
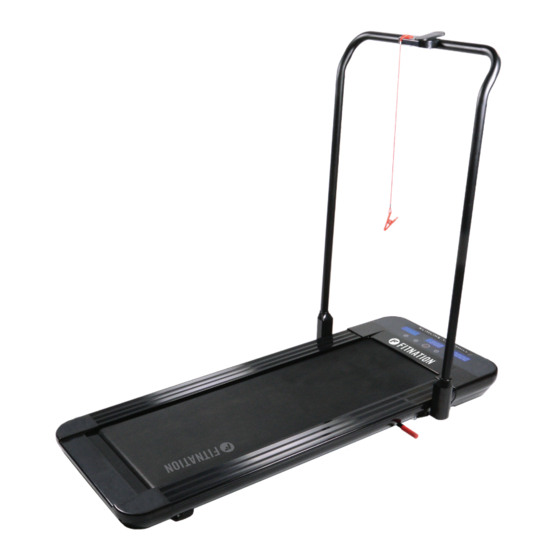
TREADMILL DIAGRAM 1. Safety clip 2. Remote A. Power button B. Speed up/down buttons 3. Handlebar 4. Display 5. Handlebar release 6. Running belt 7. Foot rails 8. Power cord (not pictured) 9. Allen key (not pictured) 10. Lubrication oil (not pictured) DISPLAY DIAGRAM 1. -
Page 7: Use Instructions
USE INSTRUCTIONS 1. Remove protective plastic from FIG. 1 remote and treadmill display. 2. Place treadmill in an appropriate location based on the precautions outlined in Warnings section. 3. Erect handlebar by stepping on handlebar release underneath folded handle bar (fig. 1). While FIG. -
Page 8: Maintenance
MAINTENANCE WARNING: Before maintaining treadmill, power off and unplug. LUBRICATION FIG. 5 • Re-lubricate the running board and belt as needed with included lubrication oil. It is recommended to lubricate every two weeks to a month, depending on frequency of use. •... -
Page 9: Cleaning And Storage
MAINTENANCE ERROR CODES If an error code appears on the display (ie. ER 1, ER 3, etc.), review following procedure: • Ensure you are using the included adapter. • Ensure outlet is rated for 110-120V. • Ensure no moving parts are stuck. If stuck, carefully release the parts or remove any blockages. - Page 10 NOTES...
- Page 11 NOTES...
- Page 12 WWW.BUYFITNATION.COM 111318 TREAD01...
Need help?
Do you have a question about the Fitnation TREAD01 and is the answer not in the manual?
Questions and answers
what does the code E01 mean
I need a remote control for this treadmill