TP-Link TL-WR802N Configuration Manual
Hide thumbs
Also See for TL-WR802N:
- User manual (287 pages) ,
- Quick installation manual (44 pages) ,
- Manual (2 pages)
Advertisement
Quick Links
If reconfiguring device start at step 1.
If configuring for the first time, plug in device and skip to step 2.
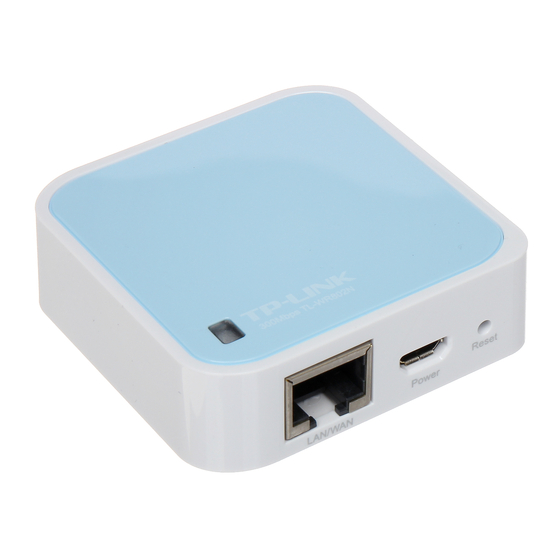
1. Insert a paperclip into the small hole on the device and hold down button until green light starts
flashing quickly (about 10 seconds). This resets device to its factory settings.
2. After the device boots up, search for wireless networks on your laptop or smart phone. There
may be delay for the network to appear after start up.
3. Connect to TP-Link Network. The password is written on the device.
4. Open a browser and enter tplinkwifi.net or 192.168.0.1 in the address field
5. Enter the word admin (lowercase) in both the username and password fields. Click OK.
6. Choose "Quick Setup" on left, then click Next.
7. Choose Client mode and click Next.
Configuring TP Link TL-WR802N
Advertisement

Related Manuals for TP-Link TL-WR802N


Summary of Contents for TP-Link TL-WR802N
- Page 1 2. After the device boots up, search for wireless networks on your laptop or smart phone. There may be delay for the network to appear after start up. 3. Connect to TP-Link Network. The password is written on the device. 4. Open a browser and enter tplinkwifi.net or 192.168.0.1 in the address field 5.
- Page 2 8. If you get this page, chose not to clone MAC address and click Next. 9. The device will Scan for devices and then display those it can fin. Choose the one that you wish to connect to and click Next.
- Page 3 10. Enter the password of the network and click Next. 11. If you get this page, select Smart IP(DHCP). It may also say Dynamic IP.
- Page 4 12. Once the device is connected to the internet, click Reboot. 13. You are done! Make sure the Ethernet cable is securely connected to both the device and your monitor.
Need help?
Do you have a question about the TL-WR802N and is the answer not in the manual?
Questions and answers