Table of Contents
Advertisement
Advertisement
Table of Contents

Related Manuals for SoundCraft SIGNATURE MTK


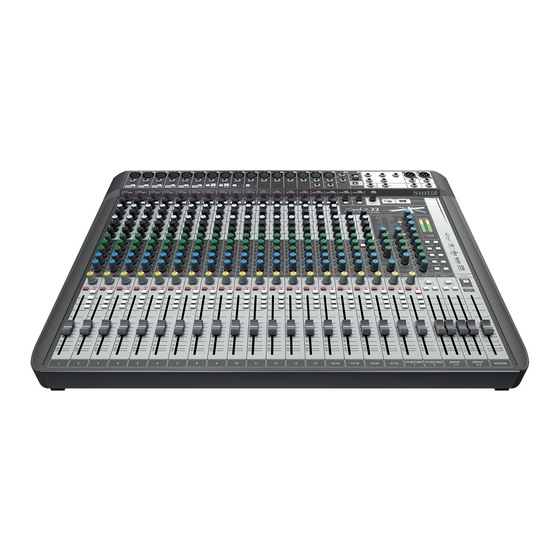
Summary of Contents for SoundCraft SIGNATURE MTK
- Page 1 Soundcraft Signature MTK Recording Guide...
- Page 2 S O U N D C R A F T S I G N A T U R E M T K R E C O R D I N G G U I D E...
-
Page 3: Table Of Contents
S O U N D C R A F T S I G N A T U R E M T K R E C O R D I N G G U I D E Table of Contents USB Overview ....................... 04 Installing the Drivers (PC Only) ................. -
Page 4: Usb Overview
Soundcraft Signature MTK Recording Guide This Soundcraft Signature MTK Recording Guide is designed to give an overview on the Signature MTK’s multi-track USB functionality and how it can be used for various recording and playback applications. This guide walks through various recording and playback scenarios with different DAWs and explains how to setup your Signature MTK console, your audio drivers, and your DAW. -
Page 5: Finding The Correct Cable
Finding the Correct Cable The USB port on the Soundcraft Signature series is a ‘Type B’ connector (the standard type for all peripheral devices). USB host devices use the rectangular ‘Type A’ connector. In order to achieve a connection between console and host machine, a ‘Type A to Type B’... -
Page 6: Usb Send And Return Channels
S O U N D C R A F T S I G N A T U R E M T K R E C O R D I N G G U I D E To avoid artefacts and to produce a reliable recording you should select the appropriate buffer size for the streaming mode. -
Page 7: M/L: Mic/Line
S O U N D C R A F T S I G N A T U R E M T K R E C O R D I N G G U I D E M/L: Mic/Line Input sources on the console are split into Mic and Line input sources. Channel 1 for example features an XLR Mic and ¼”... -
Page 8: Stereo Playback
S O U N D C R A F T S I G N A T U R E M T K R E C O R D I N G G U I D E Stereo Playback Stereo playback using PC In order to use the USB port to play standard MP3’s or WAV files from your PC, there is a small amount of setup required from the control panel in order to send the stereo file to the appropriate channel on the console. -
Page 9: Stereo Playback Using A Mac
Mac search bar or in the launch pad > other folder. When ‘Audio MIDI Setup’ has opened, you will notice a ‘Soundcraft ‘x’-channel audio driver’ selection on the left column. To assign this device as the default output, right click the selection and click ‘use this device... -
Page 10: Reaper
Once it has loaded, you will be presented with an empty project. Before tracks can be added and recording can begin, you must first assign REAPER to use the Soundcraft Multichannel audio interface. Firstly, go into the options tab at the top of the screen and scroll down to preferences. - Page 11 S O U N D C R A F T S I G N A T U R E M T K R E C O R D I N G G U I D E Close the REAPER preferences screen and return to the blank project.
-
Page 12: Multichannel Playback Using Reaper
S O U N D C R A F T S I G N A T U R E M T K R E C O R D I N G G U I D E 14. When you are ready to record the show, select the master record button by the transport control to begin recording! You will see waveforms starting to appear in the transport window indicating tracks are being recorded and audio is being written to the hard disk. -
Page 13: Inserting Plug-Ins On Reaper
S O U N D C R A F T S I G N A T U R E M T K R E C O R D I N G G U I D E Inserting plug-ins on REAPER Once the project has been created and the tracks have been setup to send and receive out of the corresponding USB channels of the mixer, you are able to follow a few extra steps in order to use plug-ins inserted into the input channels. - Page 14 From here, it is possible to select your desired project sample rate under the ‘Sample rate’ drop-down menu. b. On a Signature MTK console there will only be options for either 44.1kHz or 48kHz. c. Select your desired sample rate and exit the Settings tab returning to the arrange page with your blank project.
-
Page 15: Multichannel Playback Using Logic
S O U N D C R A F T S I G N A T U R E M T K R E C O R D I N G G U I D E When you are ready to record the show, select the master record button by the transport control section to begin recording! You will see waveforms starting to appear in the transport... -
Page 16: Inserting Plug-In On Logic
S O U N D C R A F T S I G N A T U R E M T K R E C O R D I N G G U I D E Inserting plug-ins on LOGIC Once the project has been created and the tracks have been setup to send and receive out of the corresponding USB channels of the mixer, you are able to follow a few extra steps in order to use plug-ins inserted into the input channels. -
Page 17: Ableton Live Lite
Before tracks can be added and recording can begin, you must first assign ABLETON LIVE LITE to use the Soundcraft Multichannel audio interface. First, you must open up the preferences menu – On a Mac this is under the ‘live’ tab at the top of the screen. - Page 18 S O U N D C R A F T S I G N A T U R E M T K R E C O R D I N G G U I D E d. Once these are selected, you can close the window and return to the arrange page.
-
Page 19: Inserting Plug-Ins On Ableton Live Lite
S O U N D C R A F T S I G N A T U R E M T K R E C O R D I N G G U I D E Inserting plug-ins on ABLETON LIVE LITE Once the project has been created and the tracks have been setup to send and receive out of the corresponding USB channels of the mixer, you are able to follow a few extra steps in order to use plug-ins inserted into the input channels. - Page 20 Soundcraft, Harman International Industries Ltd., Cranborne House, Cranborne Road, Potters Bar, Hertfordshire EN6 3JN, UK T: +44 (0)1707 665000 F: +44 (0)1707 660742 E: soundcraft@harman.com Soundcraft USA, 8500 Balboa Boulevard, Northridge, CA 91329, USA T: +1-818-893-8411 F: +1-818-920-3208 E: soundcraft-usa@harman.com...
Need help?
Do you have a question about the SIGNATURE MTK and is the answer not in the manual?
Questions and answers