Advertisement
Quick Links
Advertisement

Summary of Contents for Majestic MJ9200D
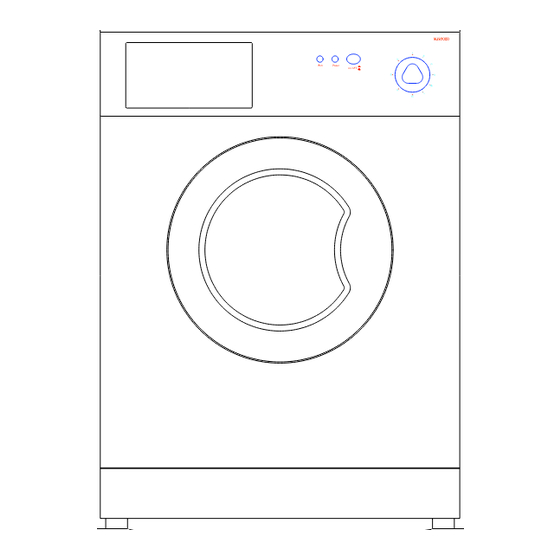
- Page 1 MJ9200D TECHNICAL MANUAL...
- Page 3 Your machine, has a solution to every problem We have put together here a few questions which may come to mind What to do if when you start using your machine, you will see for yourself that your new dryer can give a convincing and state of the art reply to all of them.
- Page 4 Maintenance: Two simple precaution for this machine Your machine is a dryer that has been designed to last without complicated maintenance. All the same, we would ask you to take care of a few small matters. If you follow these two simple rules, we are sure that the dryer machine will stay your faithful friend and helper for a long, a long time.
- Page 6 DRYER MACHINE REF.MODELS MJ9200D DESCRIPTION Back panel Cabinet assembly Top panel assembly Board panel Switch cover Timer (drying) knob Lamp cover Micro delaying device Porthole catch Porthole catch pin Porthole catch spring Porthole handle Porthole inner frame Porthole glass Porthole frame...
- Page 8 DRYER MACHINE REF.MODELS MJ9200D DESCRIPTION Drum Tub cover gasket Tub front flange “U” bolt Porthole gasket Plug Front-left countweight Shock absorber Shock absorber support Tub suspension spring Spring rest Retaining ring bearing 6205 Tub spider assembly Bearing 6204 Driven pulley Ply V belt Blot.
- Page 10 DRYER MACHINE REF.MODELS MJ9200D DESCRIPTION Dry Timer Switch Lamp Wiring assembly Cable assembly Capacitor 8_11 Bush for motor Motor spacer Motor Screw 3 Poles terminal board...
- Page 12 DRYER MACHINE REF.MODELS MJ9200D DESCRIPTION Fan motor The wire with fuse Thermostat 2TT NC 125/85 Upper body of blower Reflecting screen WDM Heating element Gasket of blower body WDM Lower body of blower Zipper for porthole gasket and blower Fan nut...
- Page 13 Check and change 9200D motor 6P connector Terminal Description Resistance Auxiliary winding 15.1_ Primary winding 7.6_ A and P 22.0_ Revised 10.04.2005 How to change the motor 1_ Disconnect power and water supply from machine. 2_ Move the machine to an open space for repair. 3_ Remove back panel by removing three size SD3.5x13mm screws.
- Page 14 same time with your left hand support the motor in position. Pull out bolt. Then take out motor from the button of the machine carefully. Change a new motor one by one at counter step. Recover the machine and make a test to insure the machine can work normally.
- Page 15 5. Take out drying timer from control panel. 6 Pull out all terminals of wiring. 7. Change a new timer and connect terminals as follows: Plug terminal No: TAA of wiring to “a” terminal of timer, Plug terminal No: TAA1 of wiring to “a1” terminal of timer, Plug terminal No: TAB of wiring to “b”...
- Page 16 Capacity C=80F Connection: cx_c terminal of the wiring to terminals of capacity.
-
Page 17: Fan Motor
Fan motor Connection: Plug terminal MV of wiring to upper terminal of fan motor. Plug terminal TF of wiring to lower terminal of fan motor. Micro delaying device Connection: plug IP_IPX terminal of wiring to micro delaying device as show above. - Page 18 Heat element Wire with fuse and Thermostat 2TT NC 125/85...
- Page 19 Connection of dryer 1. Plug MV terminal of wiring to upper terminal of fan motor 2. Plug TF terminal of wiring to lower terminal of fan motor 3. Plug FEX and FE terminals of wiring to terminals with red point of thermostats 4.
Need help?
Do you have a question about the MJ9200D and is the answer not in the manual?
Questions and answers