Advertisement
Advertisement
Table of Contents

Summary of Contents for Seac PARTNER
- Page 1 MULTIPURPOSE FREEDIVING WATCH...
-
Page 3: General Warnings
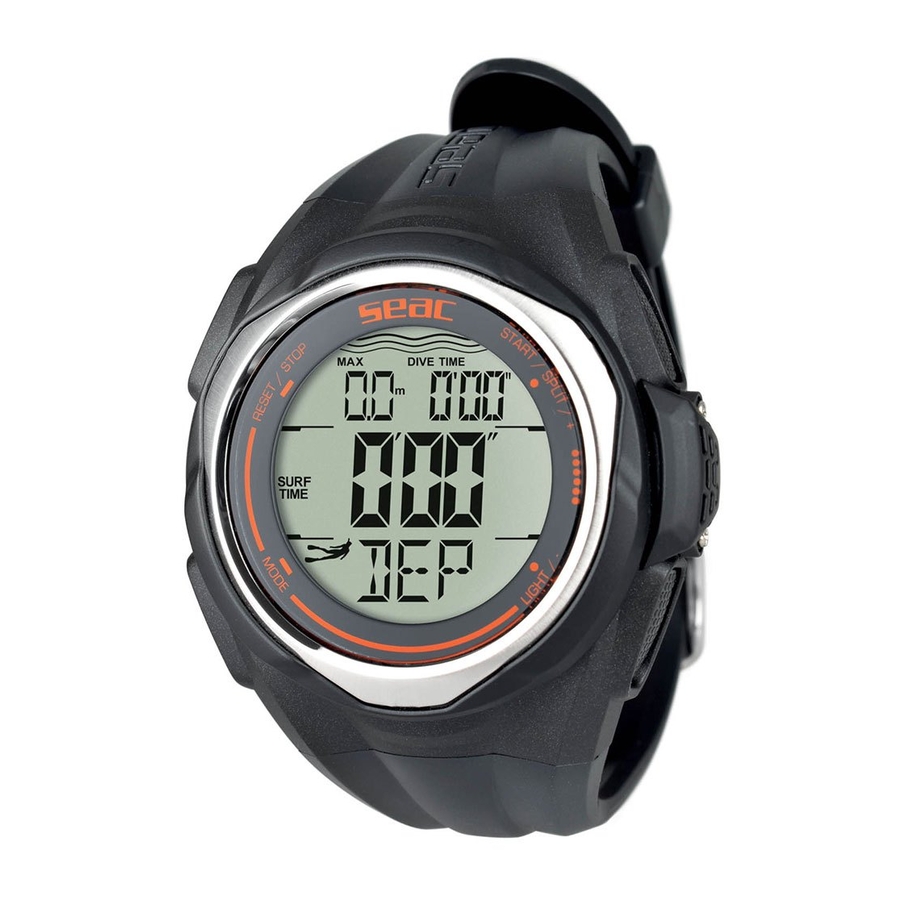
PARTNER MULTIPURPOSE FREEDIVING WATCH Congratulations on your purchase of a Partner Seac multipurpose diving watch. Check www.seacsub.com for any updates to this manual. GENERAL WARNINGS • WARNING! Read this entire manual before using your SEAC multipurpose watch. Incorrect use will void the warranty and could cause permanent damage to the instrument. - Page 4 BUTTONS The function of each button is shown below. A- Reset / Stop B- Mode C- EL backlight / D- Start / Split 1 / + DISPLAY The screen is shown in below: Year Date Diver attention Chime symbol Stopwatch Alarm Timer Seconds...
-
Page 5: Low Power
PARTNER LOW POWER lf the battery level is too low, the symbol will display until a new battery is installed. MODE SELECTION • Press “B” to change the mode in the following sequence: Timekeeping Mode Diving Mode Record Mode Alarm Mode... -
Page 6: World Time
RECORD • Depth, Temperature, Dive time, Surface time; • 30 records (R01 - R30); • PARTNER can store dive data 99 times (F01 - 99) max. ALARM • 5 alarms; • Chime. In Alarm mode, the screen on the right appears automatically after 2s. -
Page 7: Time Setting
PARTNER STOPWATCH • Units in 1/100 second; • 8 Laps, Splits; • Measurement range: 0’00”00 - 99:59’59” . TIMEKEEPING TIME SETTING 1. In timekeeping mode, press and hold “A” until the city code starts flashing (flashing shown in setting mode);... - Page 8 4. Press “C” or “D” to switch Daylight Saving Time ON/OFF. 5. Repeat step 3 and 4. The selection sequence is as follows: City code Daylight Saving Time Seconds Hour Minutes 12/24H Format Year Month Date M-D/D-M Format Tone (ON/OFF) Alarm (ON/OFF) Timer (ON/OFF) World...
- Page 9 PARTNER DIVING SETTING DIVE PARAMETERS 1. In dive mode, press and hold “A” until the temperature and depth units begin flashing (flashing in setting mode); 2. Press “C” or “D” to select Metric / Imperial; 3. Press “B” to move to the next selection;...
- Page 10 5. Repeat steps 3 and 4. The selection sequence is as follows: Unit Safe dive depth Safe dive time (minutes, seconds); 6. Press “A” to exit the setting mode when you have finished. • Safe dive depth range: 0.0, 3.0 – 100 m or 0, 10 –...
- Page 11 PARTNER Surface time First dive time Second dive time 99th dive times (F01) (F02) (F99) • When surface time is on, press “D” to browse the selection in the following sequence: Max.depth@last dive time, last dive time Current temperature, last...
- Page 12 RECORD SELECT • In record mode, press “A” to browse the selection in the following sequence: total records record1 - record 30. RECALL • In total record mode, press “C” or “D” to browse the selection in the following sequence: Max.
- Page 13 PARTNER • In record2 mode, press “C” or “D” to browse the selection in the following sequence: Date, max. dive depth, dive time date, temperature@ max. dive depth, dive time. • R01 is the dive data from the most recent day.
- Page 14 ALARM The alarm sounds for about 60 seconds at the set time each day. Press any button to dismiss the alarm. CHIME AND ALARM • In chime and alarm modes, press “A” to select chime or alarm1 - alarm5; • In chime mode, press “D” to turn the chime “...
- Page 15 PARTNER 2. Press “D” to increase the hour or “C” to decrease the hour; press and hold to scroll quickly; 3. Press “B” to select the minutes; 4. Press “D” to increase the minutes or “C” to decrease; press and hold to scroll quickly;...
-
Page 16: Countdown Timer Setting
COUNTDOWN COUNTDOWN TIMER SETTING 1. In countdown mode, press and hold “A” until the hour starts flashing (flashing shown in setting mode); 2. Press “D” to increase the hour or “C” to decrease it; press and hold to scroll quickly; 3. -
Page 17: Using The Countdown Timer
PARTNER 4. Press “D” to increase the number or “C” to decrease it; press and hold to scroll quickly; 5. Repeat steps 3 and 4; the selection sequence is as follows: Hour Minutes Seconds Countdown Type; 6. Press “A” to exit setting mode when you have finished. - Page 18 • A beep sounds when the timer counts down to 60, 50, 40, 30, 20, 10, 5, 4, 3, 2, and 1 seconds for the single countdown timer. • When the single countdown timer reaches zero, the alarm sounds for about 60 seconds.
- Page 19 PARTNER WORLD TIME City Other major cities City code Differential in same time zone Kiritimati Kiritimati Nukualofa Nukualofa Chatham Islands +12.75 Chatham Islands Wellington Suva, Christchurch, Nauru Island, Nadi Noumea Port vila Sydney Guam, Vladivostok Adelaide +9.5 Darwin Tokyo Seoul, Pyongyang...
- Page 20 City Other major cities City code Differential in same time zone St John's -3.5 St John's Santiago La Paz, Port Of Spain Caracas -4.5 Caracas Montreal, Detroit, Miami, Boston, New York Panama City Houston, Dallas/Fort Worth, New Chicago Orleans Denver Phoenix, Edmonton, Chihuahua San Francisco, Las Vegas, Los Angeles...
-
Page 21: Using The Pacer
PARTNER 2. Press “C” or “D” to select the pacer tempo in the following sequence: 320; 3. Press “A” to exit the setting mode when you have finished. USING THE PACER 1. Press “D” to start; 2. Press “D” again to stop. - Page 22 STOPWATCH STOPWATCH SETTING 1. In stopwatch mode, press and hold “A” until SPL or LAP starts flashing (flashing shown in setting mode); 2. Press “C” or “D” to select SPL or LAP; 3. Press “A” to exit setting mode when you have finished.
- Page 23 PARTNER LAP TIME 1. In stopwatch mode, press “D” to start the stopwatch; 2. Press “A” to stop the stopwatch; 3. Reset the stopwatch by pressing “A” again.
-
Page 24: Split Time
SPLIT TIME 1. In stopwatch mode, press “D” to start the stopwatch; 2. Display SPL1 time by pressing “D” again (auto runs after 2 seconds); 3. Repeat step 2 to record SPL1 - SPL8 times; 4. Press “A” to stop the stopwatch. - Page 25 PARTNER RECALL 1. In stopwatch mode, press “C” to display the first split time when there are multiple splits on the stopwatch; 2. Press “D” to scroll forward through the SPL1 - SPL8 times; 3. Press “C” to scroll backward through the SPL8 - SPL1 times;...
- Page 26 LAP TIME 1. In stopwatch mode, press “D” to start the stopwatch; 2. Display the LAP1 time by pressing “D” again (auto runs after 2 seconds); 3. Repeat step 2 to record LAP1 - LAP8 times; 4. Press “A” to stop the stopwatch.
- Page 27 PARTNER RECALL 1. In stopwatch mode, press “C” to display the first lap time when there are multiple laps on the stopwatch; 2. Press “D” to scroll forward through the LAP1 - LAP8 times; 3. Press “C” to scroll backward through the LAP8 - LAP1 times;...
- Page 28 BACKLIGHT • The backlight is electroluminescent so the display will glow for easy reading in the dark. USE EL BACKLIGHT • In the timekeeping mode, press “C” to illuminate the display for about 3 seconds.
- Page 29 PARTNER WARNING Exercise may include some risk, especially for those who have been sedentary. MINIMIZING POSSIBLE RISKS WHILE EXERCISING Before starting a regular exercise program, you should answer the following questions about your health. If you answer YES to any of these questions, we recommend that you consult a doctor before starting to exercise.
-
Page 30: Before The Dive
ATTENTION 1. Never try to open the case or remove its back cover. 2. Do not operate buttons underwater. 3. Should moisture appear inside the watch, have it checked immediately by your dealer. Otherwise it can cause corrosion in the metal parts of the watch. 4. -
Page 31: Care And Maintenance
• Check that there are no signs of humidity inside the display. Note: • To change the battery safely, we recommend that you always contact an authorized SEAC center. - Page 32 SEACSUB S.p.a. Via D. Norero, 29 San Colombano Certenoli (GE) 16040 Italy Phone +39 0185 356301 Fax +39 0185 356300 seacsub@seacsub.com www.seacsub.com SEAC USA Corp. seac.usa@seacusa.com www.seacusa.com MADE IN ITALY • 07/18 • Artbook 14601/18...
Need help?
Do you have a question about the PARTNER and is the answer not in the manual?
Questions and answers