
Related Manuals for Topaz Systems A-ETH1-1

Summary of Contents for Topaz Systems A-ETH1-1
- Page 1 How-To Guide Topaz Ethernet Adapter Copyright © Topaz Systems Inc. All rights reserved. For Topaz Systems, Inc. trademarks and patents, visit www.topazsystems.com/legal.
- Page 2 Ethernet Adapter How-To Guide Table of Contents Hardware ..........................3 Installation Steps ........................3 Changing SigPlus.ini ....................... 6 www.topazsystems.com Back to Top...
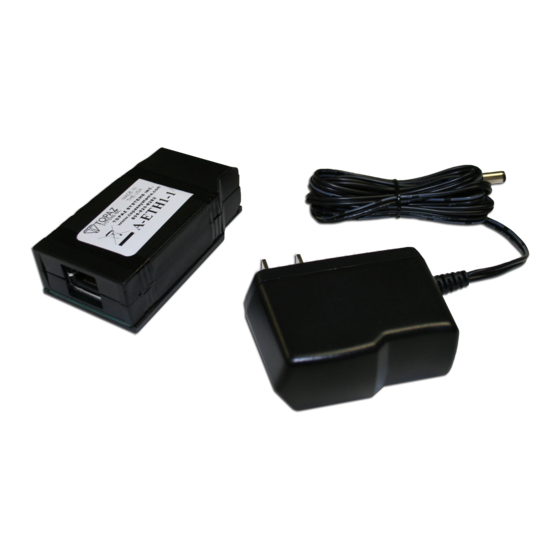
- Page 3 Ethernet Adapter How-To Guide Hardware Before installation of both the Digi Connect ME and SigPlusE (the SigPlus installation for both SigPlus and the DigiConnect ME converter), the ethernet adapter and tablet must first be properly connected to your Network hub. This will require a suitable ethernet cable, the Topaz ethernet adapter, a Topaz tablet with a serial connection, and the included power supply for the Ethernet adapter (see below).
- Page 4 Ethernet Adapter How-To Guide Once the power supply, Topaz tablet, and ethernet cable (also connected to the Network Hub) is connected, an orange light (for network connection) and blinking green light (for power) should be visible, denoting the ethernet adapter is functioning. NOTE: The entire setup should look something like this: Once the adapter is properly setup, now the user can proceed with the software installation.
- Page 5 Ethernet Adapter How-To Guide In the “Device Status” window, it will say if the device is working properly or not. Next, click on the “Advanced” tab to open the “Advanced Properties” window. Here, the user can see what COM Port number the Digi Connect ME has been assigned. In this case, the COM Port Number is 6.
- Page 6 Ethernet Adapter How-To Guide If, for some reason, it is necessary to change the COM Port setting, it will be necessary to make sure the SigPlus.INI file reflect these changes as well to ensure proper operation. If the COM Port setting is 1-4 (i.e. COM1, COM2, etc.), then all changes can be made through SigPlus Adjust, an easy to use tool for setting up Topaz signature tablets.
Need help?
Do you have a question about the A-ETH1-1 and is the answer not in the manual?
Questions and answers