Advertisement
Table of Contents
Advertisement
Table of Contents

Related Manuals for peoplenet PD5

Summary of Contents for peoplenet PD5
- Page 1 PD5 Installation Guide BETA...
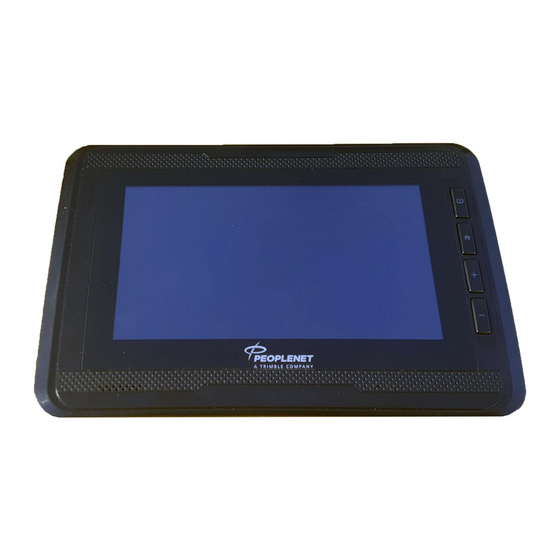
- Page 2 Vehicle Intended Use The PeopleNet PD5 is designed to operate within the typical truck-in-cab and be installed on the dash by the end user. It is designed to be used while mounted and should not be used while unmounted. The host installed by professional person and please don't use it when Tablet non-fixed on RAM Mount.
-
Page 3: System Overview
System Overview PD5 connected to a PMG Page | 3... - Page 4 System Overview PD5 connected to a PCG Page | 4...
- Page 5 3. Attach the RAM swivel arm, angle the display so it faces the driver, then tighten the arm 4. Connect the PD5 cable to the back of the display, making sure the pins seat squarely and the thumb screws are evenly tightened 5.
- Page 6 Setting PeopleNet “PMobile” to Default The PD5 will arrive without PeopleNet as the default boot mode. Follow these steps to set it so PMobile boots automatically on future starts. Page | 6...
- Page 7 Setting PeopleNet “PMobile” to Default Page | 7...
- Page 8 If your PD5 (PeopleNet Connected Tablet) is already ○ paired to a PMG (PeopleNet Mobile Gateway) or PCG (PeopleNet Mobile Gateway) which we will refer to as an OBC (On Board Computer) You can manually start the installation process by going ○...
- Page 9 If establishing the connection fails, verify the OBC is on ○ and that the correct DSN was entered. If this is the first time your PD5 has connected to a OBC, it will ● need to modify a setting. This setting allows the the PD5 to communicate with the ○...
- Page 10 Re-enter your OBC’s DSN and click “OK” ● The PD5 will attempt to do the same process as before; and ● attempt to connect to the Wi-Fi network of the DSN you entered.
- Page 11 ● out to your system administrator Click “OK” ● The step is very important, as it allows the PD5 to talk to the ● PCG and Enterprise (back-end). It creates a trust relationship and a certificate held by the PD5.
- Page 12 If the OBC is in a pending state (the OBCs will be ○ shipped in this state) in the PFM (PeopleNet Fleet Manager) and you are going to give it a new truck number, then click “yes” this is a new installation If the OBC is already in an activated state or you want to ○...
- Page 13 After clicking “Submit” you will see “Submitting Installation ● request. This process could take several minutes” and the Submit button will be grayed out. If you get an error code at this part and you clicked “yes, ○ this is a new installation”, verify that the truck number you’re trying to use is not already in use, and you should have selected “no, this is not a new installation”.
- Page 14 You will then be prompted with “Activating Device”. This means ● that the PD5 is loading settings from the PFM. Event Journal Service and Mail Message Manager will ○ start off as “Activating” Once all the settings have been received, they will go ○...
- Page 15 Confirm the Display Power button LED is green, indicating charging o Disconnect the PD5 from the cable and verify the LED turns to Blue and the display remains powered up NOTE: A fully charged battery will supply power for roughly 15 minutes, though a new unit may not have a full charge Any accessories (Satellite, OBDii, GPIO, PTO) activated and confirmed.
- Page 16 Hard Reboot Button A hard reboot button is available under the top access panel on the display’s right side. Press the button to reboot the device if needed. Page | 16...
- Page 17 Cable Pin-Out This pin-out can aid in troubleshooting if the display fails to boot Page | 17...
- Page 18 • • • • • • • Page | 18...
Need help?
Do you have a question about the PD5 and is the answer not in the manual?
Questions and answers