Advertisement
Table of Contents
- 1 Table of Contents
- 2 Important Safety Instructions
- 3 Legal Disclaimer
- 4 Limited Warranty
- 5 PC Setup Guide
- 6 Connection Diagram
- 7 Setting up Your MIC
- 8 Understanding Audio Channels
- 9 App Basics
- 10 Navigating the Mixer Tab
- 11 Setting up GO XLR for Voice Chat
- 12 Assigning Apps Without an Output to a Fader
- 13 Setting up GO XLR with Xsplit /OBS
- 14 Sampler Basics
- 15 Global, FX & Sampler Lighting
- 16 Specification
- Download this manual
Advertisement
Table of Contents

Related Manuals for TC-Helicon GO XLR


Summary of Contents for TC-Helicon GO XLR
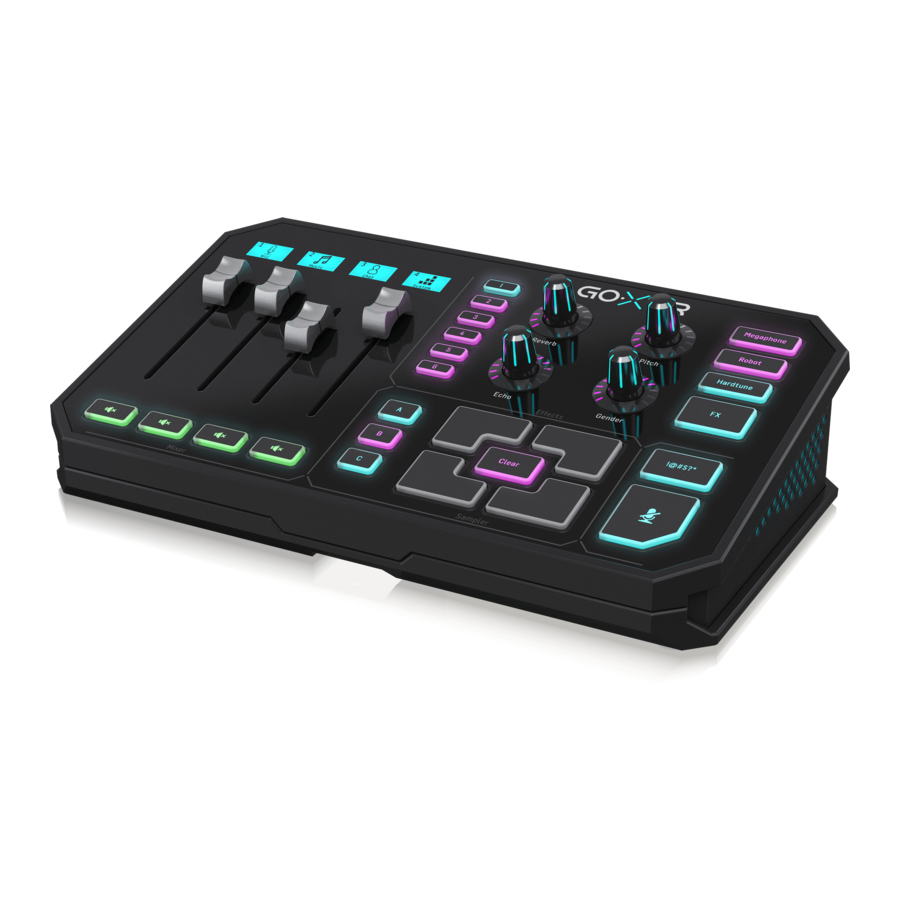
- Page 1 User Manual GO XLR Revolutionary Online Broadcaster Platform with 4-Channel Mixer, Motorized Faders, Sound Board and Vocal Effects...
-
Page 2: Table Of Contents
5. App Basics ..............14 6. Navigating the Mixer Tab ........16 7. Setting Up GO XLR for Voice Chat ......17 8. Assigning Apps without an Output to a Fader ..19 9. Setting Up GO XLR with XSplit /OBS ...... 21 10. -
Page 3: Important Safety Instructions
9. Do not defeat the safety purpose of the polarized 20. Please keep the environmental aspects of battery Important Safety or grounding-type plug. A polarized plug has two blades disposal in mind. Batteries must be disposed-of at a Instructions with one wider than the other. A grounding-type plug battery collection point. -
Page 4: Pc Setup Guide
1. PC Setup Guide 1.3 Power Up To begin working with the GO XLR app, the GO XLR unit should be connected to This section will describe how to set up a basic one-PC streaming setup. your computer and powered up with these basic connection steps: To begin, you must first download the GO XLR app and driver. - Page 5 To accomplish this re-channeling of the Broadcast Mix to your streaming PC, you will need two 3.5 mm stereo cables: 1. Run the first cable from the LINE OUT jack on GO XLR to the LINE IN jack on your streaming computer.
- Page 6 6. Plug a 3.5 mm stereo cable into the LINE OUT jack if you wish to route a stereo copy of your livestream out to other devices. In a dual-PC setup, you will want to connect the LINE OUT jack on GO XLR to the LINE IN jack on your streaming PC.
-
Page 7: Connection Diagram
External Audio Device Gaming Console (if applicable) Stream alerts Gaming Headset with Mic Dedicated Streaming Gaming/Streaming Computer (if applicable) Computer Audio out to GO XLR via headphone output Power via USB (no audio) Blue Yeti Microphone Computer Blue Yeti Mic Recommended Connection... -
Page 8: Setting Up Your Mic
After plugging your microphone into GO XLR, you will first need to set the input level by following these instructions: 1. Go to the System tab in the lower half of the GO XLR app window. 5. Adjust the Gain control until the signal peaks in the Good portion of the meter, with occasional peaks in the Loud range. - Page 9 GO XLR User Manual 2. Raise or lower the Bass and Treble controls in the Equalizer section to adjust 4. Adjust the Gate setting if you wish to screen out ambient background noise the basic equalization of your vocal. Raise the Bass control to add thickness, in your room.
- Page 10 De-Esser Gain can distort your microphone signal. The De-Esser in GO XLR does not have expanded functions, but we should take a moment to describe how a de-esser works and why de-essing is a common process in the audio world.
-
Page 11: Understanding Audio Channels
Instead of showing up in your computer’s operating system as a single device option on your mouse to take the following assignments: with multiple inputs and outputs, GO XLR shows up in your computer as several different audio sub-devices dedicated to different elements of your •... - Page 12 To further illustrate this separate-and-mix concept, if you feel that your Chat audio is too loud, you simply reach out to the assigned slider on your GO XLR and move the slider downward to decrease the Chat volume relative to the Game, Music or Sample audio.
- Page 13 GO XLR User Manual 3. Right-click on your designated Default Device. 4. Choose the Properties option from the pop-up menu. 5. Choose the “Listen” tab in the Properties pop-up window. 6. Find the “Listen to this device” option. 7. Make sure “Listen to this device” is UN-CHECKED.
-
Page 14: App Basics
“in the box” will live in this tab, and all sample will appear Be aware that all audio processing happens in the GO XLR unit itself. The GO XLR time-stamped and dated, so you know when you created a sample. These unit’s processing and settings may be coordinated and controlled from your... - Page 15 Control Tabs section. 5.4 Control Tabs The Control Tabs live in the lower half of the GO XLR app screen and contain these sections: •...
-
Page 16: Navigating The Mixer Tab
GO XLR User Manual 6. Navigating the Mixer Tab The Mixer Tab is where you assign devices to the four hardware faders, designate what will appear on the slider screens and work with the Mute buttons. Mixer tab The Mixer Tab has two main sub-sections, the Settings tab and the Lighting tab. -
Page 17: Setting Up Go Xlr For Voice Chat
3. Go to Input Device under Voice Settings and choose “Chat Mic (2- TC-Helicon GoXLR)” from the pulldown menu. 4. Go to Output Device and choose “Chat Mic (2- TC-Helicon GoXLR)” from the pulldown menu. - Page 18 7. Under Input Mode, you may select either “Voice Activity” or “Push to Talk,” depending on your preferences. When you set up Discord or other chat programs properly, when you go to GO XLR your chat service will be assigned to a fader and labeled as “Chat.”...
-
Page 19: Assigning Apps Without An Output To A Fader
Spotify. Game dialog without option for choosing a sound device Once you have selected the new Output device, when you go to GO XLR, you will find that Spotify audio has been re-assigned to the Music fader, where the... - Page 20 8. Re-start playback on the YouTube video and check the “Music” fader to confirm that audio from your Chrome tab has been properly re-assigned. Now, when you go back to GO XLR, you should find that your YouTube video in Chrome is now playing audio on the Music fader along with Spotify.
-
Page 21: Setting Up Go Xlr With Xsplit /Obs
4. Set “Microphone” to “Broadcast Stream Mix” by using the pulldown menu. 3. Go to the Audio tab in the Settings window. Choosing “Broadcast Stream Mix” will ensure that all audio going into XSplit has been processed and mixed in GO XLR exactly how you want it. -
Page 22: Sampler Basics
The GO XLR sampler has three banks of samples (A, B and C). Each bank can contain up to four samples (one for each of the Sample Pads on the GO XLR unit). The GO XLR sampler is both a live sampler and sound board, which means that you can record a sample in real time and play it back whenever you want. - Page 23 10.2 Working with the Sampler Tab The Sampler tab can be found in the Control Tabs section located in the bottom half of the GO XLR app window on your computer. Within the Sampler tab, the Settings window shows controls for the sample banks on the left, along with playback options.
- Page 24 “Recorded” folder with time-stamped sample files Pro Tip: The GO XLR sampler can accept long audio files, which can be useful when you have some background music that you want to launch on the fly, e.g., during crucial moments of a video game that you want to highlight musically.
-
Page 25: Global, Fx & Sampler Lighting
Sample Pad has a sample loaded, is actively playing back, is stopped, and so on. Within the Lighting section of the lower System tab, you can a assign a single overall color for the GO XLR panel, customize the accent light color (the “X” in the GO XLR logo and the interior LEDs inside the ventilation grille), assign a color to the !@#$* or “bleep button,”... - Page 26 GO XLR User Manual The Bleep and Cough sections will also allow you to customize a Color 2 to represent the “off” state for those buttons. By default, the Off Option will be Dim Color 1, but you can easily select the Color 2 or Dim Color 2 options.
- Page 27 11.4 Assigning Custom Colors for Effects Similarly, you may also assign custom colors to the buttons and knobs in the GO XLR Effects section, with separate sets of color options for Presets, Encoders and buttons for Effects, including the Megaphone, Robot, Hardtune and FX buttons.
-
Page 28: Specification
GO XLR User Manual 12. Specification Analog Connections XLR In 1 x XLR, balanced Phantom power +48 V, switchable via control app Line In 1 x 1/8" TRS, stereo 1 x 1/8" TRS, biased for computer microphone input Phones 1 x 1/8" TRS, stereo Line Out 1 x 1/8"... - Page 29 GO XLR User Manual FEDERAL COMMUNICATIONS COMMISSION COMPLIANCE INFORMATION GO XLR Responsible Party Name: Music Tribe Brands UK Ltd. Address: Klark Industrial Park, Walter Nash Road, Kidderminster, Worcestershire, DY11 7HJ United Kingdom Phone Number: +44 1562 732290 GO XLR complies with the FCC rules as mentioned in the following paragraph: This equipment has been tested and found to comply with the limits for a Class A digital device, pursuant to Part 15 of the FCC Rules.
Need help?
Do you have a question about the GO XLR and is the answer not in the manual?
Questions and answers
Broadcast stream mix isn’t showing up for me anymore