Advertisement
Table of Contents
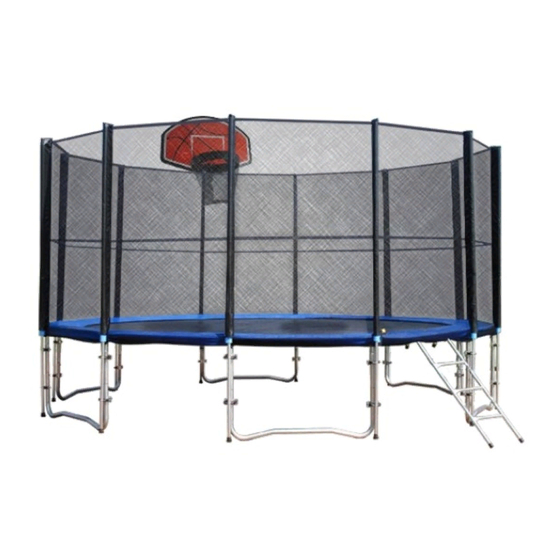
Internal Spring Trampoline
User Manual
[Revision 3.0 January 2018]
READ THIS MANUAL CAREFULLY BEFORE USE – FAILURE TO DO SO MAY RESULT IN INJURY,
PROPERTY DAMAGE AND MAY VOID WARRANTY. • KEEP THIS MANUAL FOR FUTURE REFERENCE.
• Products covered by this manual may vary in appearance, assembly, inclusions, specifications, description
and packaging.
E&OE
©2018 Upshot
Advertisement
Table of Contents

Subscribe to Our Youtube Channel
Summary of Contents for Upshot Internal Spring Trampoline
- Page 1 Internal Spring Trampoline User Manual [Revision 3.0 January 2018] READ THIS MANUAL CAREFULLY BEFORE USE – FAILURE TO DO SO MAY RESULT IN INJURY, PROPERTY DAMAGE AND MAY VOID WARRANTY. • KEEP THIS MANUAL FOR FUTURE REFERENCE. • Products covered by this manual may vary in appearance, assembly, inclusions, specifications, description and packaging.
-
Page 2: Safety
Internal Spring Trampoline Safety Safe use of a trampoline requires adequate knowledge of technique, as well as actions to avoid. • Trampolines may propel users to unaccustomed heights and into a variety of body movements – it is the responsibility of the owner of the equipment to ensure that all users are familiar with rules for safe use. - Page 3 Internal Spring Trampoline Table of Contents Safety ..............................2 Parts Identification ..........................4 Assembly ............................5 Anchoring the Trampoline ........................ 8 E&OE ©2018 Upshot...
-
Page 4: Parts Identification
Internal Spring Trampoline Parts Identification NOTE: Depending on the size of the trampoline, the parts may come in one or more cartons – 8' and 10' models – 1 carton; 12' models – 2 cartons; 14' and 16' models – 3 cartons. -
Page 5: Assembly
Internal Spring Trampoline Assembly Do NOT attempt to use the equipment until it has been fully assembled according to instructions. Failure to fully and properly assemble the equipment may render its use dangerous and will void any warranty. • Secure the trampoline to a flat solid surface with pegs or sandbags. - Page 6 Internal Spring Trampoline Fitting the Spring Padding and Safety Net 10. Unroll the spring padding and place it over the springs, then fold the outer flap of the spring padding over the frame tubes. 11. Loosely tie the elastic straps under the spring padding to the springs, then fold the outer flap of the spring padding over the frame tubes.
- Page 7 Internal Spring Trampoline 18. Carefully raise a safety net pole so it is vertical, and bring it up against the trampoline leg (I). The bottom of the pole should be resting on the ground. 19. Attach the safety net pole to the trampoline leg using 2 pole clamps. Each clamp should be placed at the bottom and the top of the leg, respectively (J).
-
Page 8: Anchoring The Trampoline
Internal Spring Trampoline Anchoring the Trampoline Using anchors may not fully secure the trampoline during use or in strong winds, but may reduce the possibility of movement. • Before installing anchor stakes, be sure that there are no underground utilities such as electrical, gas, water etc where the stakes are to be installed. • Anchors may vary in appearance from those shown in this manual. - Page 9 ©2018 Upshot. All rights reserved. No part of this document, including descriptive content, concepts, ideas, diagrams or images may be reproduced or transmitted in any form or by any means, electronic or mechanical, including photocopying, scanning or recording, or any information storage and retrieval system, without express permission or consent from the publisher.
Need help?
Do you have a question about the Internal Spring Trampoline and is the answer not in the manual?
Questions and answers