Advertisement
Quick Links
Download this manual
See also:
Operator's Manual
—
Smart
®
Quick Start Guide
A short guide to familiarize you with your new
Smart
Tool + and mobile app.
®
For more information on safety warnings and proper use, read and
understand the operator's manual supplied with the tool
Tool +
Transfer
.
1
Intro
Scan
Review
Upload
Advertisement

Summary of Contents for ABB Smart Tool +
- Page 1 Intro Scan — Transfer Smart Tool + ® Quick Start Guide Review A short guide to familiarize you with your new Smart Tool + and mobile app. ® For more information on safety warnings and proper use, read and Upload understand the operator’s manual supplied with the tool...
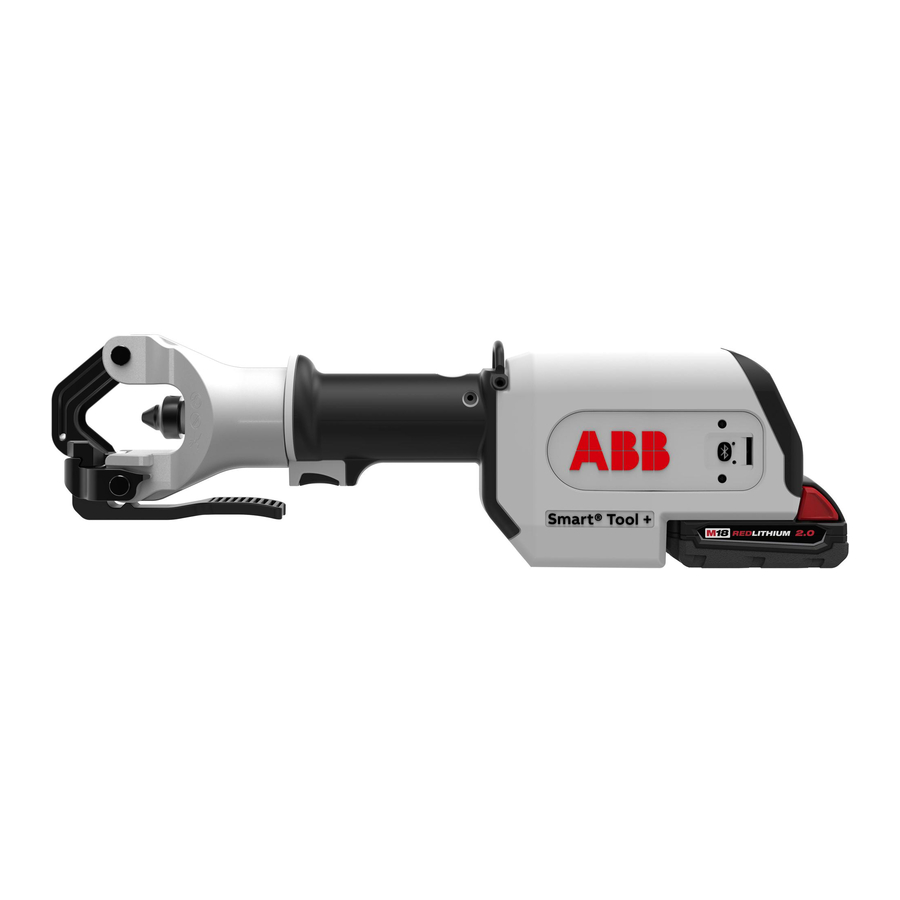
- Page 2 Crimping head Coin cell battery cover Trigger Wake/scan button — — — — Backup release valve Scanning location Head release lever Cu/Al selection button — — — — Hanger LED work light Crimping indicators Connector size selector — — — Bluetooth indicator Handle Display...
- Page 3 — Familiarize yourself with Smart Tool + ® Intro There’s no room for doubt when attaching lugs to cables in power critical scenarios. You need the right fit with a secure crimp, and you need to be able to prove it. Smart Tool + delivers a perfect ®...
- Page 5 — Making a crimp Intro Smart™ Connector • Scan Smart™ Connector under RFID scanning location • Tool will recognize lug and display connector size • Insert and position properly stripped conductor into connector • Place connector in crimp head • Jog trigger until connector is tightly in place and Red indicator flashes •...
- Page 6 — — Figure 01 Figure 02 — — Figure 03 Figure 04...
- Page 7 — Transfer crimps Transferring data from Smart Tool + ® Intro to your device • Select Setup to specify tool (Figure 01) • Select Data Exchange on the selection bar (Figure 02) • Select your preferred transfer option (Figure 03): Transfer the last crimp (just one) Scan...
- Page 8 — — — Figure 05 Figure 06 Figure 07 — — — Figure 08 Figure 09 Figure 10...
- Page 9 — Reviewing crimps Viewing data Intro • Select job site (Figure 05) • Select crimp to review from crimp list (Figure 06) Note: If no crimp data is available, data can be transferred from the tool or downloaded from the cloud (if previously uploaded to the cloud.) Scan —...
- Page 10 — — Figure 11 Figure 12 — — Figure 13 Figure 14...
-
Page 11: Uploading Data
— Uploading data Uploading your crimp data to the cloud server Intro Installers, supervisors, and system administrators can all upload crimp data to the cloud. All data in the mobile app’s active memory will be uploaded. • Establish an internet connection Scan •... - Page 12 — go.abb/smarttool © Copyright 2018 ABB. All rights reserved. Specifications subject to change without notice.


Need help?
Do you have a question about the Smart Tool + and is the answer not in the manual?
Questions and answers