Table of Contents
Advertisement
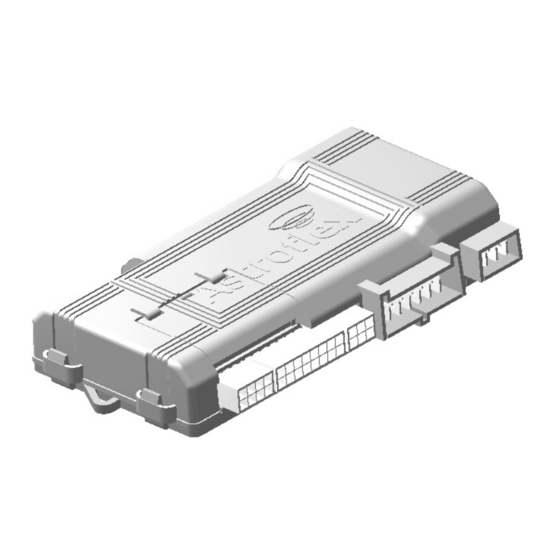
REMOTE CONTROL
ENGINE STARTER
INSTALLATION MANUAL
XRT - BBK - BBF - BBU - BBW
CONTROL MODULES
FOR ALL
GAS, DIESEL
AND HYBRID
POWERED VEHICLES
THIS PRODUCT MUST BE INSTALLED
BY A QUALIFIED INSTALLER.
When this product is installed in a manual transmission vehicle,
the installation must be done with a manual interface
(not included - No. RS-MI).
(Instructions en français au verso)
PATENT NUMBERS
CAN 1.130.426
USA: 4.345.554 - 5.614.883
5.617.819 - 5.673.017
AND OTHER PATENTS PENDING
All rights reserved
© Astroflex Electronics 2007
August 2007
IBRSS5224
Advertisement
Table of Contents


Need help?
Do you have a question about the XRT and is the answer not in the manual?
Questions and answers