Table of Contents
Advertisement
Quick Links
Advertisement
Table of Contents

Summary of Contents for CRU RAX425DC-XJ
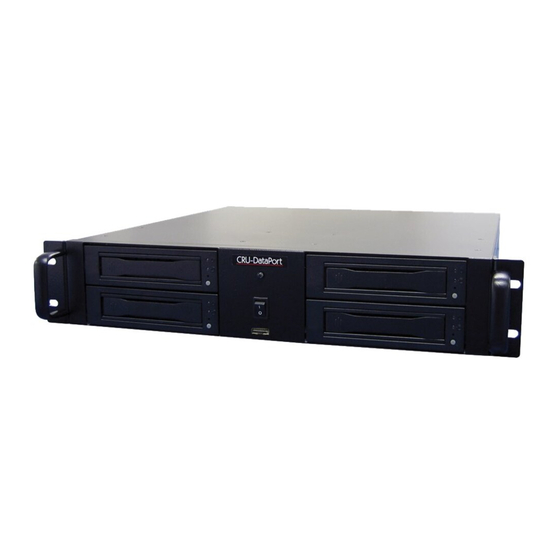
- Page 1 RAX425DC-XJ User Manual Features • Quick ingestion or duplication of DCP • Accepts up to four CRU DX115DC carriers ® • Rugged and reliable all-metal construction • Auto Start feature powers up the drive carrier seconds after insertion without having to push the power button...
-
Page 2: Table Of Contents
1.4 Warnings and Notices 2 Installation Steps 2.1 RAX425DC-XJ Setup 2.2 Drive Installation 3 Operating Your RAX425DC-XJ 4 Usage with Windows and macOS Operating Systems 4.1 Usage with Windows Operating Systems 4.1.1 Format a Drive 4.1.2 Mount and Unmount Volumes 4.2 Usage with macOS... -
Page 3: General Information
RAX425DC-XJ User Manual 1 General Information 1.1 Package Contents The following list contains the items that are included in the complete configuration for this device. Please contact CRU if any items are missing or damaged. Item Quantity RAX425DC-XJ Enclosure Power Cord... -
Page 4: Led Behavior
General Care • The main circuit board of the RAX425DC-XJ enclosure is susceptible to static electricity. Proper grounding is strongly recommended to prevent electrical damage to the enclosure or other connected devices, including the computer host. Avoid all dramatic movement, tapping on the unit, and vibration. -
Page 5: Installation Steps
Reattach the carrier cover and secure it using the two screws you removed in Step B. 3 Operating Your RAX425DC-XJ Slide up to four DX115DC drive carriers into the RAX unit, then push each carrier handle in until it clicks into place. -
Page 6: Usage With Windows And Macos Operating Systems
RAX425DC-XJ User Manual 4 Usage with Windows and macOS Operating Systems 4.1 Usage with Windows Operating Systems 4.1.1 Format a Drive When you first mount a drive to a Windows operating system, a pop-up window will ask you if you would like to format it. Click Format Disk and skip to Step E in the instructions for your operating system below. - Page 7 RAX425DC-XJ User Manual Click Next and then Finish to start the format process. When the format is complete, the Drive Properties Box will update to show the new volume name. The new volume can now be found by opening a File Explorer window and clicking on This PC in the navigation pane to the left.
-
Page 8: Mount And Unmount Volumes
RAX425DC-XJ User Manual d. Unless you wish to customize the settings in these dialog prompts, click Next on the Select Partition, Specify Volume/Partition Size, and Assign Drive Letter or Path dialog prompts, leaving the default settings. e. Choose NTFS from the file system selection window that appears and enter a name for the new volume. -
Page 9: Usage With Macos
RAX425DC-XJ User Manual If your host does not support hotswapping, you may download a third-party utility or follow these instructions: Ensure no file transfers are taking place and make sure the carrier’s Drive Activity LED is not blinking, as ejecting the drive carrier while a file transfer is in progress can result in data loss. -
Page 10: Mount And Unmount Volumes
5 Frequently Asked Questions Q: Does my 4-bay RAX unit support RAID? A: The RAX425DC-XJ only supports JBOD functionality. However, the drives can be RAIDed in software, or the RAX enclosure can be attached to a RAID host bus adapter (HBA) for hardware RAID functionality. - Page 11 RAX425DC-XJ User Manual The first thing to try is restarting both the computer and the external device. If the data is still cor- rupted, try running built-in operating system utilities (such as macOS’s Disk Utility First Aid) on the drive volume. For best results, boot your computer with a macOS Installation CD and launch Disk Utility from the CD.
-
Page 12: Technical Specifications
CRU or its suppliers be liable for any costs of procurement of substitute products or services, lost profits, loss of information or data, computer mal- function, or any other special, indirect, consequential, or incidental damages arising in any way out of the sale of, use of, or inability to use any CRU product or service, even if CRU has been advised of the possibility of such damages.
Need help?
Do you have a question about the RAX425DC-XJ and is the answer not in the manual?
Questions and answers