Advertisement
Specifications, Installation and Operating
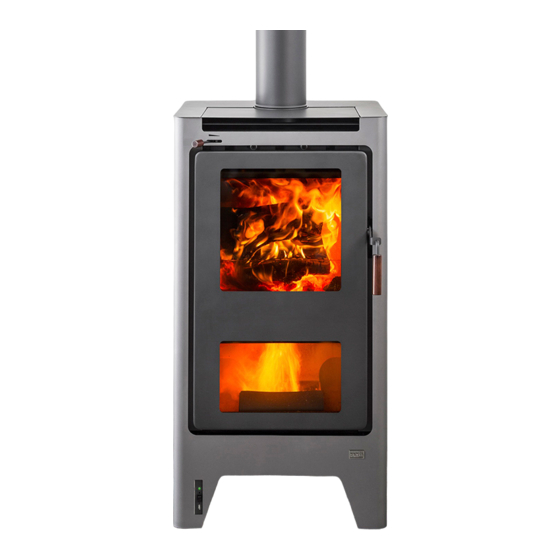
FERVA Saturn - Ultra Low Emission Burner
KEEP THESE INSTRUCTIONS FOR FUTURE REFERENCE
Proudly Manufactured By:
Instructions for the:
Saturn
Harris Home Fires
41 Braddon St
Addington
Christchurch 8024
New Zealand
Email sales@hhf.co.nz
Issued: October 2018 V1.34
P O Box 4043
Christchurch 8140
New Zealand
Phone 03 366 1796
Freephone 0800 3661796
Fax 03 366 1795
USB
1
Advertisement
Table of Contents

Related Manuals for Harris FERVA SATURN

Summary of Contents for Harris FERVA SATURN
- Page 1 Issued: October 2018 V1.34 Specifications, Installation and Operating Instructions for the: FERVA Saturn - Ultra Low Emission Burner Saturn KEEP THESE INSTRUCTIONS FOR FUTURE REFERENCE Proudly Manufactured By: Harris Home Fires P O Box 4043 41 Braddon St Christchurch 8140...
-
Page 2: Testing And Certification
• Do not use the fire if there is a malfunction, a suspicion of breakage or unusual noises. Contact your nearest Ferva dealer or Harris Home Fires. • This appliance should be operated & maintained at all times as per instructions given in this manual. - Page 3 Dimensions Fig 1.
- Page 4 Minimum Safe Installation Clearances to COMBUSTIBLE Materials Technical Requirements Floor protector: Ash Hearth, any non-combustible material of any thickness Flue Shield: None Reducing Clearances The ‘rear clearance’ (100mm) and the ‘flue centre to rear wall’ (327mm) can be safely reduced to 65mm and 292mm respectively, without the use of a heat shield as described in AS/NZS 2918:2001.
- Page 5 Installation Instructions We recommend this appliance be installed by a trained and NZHHA qualified installer. Warning: the appliance and flue system shall be installed in accordance with AS/NZS 2918 and the appropriate requirements of relevant building code/codes. Warning: appliances installed in accordance with this standard shall comply with the requirements of CM1.5 where required by the regulatory authority, i.e.
-
Page 6: Installation Instructions
HeatSaver Flue Kit Installation INSTALLATION INSTRUCTIONS • This HeatSaver flue system is tested and certified to AS/NZS 2918:2001 Appendix F, which means it is approved for use on all solid fuel appliances with a flue diameter of 150mm. • A copy of the Laboratory Test Certificate for this HeatSaver Flue System is included as part of these Installation Instructions, (refer to paperwork with flue kit). - Page 7 HeatSaver Flue Kit Installation Flue Shield: None required...
- Page 8 HeatSaver Flue Kit Installation...
- Page 9 HeatSaver Flue Kit Installation...
- Page 10 Columbia Cowl...
- Page 11 HeatSaver Flue Kit Installation...
-
Page 12: Lighting Procedure
Lighting Procedure Because a downdraft fire operates differently from a traditional fire, it is important to follow these steps to ensure the fire will operate as intended and to ensure a clean and efficient light up. What you will need: •... - Page 13 Lighting Procedure Step 2. Light the kindling wood Light the 2 fire lighter cubes and immediately push the door to a ‘cracked open’ position Leaving the door in the ‘cracked open’ position, is a very important part of the start up process. In this position, the door should not be fully closed.
- Page 14 Lighting Procedure 5 mins Step 4. Place ‘Intermediate load 2’ into the fire After approximately 5 minutes, place the 4 pieces of medium wood (intermediate load 2) into the fire and return the door to the cracked open position. 6 mins Step 5.
-
Page 15: Normal Operation
Your appliance should be reloaded when the previous load has burned down to red embers. The Ferva Saturn is design to be reloaded in a similar way to traditional fires, simply open the door, place the logs in an appropriate position and close the door. -
Page 16: Cleaning And Maintenance
Cleaning and Maintenance Removal of Ashes from fire Step 1. Step 2. Remove Crucible Cap Using an appropriate tool, scrape ashes down the centre hole Step 3. Step 4. Open bottom door and remove ash tray Return the fire to its normal configuration and safely dispose of ashes Disposal of Ashes Ashes should be placed in a metal container with a tight-fitting lid. -
Page 17: Caring For Your Fire
If any scratches occur, you can easily touch up the fire with an aerosol can of matching paint. This is available from your retailer or Harris Home Fires. Cleaning the Flue Keeping your flue clean is important. We recommend that you have your chimney swept at least once a year. - Page 18 Consumables Crucible Parts Crucible Cap Crucible Tube Centre Baffle Ash Tray...
- Page 19 Consumables Fire Bricks...
-
Page 20: Creosote Formation
Creosote Formation A small intense fire is preferable to a large smouldering one, to reduce the amount of creosote. When wood is burned slowly it produces tar and other organic vapours, which combine with expelled vapour to form creosote. These creosote vapours condense in the relatively cool flue of a slow burning fire. -
Page 21: Useful Tips
Useful Tips Get the most out of your fire Tips for lighting the fire Use finely cut, dry kindling wood. • Firelighter cubes or gel work best when ensuring ignition of the kindling. • Cross stack kindling over and around fire lighter like a small tower. •... - Page 22 Operating Instructions for the Thermoelectric Generator (TEG) Your TEG is designed to automatically turn on when the fire is in use and will auto- matically turn off once the fire has cooled down. There is no on/off switch. The fan has 2 settings. (I) Low or quiet setting (switch down) (II) High setting (switch up) Adjust the fan speed to suit your needs.
-
Page 23: Troubleshooting
Trouble Shooting My fire won’t turn down The first thing to be aware of is that some new clean air fires do not shut down like old fires. Old fires used to shut all the way off and the wood would just smolder. Other reasons for this problem may be: •... - Page 24 If a part defect occurs, return the part to the retailer or directly to Harris Home Fires along with a copy of the retailers receipt and the part will be replaced at no cost.
Need help?
Do you have a question about the FERVA SATURN and is the answer not in the manual?
Questions and answers