Advertisement
Quick Links
Advertisement

Related Manuals for Oaxis InkCase i5

Summary of Contents for Oaxis InkCase i5
- Page 1 InkCase For iPhone 5 / 5S Quick Start Guide...
-
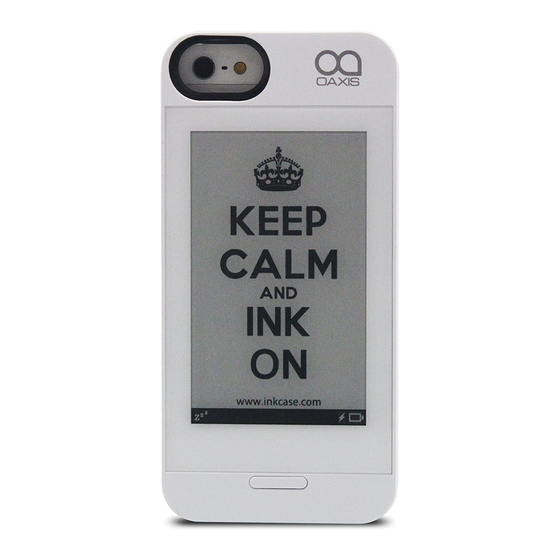
Page 2: Parts And Control
Product Introduction Parts and control E-ink Display Power button / Page button Micro USB port ( for charging ) - Page 3 User Manual Connection Align one side of the iPhone 5 / 5S with one side of the Inkcase i5, then align the other sides and press down until the iphone is seated correctly, as the below figure shown: Charging the InkCase i5...
-
Page 4: Getting Started
3 seconds to turn on InkCase i5. It may take a few moments for reader to turn on and load the content. If InkCase i5 does not be turn on, charging is required. To turn off Inkcase i5, press and hold the Power button for 3 seconds again. - Page 5 When you have successfully downloaded the InkCase apps, please install them into your smart phone. Temporarily, Inkcase i5 only support InkCase Photo, but other InkCase apps will be updated later, you can access the InkCase website to get the information.
- Page 6 Using the photo list of InkCase Photo 1. Press and hold the Power / Page button for 3 seconds to turn on the InkCase i5. 2. On your smart phone, tap InkCase Photo icon to enter into photo list, then follow the...
- Page 7 User Manual Tap InkCase Photo icon to enter into photo list, tap a desired photo to be transferred.
- Page 8 User Manual Tap “Send”, then it will appear a Bluetooth connection dialog box.
- Page 9 User Manual Tap Inkcase i5 to pair with the smart phone, upon successful bluetooth connection, the photo will be automatically sent to Inkcase i5.
- Page 10 User Manual The photo is being sent. If the transfer time is more than 15 seconds, tap Back and resend it.
- Page 11 User Manual Using the camera to take photos On your smart phone, tap InkCase Photo icon, then follow the below steps to do. Tap Camera button at the top right of the screen to start taking a photo.
- Page 12 User Manual When you have successfully taken a desired photo, edit the photo by the onscreen buttons. Tap “Send”, then it will appear a Bluetooth connection dialog box , tap InkCase i5 . Rendering, Rotate, Add photo frame Add text...
- Page 13 User Manual The photo is being sent.
- Page 14 3. The picture is being sent. How to use InkCase Epireader 1. Press and hold the Power / Page button for 3 seconds to turn on the InkCase i5. 2. On your smart phone, tap InkCase Epireader icon, then follow the below steps...
- Page 15 Tap InkCase Epireader icon and open a ebook, then tap at the center of the reading page to display a option menu, select Share, tap Inkcase i5 to pair with the smart phone, upon successful bluetooth connection, the ebook will be automatically sent to Inkcase i5.
- Page 16 User Manual The ebook is being sent. If the transfer time is more than 15 seconds, tap any button to cancel it and resend it.
- Page 17 Press your iphone 5/5S volume buttons or the InkCase home/Page button to trun pages. Note: In standby mode, you can still transfer the Photo or ebook into Inkcase i5, and The InkCase i5 will go to wake up mode automatically.
-
Page 18: Troubleshooting
Tap Send button, but no bluetooth connection dialog box appears. Battery has been fully depleted. Please charge the InkCase i5 via USB or USB AC Adapter. The “Sending” is always shown on on the screen during the file transfer. It will take a few moments to send the picture... -
Page 19: Fcc Caution
User Manual FCC Caution Any Changes or modifications not expressly approved by the party responsible for compliance could void the user’s authority to operate the equipment. This device complies with part 15 of the FCC Rules. Operation is sub ect to the following two conditions: (1) This device may not cause harmful interference, and(2) this device must accept any interference received, including interference that may cause... - Page 20 User Manual Reorient or relocate the receiving antenna. Increase the separation between the equipment and receiver. Connect the equipment into an outlet on a circuit different from that to which the receiver isconnected. Consult the dealer or an experienced radio/TV technician for help.