Advertisement
Quick Links
Advertisement

Related Manuals for Pyramid 6400


Summary of Contents for Pyramid 6400
-
Page 1: User Manual
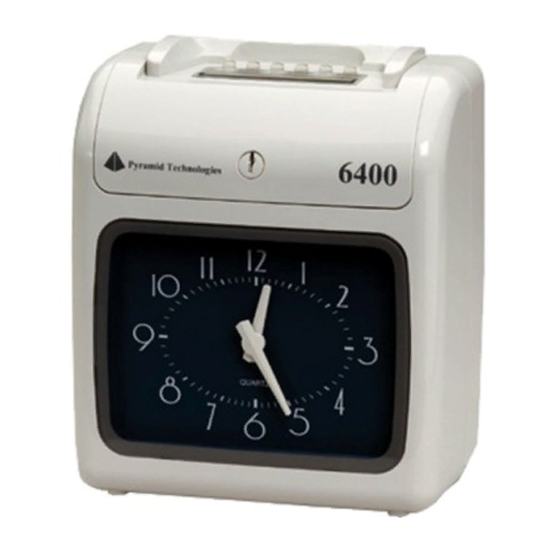
888 534-5994 6400 USER MANUAL... - Page 2 If you are running the 6400 Time Recorder, the feature number will be located in the center of the upper portion of the display screen, which is located at the top of the screen.
- Page 3 Setting the Current Date - 02 The feature number should be flashing the number 02. (If the correct level is not flashing, use the + or – button to change the number to the correct level.) Press the Enter button. Use the + or –...
- Page 4 Setting the Card Format - 05 The options for this function are 00 or 01, it is recommended to only use the 00 option. This option matches the cards you will be using. The Function Code should be flashing the number 05. (If the correct level is not flashing, use the + or –...
- Page 5 The feature number should be flashing the number 08. (If the correct level is not flashing, use the + or – button to change the number to the correct level.) Press the Enter button. The first two digits will be flashing. These digits represent the vertical positioning in the box on the time card (ie: up or down).
-
Page 6: Advanced Features
Press the Enter button to lock in those digits and continue with the next set-up stage. Your Pyramid 6000 series recorder is now set-up and ready to use. You may now either slide the Setup switch to the left and begin using your recorder in the manual mode or else keep the Setup switch in the right position and move on to the following ADVANCED FEATURES section. - Page 7 The Setup switch must be in the right hand position. Press the Column button. The feature number should be flashing the number 01. (If the correct level is not flashing, use the + or – button to change the number to the correct level.) Press the Enter button.
- Page 8 Step 3 - Making changes to already programmed features Slide the Setup switch to the right (setup mode). Use the + or – buttons to select the feature number you wish to change. Reference the numbers next to each feature setup. Follow the instructions for the given feature setup.
- Page 9 The number 02 should be flashing. To set up additional color time change, press the Enter button and go back to Step 4 to set up additional color time changes. If you wish to exit at this point, slide the Setup switch to the left. Step 6 - Setting the alarm This function allows an “alarm”...
- Page 10 Changing the Print Ribbon Remove the cover from the recorder. Pull white hold tabs back, away from the cartridge. Lift the ribbon cartridge up and out of the recorder. Place the new cartridge in with the ribbon advance knob facing upward. Snap cartridge down until white hold tabs click over the cartridge.
- Page 11 Supplies and Optional Accessories Supplies and optional accessories for the Pyramid 6000 series are available at most office supply stores. Item No. Description 14173 Time Cards 6000R 2-Color Print Ribbon Limited Warranty The manufacturer warrants this equipment to the original user against defective material or workmanship for a period of 1 year from the date of purchase.
- Page 12 Specifications Operating Conditions Temperature –10C to 40C, (14F to 104F) Power Failure Battery Back-up of data and time for 30 days Battery life 3 years, Li-Cd Rechargeable (optional) 2 years Calendar Automatic Leap Year Daylight Savings Time (Programmable in set-up process) Year up to 2099 Clock Accuracy Less than 10 seconds per month...
Need help?
Do you have a question about the 6400 and is the answer not in the manual?
Questions and answers