
Subscribe to Our Youtube Channel
Related Manuals for HIVILUX TXN Series

Summary of Contents for HIVILUX TXN Series
-
Page 2: Safety Guide
TO THE OWNER Thank you for purchasing our quality screen uses excellent matte white fabric and mechanical components to give you trouble free enjoyment for years. Please read this specification detailedly before installation and usage. Design and specifications are subject to change without notice. SAFETY GUIDE 1. - Page 3 ACCESSORIES...
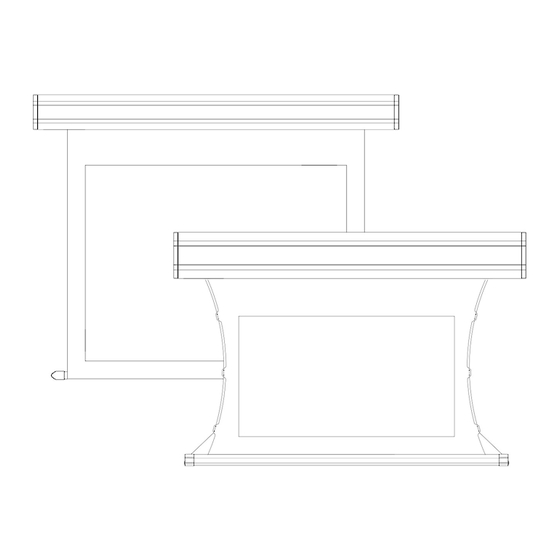
- Page 4 ASSEMBLING A. Wall Mounting/Ceiling Mounting Looseing the screw...
- Page 5 Adjust screen at the suitable place Tighten the Screw NOTE: Please keep the screen casing and assembing plates in horizontal direction and install firmly.
- Page 6 ADJUSTMENT AND USAGE Indicator Remote Handset Light Charging port A. Code Learning: Stop I. Pressing the LEARNING button at the end cap of screen for 3-5sec to make screen up and Down down once. II. Press the UP button of Remote Handset for 3-5 sec to make screen up and down again.
- Page 7 Screen Flatness L/T: LEFT Tension R/T: RIGHT Tension BWT: Bottom Weight Bar...
-
Page 8: Control Methods
CONTROL METHODS 868 MHz Inner Wireless Control 868 MHz inner wireless control system can be connected to RS 485 control , DC central control (DC5V-12V)and manual control. This device applicable to multivoltage(AC110V- 240V) Learning button DC/manual control port/RS485 port AC port AC110V~240V Synchronizer(optional) S Y N CH RO NI ZA TI ON T R IG GE R... - Page 9 NOTE: For your safety, live line(L) control screen up and down, concentric line is neutral line(N). AC central control can't be connected to receiver board. DC Central Control Circuit Diagram Black(up) DC central Green(down) control Yellow(common wire) FAULT ANALYSIS AND REMOVAL A.
- Page 10 If the pull wire is broken in the using process, please deal with it as following: A.If the lower end of pull wire is broken, please handle it as following: Ⅰ. Remove the fixed Ⅲ. Pull the knob out and Ⅱ.
Need help?
Do you have a question about the TXN Series and is the answer not in the manual?
Questions and answers