Advertisement
Quick Links
Contents
Contents
4ft 11" - 11ft 6" Awnings
8 x Expansion bolts **
2 x Wall brackets
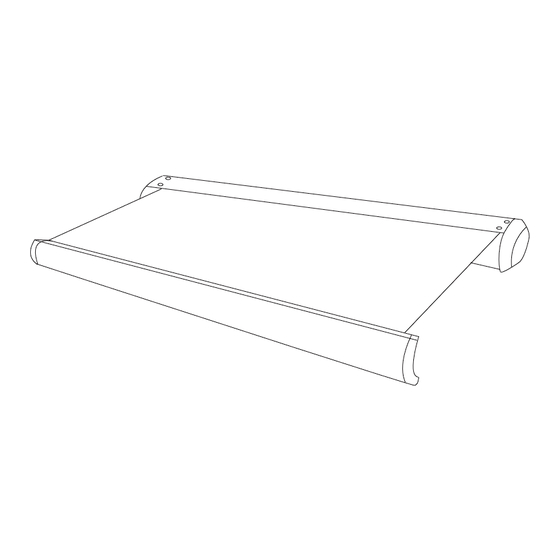
1 x Awning
1 x Winder
11ft 6" - 16ft 5" Awnings
12 x Expansion bolts **
3 x Wall brackets
1 x Awning
1 x Winder
Suggested Tools
- Hammer drill
- 14mm masonry drill bit
- Chalk or pencil to mark
- Laser level or long spirit level
- Metric socket spanner set
- Adjustable spanner
Awnings USA Installation Instructions
Awnings USA - Full Protective Hood Manual Instructions
Warning
We recommend that two or more people are
required to lift the awning into place.
The awning and frame may be supplied with a
plastic wrapper. This should be removed prior
to use.
Plastic bags can be dangerous to children and
babies. Keep out of the reach of babies and
children to avoid the risk of suffocation.
Before assembly, check that all parts are
contained within the box. If any parts are found
to be damaged or missing, please telephone
our customer service hotline:
1-646-918-8055
www.awnings-usa.com
**The expansion bolts supplied are for
reinforced concrete or brick walls.
The awnings may be installed on wooden walls
if the wall is sufficiently strong. Use appropriate
screw-threaded or coach bolts.
1
Advertisement

Summary of Contents for Awnings USA 4ft 11" - 11ft 6" Awning
- Page 1 Awnings USA - Full Protective Hood Manual Instructions Contents Contents Warning We recommend that two or more people are required to lift the awning into place. 4ft 11" - 11ft 6" Awnings The awning and frame may be supplied with a plastic wrapper.
- Page 2 Using laser, spirit level or other method, mark an accurate horizontal line at the required height. Fixing must be directly into brick or concrete. Mortar joints between the bricks or blocks will NOT be secure enough to bolt into. Awnings USA Installation Instructions...
- Page 3 Step 2: Drill holes Expansion bolt Install the wall brackets below each arm attachments for maximum support. To view the arm attachments, manually extend the awning with the manual winder just enough to view the arm attachments inside the full cassette. 2.
- Page 4 Step 3: Attach the brackets Wall bracket 1. Remove the nut and one of the washers from the expansion bolts that are now on the walls. 2. Fit bracket into place over wall bolt. Slide the remaining washer and nut then tighten with a socket spanner.
-
Page 5: Correct Installation
Step 5: Levelling the front bar - Adjust the angle Fabric Feed Note: Ensure the fabric is feeding from the top as shown The awning is usually supplied with the most ideal pre-set angle of tilt. When fully opened, the front bar should be level. - Page 6 Step 6 : Limit C ontrol Guarantee Can I control how far out the awning opens? This awning is guaranteed against faulty parts and workmanship for one year from the date of delivery. Faulty parts will be replaced or exchanged within that Manual awnings period.
- Page 7 Step 7 : General care & precautions Contact Us Primrose , Once the awning is installed, it is important to note how to properly care for the components, to make your awning work as long and efficiently as it can. A2B Fulfillment 150 Stewart Parkway The awnings are constructed from weather resistant powder-coated metal and hard-wearing polyester fabric, and...
- Page 8 It will also stop automatically when fully retracted. If you wish you can position the awning at any point between max extension and fully retracted by pressing the button while the awning is extending or retracting. Awnings USA Installation Instructions...
Need help?
Do you have a question about the 4ft 11" - 11ft 6" Awning and is the answer not in the manual?
Questions and answers