Advertisement
Quick Links
Advertisement

Subscribe to Our Youtube Channel
Related Manuals for CP Plus CP-VTA-T2124-CR

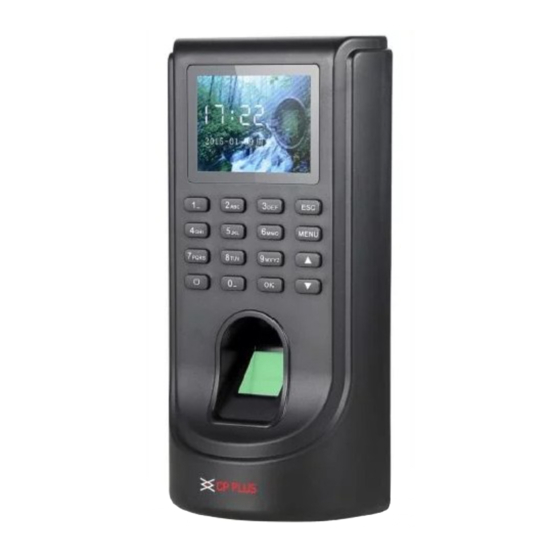
Summary of Contents for CP Plus CP-VTA-T2124-CR
- Page 1 Quick Start Guide Hardware Installation CP-VTA-T2124-CR Version 1.01...
- Page 2 Quick guide for hardware installation Step:-1 Hardware Installation Step:-1.1-> First we have to open Back plate from the device, after that we have to fix it on the wall with three screws Step:-1.2 -> After fixing of the back plate on the wall “we have to tighten the screw on device with back plate in bottom side.
- Page 3 Step: - 2 Power On device with following connection. Connect the power plug with the power connectors provided at the back side of the device then machine will start, and if you want to connect EM Lock and Exit button then you can follow the below wiring diagram for the same.
- Page 4 Step:-3 How to enroll finger print in the device. Step:-3.1-> Press “Menu” button then go to “Register”. Step:-3.2-> Then select “New Reg” then Press “OK” button on the device.
- Page 5 Step:-3.3-> Enter your employee ID no. Step:-3.4 -> Now, go to 3 option “Finger”, and click on Unset for registering your finger. Now, Place your any 1 finger 3 times at the “sensor” (scanner). Then press “ESC” button on the device for saving the fingerprint.
- Page 6 Step:-3.5-> How to enroll “Proximity card in device.” Go to the 3 option “Card”, and click on Unset for registering your card. Now, show your any 1 card at the “sensor” (scanner). Step: - 4 Communication Management. How to connect device with CP-tams Software. Step:-4.1 ->...
- Page 7 Step: - 4.2-> Then select “Ethernet option” Step: - 4.3-> Put your Local “LAN IP address” and press “OK” Button on the Device...
- Page 8 Step:->5 Verifying Machine ID. After Configuring IP address we have to check Machine ID. Of the Device Step:-5.1-> You have to Press “Menu” on the device then select “Advanced Option”...
- Page 9 Step: - 5.2-> After that we have select “Machine ID”. We need to make sure that the Machine id is same in the device as well as in CP-TAM software. After selecting machine ID you can connect device with CPTAMs software.
- Page 10 Website: - www.cpplusworld.com Email id: - sales@cpplusworld.com; support@cpplusworld.com...
Need help?
Do you have a question about the CP-VTA-T2124-CR and is the answer not in the manual?
Questions and answers