
Related Manuals for HELIX DSP PRO MK2


Summary of Contents for HELIX DSP PRO MK2
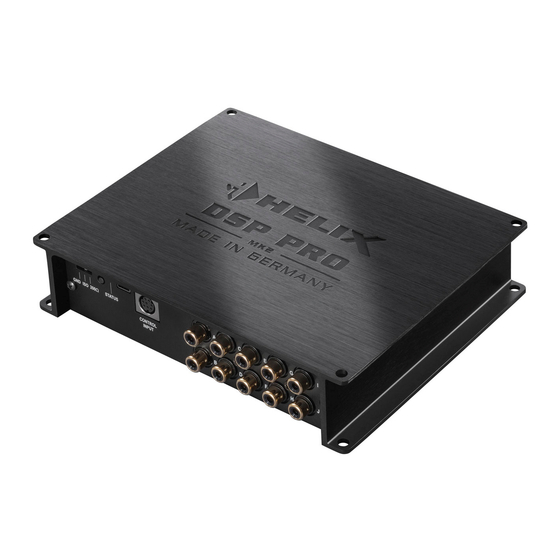
- Page 1 DSP PRO Digitaler High-Res 10-Kanal Signalprozessor mit 96 kHz / 32 Bit Signalweg Digital High-Res 10-channel signal processor with 96 kHz / 32 Bit signal path...
- Page 2 HELIX dealer. ally available Easy Plug Cable for connection Install your HELIX DSP PRO MK2 in a dry location of the HELIX DSP PRO MK2. The use of other cables can result in damage of the signal pro- equipment.
- Page 3 Clipping LED This LED lights up red if one of the analog inputs is overdriven. Ground lift switch USB input Connects the HELIX DSP PRO MK2 to your between the grounding of the inputs and outputs. Control Input Control pushbutton Multifunction interface for e.g.
- Page 4 If this LED lights up reduce the input sensitivity by using the internal trim potentiometers until the LED The ground of the HELIX DSP PRO MK2 signal in- goes out (item 3 page 20; “Adjustment of the input puts is galvanically decoupled from the ground of sensitivity”).
- Page 5 Status LED. Pressing the of the Status LED. Attention: After erasing the setups from memory the HELIX DSP PRO MK2 will not reproduce any audio output. 9 Status LED The Status LED indicates the current active DSP setup. Green means that setup 1 is load ed, orange dicates that no setup is loaded.
- Page 6 5 V 10 V* 10 V 20 V Channel G & H: RCA / Cinch 250 mV 500 mV 2 V 4 V* 2 V 4 V Fig. 2 Fig. 3 * Ex factory adjustment of HELIX DSP PRO MK2...
- Page 7 Installation Connection of HELIX DSP PRO MK2 to the head unit / car radio: Attention: It is mandatory to properly adapt the input sensitivity of the DSP PRO MK2 to Caution: Carrying out the following steps will re- the signal source in order to avoid damage quire special tools and technical knowledge.
- Page 8 HELIX DSP PRO MK2! sensitivity range by repositioning the jumper Solely use the included screw-type terminal to connect the HELIX DSP PRO MK2 to a pow- only have an effect on the highlevel inputs! er supply. Make sure of correct polarity. The 6.
- Page 9 DSP PC-Tool software be- time. Ignoring this advice may result in damaging the mation about connecting the DSP PRO MK2 to a computer can be found on page 24. 9. Connecting the remote output This output (Remote out) is used to supply re-...
- Page 10 To simplify installation to an OEM or aftermarket 4. Please note when connecting the power sup- radio the HELIX DSP PRO MK2 can also be con- ply the permanent and switched 12 Volts wires nected using the optional Easy Plug Cable (EPC 5) may be reversed depending on vehicle type.
- Page 11 In the following the most important steps how to tings in the DSP PC-Tool software have been made. Especially if the DSP PRO MK2 will be used in fully 1. Download the latest version of the DSP active applications, a wrong setup can destroy your PC-Tool software (available on our website speakers right away.
- Page 12 AUX input or an USB audio input. To install a HELIX Extension Card it is necessary to remove the side panel of the DSP PRO MK2 and replace it by the new side panel that comes with the HEC module.
- Page 13 Only the implementation of the lat- est DSP chip generation allows raising the sampling to the HELIX DSP PRO MK2 once there’s no input rate to 96 kHz and adding new features plus addi- tional channels at the same time.
- Page 14 Technical Data Inputs ................8 x RCA / Cinch 8 x Highlevel speaker input 1 x Optical SPDIF (12 - 96 kHz) 1 x Coax SPDIF (12 - 192 kHz) 1 x Remote In Input sensitivity ..............RCA / Cinch 2 - 4 Volts Highlevel 5 - 10 or 10 - 20 Volts Outputs ................10 x RCA / Cinch 1 x Remote Out...
- Page 15 Audiotec Fischer GmbH Hünegräben 26 · 57392 Schmallenberg · Germany Tel.: +49 2972 9788 0 · Fax: +49 2972 9788 88...
Need help?
Do you have a question about the DSP PRO MK2 and is the answer not in the manual?
Questions and answers