
Subscribe to Our Youtube Channel
Related Manuals for Belkin F5U210

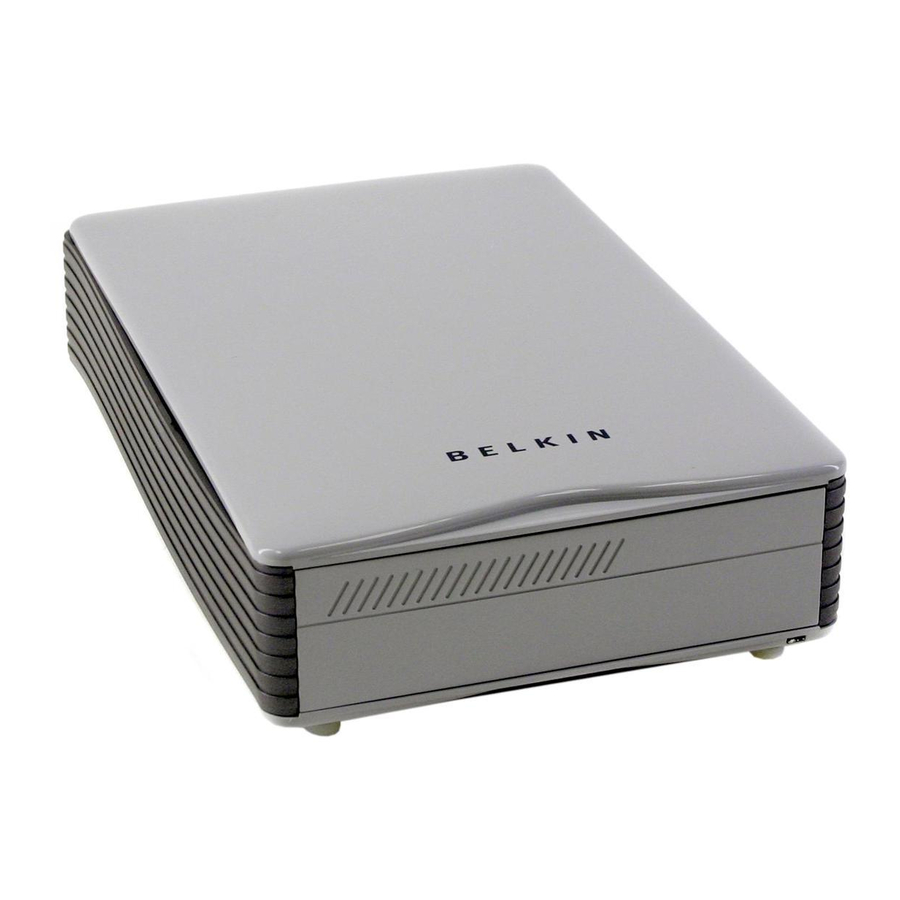
Summary of Contents for Belkin F5U210
- Page 1 Hi-Speed USB 2.0 & FireWire External Drive Enclosure Kit Create a portable high-speed storage device for your computer, instantly User Manual F5U210...
-
Page 2: Table Of Contents
TABLE OF CONTENTS Introduction ........1 Overview . -
Page 3: Introduction
INTRODUCTION Congratulations and thank you for purchasing the Hi-Speed USB 2.0 & FireWire External Drive Enclosure Kit from Belkin. Your new Drive Enclosure incorporates the amazing speed and flexibility of both the Hi-Speed USB 2.0 (Universal Serial Bus 2.0) and IEEE 1394a (FireWire) interfaces in one compact storage device. -
Page 4: Overview
OVERVIEW System Requirements Hardware: Notebook or desktop computer with a USB 1.0 port, a Hi-Speed USB 2.0 port, or an IEEE 1394 FireWire port. Operating System: Windows® 98 SE, Me, 2000, or XP... -
Page 5: Assembling Your Drive Enclosure
ASSEMBLING YOUR DRIVE ENCLOSURE 1. Remove top of drive bay enclosure. 2. If you are installing a 3 -inch hard drive, check to make sure your drive is set to “Master” (see jumper setting information printed on top of your disk drive), then connect the 34-position data cable and 4-position power cable. - Page 6 ASSEMBLING YOUR DRIVE ENCLOSURE 4. Choose the set of mounting holes that match the drive you intend to use, and install at least four of the provided mounting screws. Note: There are four fine-threaded screws, and four coarse-threaded screws included with your Drive Enclosure Kit. Be sure to choose the screws that match the mounting holes for your drive.
- Page 7 ASSEMBLING YOUR DRIVE ENCLOSURE 6. Hook the first side rail around front edge of the enclosure, and press the rail into the six rectangular-shaped mounting holes on the side. 7. If you are installing a hard disk, it is necessary to install the front panel. Insert the tabs on one side of the front panel into the mounting holes in the installed side rail.
- Page 8 ASSEMBLING YOUR DRIVE ENCLOSURE 8. Insert the mounting tabs on the free end of the front panel into the second side rail, and hook the side rail onto the front of the enclosure. 9. Finish the assembly by pressing the rail into the six rectangular mounting holes in the side of the enclosure.
- Page 9 ASSEMBLING YOUR DRIVE ENCLOSURE 11. Plug the rectangular-shaped connector of the USB cable into a Hi-Speed USB 2.0 port on your computer or Hi-Speed USB 2.0 hub. You may also connect the cable to a USB 1.1 full-speed port on your computer or USB 1.1 full-speed hub.
-
Page 10: Windows 98 Se Driver Installation
WINDOWS 98 SE DRIVER INSTALLATION Using the Hi-Speed USB 2.0 Interface: Insert the installation CD in your CD-ROM drive. Open the Install CD. Run “SETUP” to install the drivers for your Hi-Speed USB 2.0 External Drive. An installer dialog box appears. Click “Next”. Select “Choose Setup Component”. - Page 11 WINDOWS 98 SE DRIVER INSTALLATION Note: If the “Unplug or Eject Hardware” icon does not appear in the system tray (located in the lower, right-hand corner of your Windows display), you may need to install the Microsoft “Storage Supplement Update”. The Storage Supplement Update is available at no charge through the Windows update website.
-
Page 12: Windows Me, 2000, Xp Driver Installation
WINDOWS ME, 2000, XP DRIVER INSTALLATION If you are plugging the external drive into your computer for the first time when using the USB interface, Windows will detect “USB 2.0 Storage Device” and install the USB mass-storage device class driver, which is built into Windows. -
Page 13: Safe Removal Of Disk From Windows
SAFE REMOVAL OF DISK FROM WINDOWS Safe Removal of the Hi-Speed USB 2.0 or FireWire Disk from Windows Windows 98 Click the green “Unplug or Eject Hardware” icon in system tray, select the device that you want to remove then click “Stop”. Note: If your drive shows up in the “My Computer”... -
Page 14: Format The Drive
FORMAT THE DRIVE Format the External Hi-Speed USB 2.0 or FireWire Drive Format under Windows 98 Boot up the computer into the Windows operating system. Plug in your external drive. There are two methods to partition and format your Hi-Speed USB 2.0 or FireWire hard disk drive: Control Panel Method Click “Start”... - Page 15 FORMAT THE DRIVE Select “Disk Drives”. Your new hard disk will appear in the hard drive list. Double-click on the entry for your hard drive. Select “Settings”. The following screen will appear. Make sure there are check marks in the “Disconnect”, “Sync Data Transfer”, “Removable”, and “Int 13 unit”...
- Page 16 FORMAT THE DRIVE DOS Method (Recommended for Advanced Users Only) Click on “Start” and choose “Programs”. Select “MSDOS”. At the DOS prompt, type “FDISK” and press “Enter”. Note: If the FDISK utility terminates without displaying an error message, exit back to Windows and disconnect the Drive Enclosure. Reboot your computer.
- Page 17 FORMAT THE DRIVE In the “Change Current Fixed Disk Drive” screen, enter the disk drive number that is assigned to your external drive. IMPORTANT NOTE: Be sure that you select option 5 and change the “Current Fixed Disk” from “Disk 1” to the disk number assigned to your external drive.
- Page 18 FORMAT THE DRIVE Note: If you are viewing the Control Panel in classic mode, proceed directly to “Administrative Tools”. Click on “Disk Management”. All connected disk drives will be displayed in the lower, right-hand corner of the “Computer Management” window. Information regarding the status of each of your disk drives will be displayed in this window.
-
Page 19: Information
Belkin Corporation warrants this product against defects in materials and workmanship for its lifetime. If a defect is discovered, Belkin will, at its option, repair or replace the product at no charge provided it is returned during the warranty period, with transportation charges prepaid, to the authorized Belkin dealer from whom you purchased the product. - Page 20 Europe: 00 800 223 55 460 Australia: 1800 666 040 © 2003 Belkin Corporation. All rights reserved. All trade names are registered trademarks of respective manufacturers listed. Mac OS and Mac are trademarks of Apple Computer, Inc., registered in the U.S. and other countries.
Need help?
Do you have a question about the F5U210 and is the answer not in the manual?
Questions and answers