Table of Contents
Advertisement
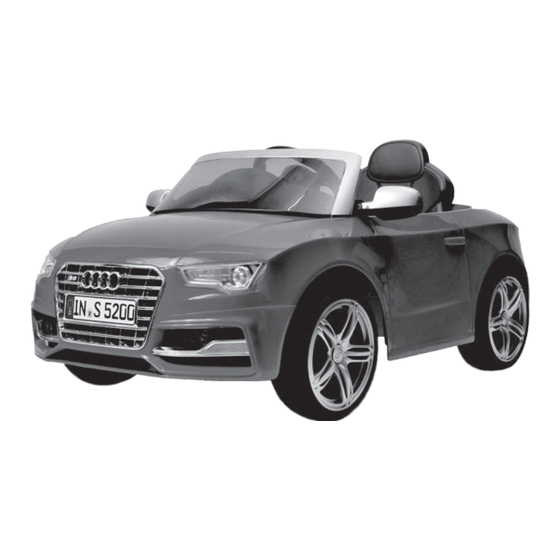
AUDI S5
CHILDREN BATTERY POWERED RIDE-ON CAR
OWNER'S MANUAL
ASSEMBLY INSTRUCTIONS
Styles and colors may vary.
Manufactured in China under Official License from AUDI AG.
The owner's manual contains important safety information as well as assembly, use and maintenance
instructions.
The Battery-powered Ride-on Car must be assembled by an adult who has read and understands the
instructions in this manual.
Keep the package away from children and dispose of properly before use.
Keep this manual for future reference.
WITH
Advertisement
Table of Contents

Summary of Contents for Jiaxing Xuma Ride On AUDI S5
- Page 1 AUDI S5 CHILDREN BATTERY POWERED RIDE-ON CAR OWNER’S MANUAL WITH ASSEMBLY INSTRUCTIONS Styles and colors may vary. Manufactured in China under Official License from AUDI AG. The owner’s manual contains important safety information as well as assembly, use and maintenance instructions.
- Page 2 Audi S5 Cabriolet Electric Ride-on manufactured by Jiaxing Xuma Ride On Co., Ltd. (Address: Minzhu Village, Guangchen Town, Pinghu City, Zhejiang Province, P.R.China). connection with manufacturing, marketing and distribution of the Audi S5 Cabriolet Ride On prod- Trademarks, design patents and copyrights are used with the approval of the owner AUDI AG.
-
Page 3: Table Of Contents
CONTENT Index Safety • Warnings......................4 • User Requirements...................5 Assembly • Parts View......................6 • Parts List......................7 • Installing the Driving Wheels................8 • Installing the Front Wheels................9 • Installing Steering Wheel and Batteries............10 •... -
Page 4: Safety
SAFETY WARNING! The user must follow all safety rules and guidelines below or serious injury or death may occur to the user. ● Always use common sense and safe practices when using the vehicle. The user must be three years old and up, and weight no more than 66 lbs (30kgs). -
Page 5: User Requirements
SAFETY WARNING! ● Battery posts, terminals and related accessories contain chemicals known to the State of California to cause cancer, reproductive harm and are toxic and corrosive. Never open the battery. ● Tampering or modifying the electric circuit system may cause a shock, fire or explosion and permanently damage the system. -
Page 6: Parts View
PARTS DIAGRAM AUDI S5 - OFFICIAL LICENSED PRODUCT BATTERY-POWERED RIDE-ON Owner’s Manual with Assembly Instructions Styles and colors may vary. Made in China. The owner’s manual contains important safety information as well as assembly, use and maintenance instructions. The Battery-powered Ride-on Car must be assembled by an adult who has read and undertstands the instructions in this manual. -
Page 7: Parts List
PARTS LIST Descrip on Body 12 washer (x2) Ø Normal Wheel (x2) Driving Wheel (x2) Wheel Trim(x4) 10 washer (x4) Ø Locknut (x4) Hubcaps (x4) Windshield Nut(x3) Mirror, Right M5*22 Screw Bolt(x2) M5*52 Screw Bolt(x1) Steering Wheel Mirro Seat Charger 3.5*12 Screw(x2) Motor Gear (x2) -
Page 8: Installing The Driving Wheels
ASSEMBLY - INSTALLING THE REAR WHEELS Rear axle Wrench Attach the Rear Driving Wheel 1. Slide the driving wheel onto the rear axle(right side). And keep the driving wheel match with the Motor Gear inserted. 3. Slide the wheel trim and Ø10 Washer onto the rear axle. 4. -
Page 9: Installing The Front Wheels
ASSEMBLY - INSTALLING THE FRONT WHEELS Wrench Attach the Front Wheels Normal wheel onto the front axle (left side). 1. Slide the Ø12 washer and 2. Slide the wheel trim and Ø10 Washer onto the front axle. 3. Tighten a Ø10 Locknut to the end of the front axle with a spanner. 4. -
Page 10: Installing Steering Wheel And Batteries
ASSEMBLY - INSTALLING STEERING WHEEL Installation 1. Remove the screw bolt and nut from the steering wheel. 2. Plug the steering wheel connector (C) into the dashboard connector (B). 3. Place the steering wheel over the steering column (A). 4. Align the holes on each side of steering wheel with the holes at the end of the steering column (A). -
Page 11: Installing The Mirrors
ASSEMBLY - INSTALLING SIDEVIEW MIRRORS Attach th irrors (Screwdriver Not provided) ror into the slots of the mirror bracket rew bolt through the top of the hole in the ASSEMBLY - INSTALLING WINDSHIELD P U S Att a h the Fit the tabs on each side of the windshield into the slots in the vehicle body. -
Page 12: Connecting The Power Supply
ASSEMBLY - CONNECTING BATTERY Plug the red battery connector into the red connector on body as shown. WARNING Connect the red to red connectors, Red Connector Red battery and white to white connectors. Connector Connecting incorrectly can damage the battery and/or motor, may cause other hazard problem. -
Page 13: Operation And Features
OPERATION AND FEATURES Power Switch Horn Sound Switch the Music Volume Control Forward /stop/reverse switch Battery Indicator Foot pedal POWER SWITCH Press "Power switch" , the vehicle into working status. FORWARD switch" on the " Forward" position. 1.Press the "Forward / stop/reverse 2. -
Page 14: Charging Your Vehicle
MAINTENANCE - PLEASE CHARGE BATTERY Charger Red battery Connector Connector NOTE: Before first use, fully charge the battery 8 to 12 hours. 1. Ensure the power switch is off. 2. Plug the charger connector into the socket (only use the 12V charger included with the vehicle, input: AC 110V, 50/60 Hz, output: DC 12V). -
Page 15: Operate The Remote Control
PARENTAL REMOTE CONTROL FORWARD STOP SPEED DISPLAY LED RIGHT BACKWARD SPEED - SPEED + LEFT POWER How to pair the parental remote control? 1. First confirm that ride-on car power switch has been turned OFF. Open remote controller battery cover, and install two AAA alkaline type batteries (do not use lithium type batteries as they can damage remote controller). -
Page 16: General
13 MAINTENANCE General The vehicle shoud be checked for damage, missing or badly worn parts before use. ● Check the tightness of the fasteners before each use. ● Check the tightness of the wheel. Use a flat head screwdriver to gently pry off the hubcaps. Note: If the wheel is not tight, the wheel will not engage the forward gears and the vehicle will not run. -
Page 17: Battery Replacement And Disposal
MAINTENANCE (continued) 14 Battery Replacement and Disposal The 6V battery will eventually lose the ability to hold a charge. Depending on the amount of use, and varying conditions, the battery should operate for one to three years. Follow these steps to replace and dispose the battery: 1. -
Page 18: 15 Troubleshooting Guide
15 TROUBLESHOOTING GUIDE The following are examples of potential problems. Completely read through this manual and the troubleshooting guide table before calling. If you still need help resolving the problem please call local Consumer Relations. PROBLEM POSSIBLE CAUSE SOLUTION Recharge battery (see Battery: Recharge interval and time) Vehicle does not run Battery low on power Thermal fuse has tripped...
Need help?
Do you have a question about the AUDI S5 and is the answer not in the manual?
Questions and answers