Advertisement
Getting Started Guide
1.
UNPACK
Unpack your Cocoon Create 3D Pen from the packaging and check you have all of the components:
•
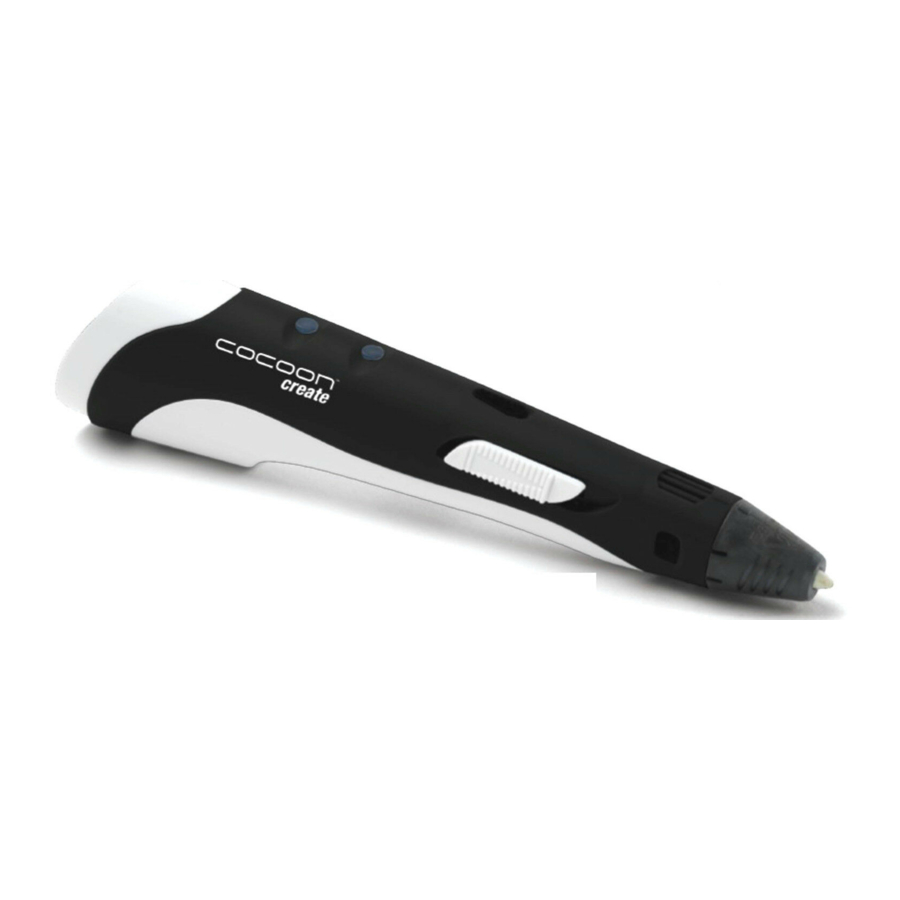
Cocoon Create 3D Pen
•
3 x 3 Metre 1.75mm ABS filament
•
1 x Power Adaptor
After Sales Support
1300 663 907
www.winplus.com.au
2.
CONNECT TO POWER
Connect one end of the power adaptor to the power jack located at the end of the pen,
then connect the other end to a mains power outlet and switch on. The Power Indicator
LED will turn on.
3.
HEATING THE 3D PEN
Press the Forward Button to begin heating the 3D Pen. The Heat Indicator LED will
turn red when the pen is being heated. Once the 3D Pen has reached the pre-set
temperature, the Heat Indicator LED will turn green.
NOTE: Refer to manual for temperature settings
•
1 x Getting Started Guide
•
1 x Instruction Manual
•
1 x Warranty card
HE150277
02/2016
Advertisement
Table of Contents

Related Manuals for Cocoon Cocoon Create 3D pen


Summary of Contents for Cocoon Cocoon Create 3D pen
- Page 1 Getting Started Guide HE150277 02/2016 UNPACK Unpack your Cocoon Create 3D Pen from the packaging and check you have all of the components: • Cocoon Create 3D Pen • 1 x Getting Started Guide • 3 x 3 Metre 1.75mm ABS filament • 1 x Instruction Manual •...
- Page 2 Getting Started Guide HE150277 02/2016 TRIM FILAMENT Cut your desired length filament and ensure the tips of both ends are flat. INSERT AND LOAD FILAMENT Insert one end of the filament into the Filament Port. Press and hold the Forward Button to begin loading until filament is extruded from the nozzle. DRAW! Hold the Forward Button to extrude and draw. To stop, release the Forward Button. You can change the speed of filament extrusion with the Speed Slider. For ideas and templates visit cocooncreate.com.au After Sales Support 1300 663 907 www.winplus.com.au...
Need help?
Do you have a question about the Cocoon Create 3D pen and is the answer not in the manual?
Questions and answers