Table of Contents
Advertisement
Quick Links
LUXOMAT
Installation and Operating Instruction for Automatic-system-light LUXOMAT
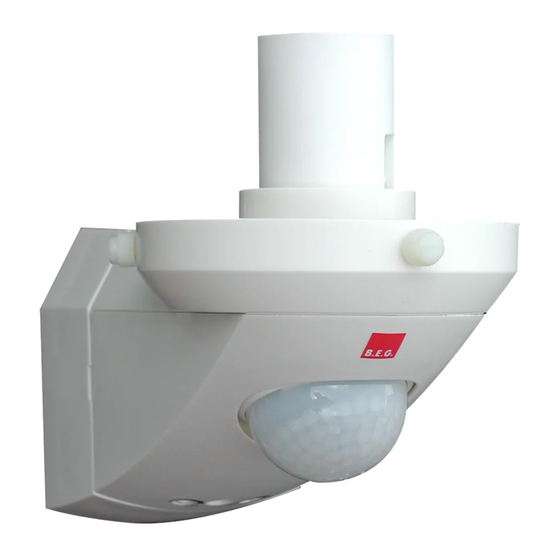
1. Assembly ALC-B-360 SLS
5
1
3
4
1) System light lower section can be freely
combined with 17 different System-Globes SG
2) Socket ring with stud screws
3) Horizontally and vertically swivelling sensor
head
4) Decorative LED secondary light (only ALC-B-
360-DECO SLS) switchable by remote control
5) Plug-in connector base
4. Putting into operation / Settings
Twilight-switch for light control / follow-up time
Infinitely variable setting from approx. 4 sec.
to approx. 10 min.
Arrow position left: approx. 4 sec.
Arrow position right: approx. 10 min.
Photo electric switch
Infinitely variable setting from approx. 2 to
approx. 1000 Lux by turning.
Arrow position on symbol "moon"
night-time operation, approx. 2 Lux
Arrow position on symbol "sun"
daytime operation, approx. 1000 Lux
6. Range control
Detection area can be
adapted to the local
circumstances by turn-
ing the round optics.
®
2. Installation
c
2
1) Detach lighting part from the base by means
of a screwdriver (a)
2) Insert the cable, from the bottom (b) or from
the back here
3) Connect the cables as indicated by the termi-
nal labels (see point 13 for wiring diagrams)
4) Attach the assembly base with two screws (c)
5) Screw in incandescent lamp E27/100 W
6) Secure system glass to system light lower
section (see point 3)
DECO (only ALC-B-360-DECO)
If below set light value (60 sec.),
the LED will switch on.
7. Sensitivity adjustment (mounting height 1.80 m)
2
ALC-B-360 DECO SLS
ALC-B-360 (DECO) SLS with motion detector
®
3. Attaching the system glass
a
b
1
c
1) Un-fasten the stud screws (1)
2) Put system glass on socket ring (2)
3) Fasten the screws equally on all sides until the
system-glass is firmly attached (3).
5. Mounting types
1) Wall mounting
2) Outside corner mounting with plug-in socket
walking across
quer zum Melder gehen
1
1.80 m
frontal zum Melder gehen
quer zum Melder gehen
Unterkriechschutz
2
walking towards
frontal zum Melder gehen
quer zum Melder gehen
Unterkriechschutz
frontal zum Melder gehen
Unterkriechschutz
anti-creep
1) Range walking across:
approx. 10 m
1
2) Range walking towards:
approx. 8 m
2
8. Mounting place
1
1) If possible mount unit on a safe place.
2) Influence of weather reduces the lifetime
of the unit. Please take care to mount
correctly.
GB
3
2
Advertisement
Table of Contents

Summary of Contents for B.E.G. LUXOMAT ALC-B-360 DECO SLS
- Page 1 LUXOMAT ALC-B-360 DECO SLS ® Installation and Operating Instruction for Automatic-system-light LUXOMAT ALC-B-360 (DECO) SLS with motion detector ® 2. Installation 1. Assembly ALC-B-360 SLS 3. Attaching the system glass 1) Un-fasten the stud screws (1) 2) Put system glass on socket ring (2) 3) Fasten the screws equally on all sides until the system-glass is firmly attached (3).
- Page 2 9. Settings of remote control 13. Wiring diagrams 15. Dimensions (mm) Terminal connection for standard operation IR-LCmini PARTY TE ST COMFORT Standby Parallel-operation LUXOMAT IR-LCmini (accessory, see point 16) ® Caution: Settings with remote control subscribe the settings by courtesy of potentiometers (see point 4) (for description see point 10).
Need help?
Do you have a question about the LUXOMAT ALC-B-360 DECO SLS and is the answer not in the manual?
Questions and answers