Advertisement
Advertisement
Table of Contents

Summary of Contents for Fairhaven Micro Alti Vario Plus
- Page 3 Quick Guide Switch the Micro Alti on by sliding the switch on the right side toward the top corner. The Micro Alti will cycle through the display and bleep when it is ready. Charge the Micro Alti via the USB socket if it doesn’t function. This manual will begin with a brief introduction to each function and a full description is given later in the manual.
- Page 4 ALTI Button Short Press Long Press (After selecting ALTI function in the left column) Function Display Adjustment Alti 1 Sets alti to zero (+/- 1) Adjust height: Alti 2 H is displayed. Use press [SET] Adjust to pressure reference (QNH) : P is displayed.
- Page 5 TIMER Button Long Press Short Press (After selecting TIMER function in left column) Function Display Adjustment Time clock Set hours Use press SET (example) Set minutes Use press SET Set hours Use press SET Alarm timer (example) Set minutes Use press SET Tip! Press TIMER to start Timer...
- Page 6 SET Button Short Press Long Press (After selecting SET function in left column) Function Display Adjustment Averager Long press holds the display in Averager mode and A is displayed. G Meter G Meter Reset maximum G reading Maximum Displays temperature in Fahrenheit Temperature (deg C) (e.g.) 82F...
- Page 7 Changing Settings Long initial press on SET (Not available if already using SET menu. Exit SET menu by pressing ALTI and return with a long key press) Function Display Adjustment Averager adjusts averaging time in seconds. adjusts volume. Volume adjusts the threshold at which up Up threshold tones begin.
-
Page 8: Detailed Instructions
Detailed Instructions The ALTI button Three types of altimeter and the barometer are accessed with the ALTI button. Note: Keys have to be pressed for one second when the altimeter is displayed which prevents inadvertent changes to the altimeter readings. QNE indicates altitude relative to the standard pressure of 1013.25mB. - Page 9 The last option on the ALTI button is the barometer indicated by “baro” (when this option is first selected). This will indicate your local barometric pressure which will usually differ from barometric pressure in weather reports etc. which are referenced to sea level. Your altitude will cause a decrease in pressure by approx 1mB per 30 feet above sea level (This holds true at low altitudes but the rate of change reduces with increasing altitude).
- Page 10 The SET button The SET button is used to check various readings (with a short press) and change settings associated with the current display (with a long press). For example changing the temperature display from degrees Celsius to Fahrenheit. The SET button is also used to set preferences such as volume and thresholds, but to do this you will have to leave the SET menu (by pressing ALTI) and then press SET for 2 seconds.
- Page 11 enter settings mode and Av followed by the time period will appear. The Up and down buttons, can then be used to set the required averaging period. Finish by pressing SET to continue to the end of the settings menu. The average lift or sink is also displayed as a blinking segment in the normal vario mode but as this can complicate the display, it can be switched off by setting the averaging time to zero.
- Page 12 can be individually reset with a long key press. So the Micro Alti can store your personal height record although you will probably want to reset max and min lift. Minimum height can be used to check your lowest point below take-off, to a maximum of -999 feet or -999 metres.
- Page 13 Changing settings A long initial press on the SET button allows the user to make changes according to the user’s preferences. If you are already using functions on the SET button you will first have to leave this mode by pressing ALTI before accessing the settings menu with a long key press.
- Page 14 The fifth option sets the tone rate or “Pace”. This defines the rapidity of the vario’s bleeps. So if you are usually searching for small amounts of lift as in ridge-soaring, a high setting will give more rapid bleeps at fairly low levels of lift.
- Page 15 The TIMER button The TIMER button gives access to the time clock, alarm timer and stopwatch.An initial press of the TIMER button shows current time and will automatically revert to its previous mode (current altimeter, temperature etc.) without further key presses after 2 seconds. A long key press when the clock is displayed allows you to set the clock.
- Page 16 displayed. The stopwatch will then start as soon as height changes by +/- 30 feet/10M. The stopwatch can also be started, paused and restarted with further key presses and can be zeroed with a long press on the TIMER button. TIM flashes when the stopwatch is running. Mode Switch Next to the power switch is the Mode Switch.
- Page 17 Note: When using a piezo extension bleeper, use a stereo jack plug and leave the jack’s ring unconnected. (Fairhaven can supply this part). With an intercom or piezo earpiece, use a mono jack, this will connect a filter to give a smoother sound.
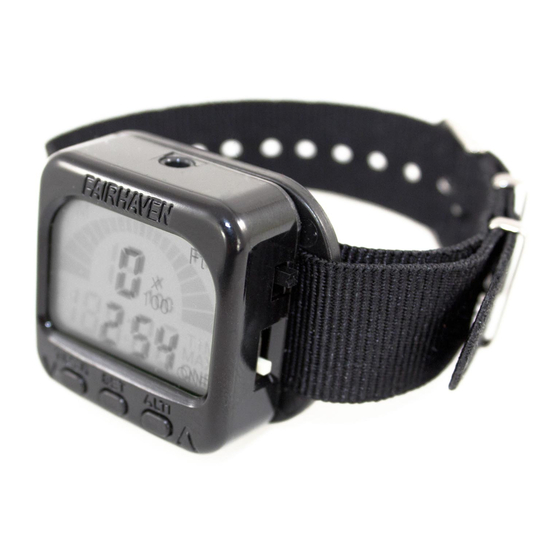
- Page 18 Mounting The Alti Vario can be mounted on your wrist, over a coat sleeve or on your risers, or it can be panel-mounted in sailplane gliders etc. We supply a spare strap that can be cut down as required and 2 adhesive Velcro pads that will stick to most surfaces and can be sewn onto clothing.
Need help?
Do you have a question about the Micro Alti Vario Plus and is the answer not in the manual?
Questions and answers