Advertisement
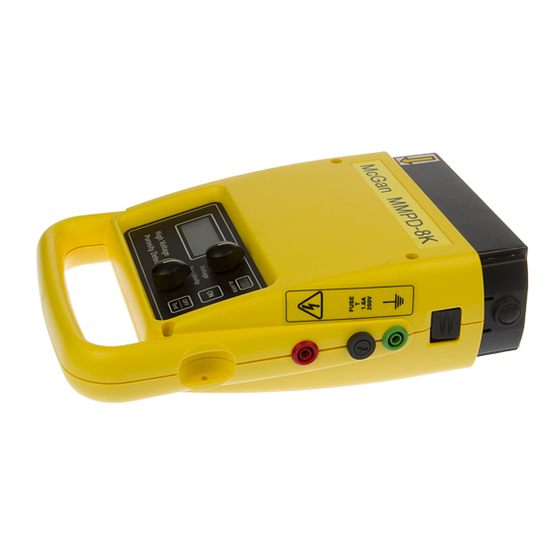
NOTE: Please read the full MicroMed PD-8K manual in detail before
operating the unit. Review all warnings noted in the manual.
1.
Remove the MicroMed PD-8K unit and accessories from the carrying case.
2.
Take the Green ground wire and firmly insert it into the green port on the side of the
base unit.
3.
Insert the Red probe wire firmly into the red port on the side of the base unit.
4.
Insert wire brush or LS ring or Tri-Hole electrode firmly into end of yellow handle at
the end of (red) probe wire as shown below.
5.
Attach the clamp end of the (Green) ground wire to conductive core of instrument or
wire (cable) under examination. See Picture A, B and C for illustrations.
Picture A
Use the brush to check the handle
of the electrosurgical instrument
For electrosurgical instruments such as bipolar forceps use the side of the brush to find gaps
or bare spots in the coating
6.
Push the "On" button on the front panel of the base unit until the red light appears in
the unit's window.
7.
NOTE: DO NOT simultaneously touch the brush electrode and ground clamp as it
will cause a mild "tingle". Use surgical gloves as a precaution against receiving the
"tingle".
8.
Adjust the Voltage knob on the front panel of the base unit to the desired voltage
based on the Voltage table shown in the manual. Typically around 2.3-2.5 kV for
jacketed insulation and 1.0-1.5kV for powder coated instruments is acceptable. Use
4.0 -4.5kV when using the Tri-hole electrode.
9.
Adjust the audible sensitivity knob on the front panel of the base unit to at least the
"i" in sensitivity
MICROMED MM PD-8K
QUICK OPERATION GUIDE
Brush
Attach ground clamp here
Exposed end
2
3
LS
Ring
Conductive core of wire
Picture B
Voltage control
On button
Sensitivity control
Tri-Hole
Picture C
Advertisement
Table of Contents

Summary of Contents for McGan MicroMed PD-8K
- Page 1 MICROMED MM PD-8K QUICK OPERATION GUIDE NOTE: Please read the full MicroMed PD-8K manual in detail before operating the unit. Review all warnings noted in the manual. Remove the MicroMed PD-8K unit and accessories from the carrying case. Take the Green ground wire and firmly insert it into the green port on the side of the base unit.
- Page 2 A. The unit should always be switched off prior to removing or repositioning of the ground lead. If you touch the ground lead (clamp end) and the probe end of the MicroMed PD-8K at the same time you will receive a very mild “tingle”. To remove the possibility of receiving the “tingle”...
Need help?
Do you have a question about the MicroMed PD-8K and is the answer not in the manual?
Questions and answers