
Related Manuals for Seiki SC-70AU6DR


Summary of Contents for Seiki SC-70AU6DR
- Page 1 7KG CLOTHES DRYER INSTRUCTION MANUAL MODEL: SC-70AU6DR Please read this manual carefully before using, and keep it for future reference.
-
Page 3: Table Of Contents
CONTENTS General Safety Product Overview Getting Started Instructions Operation Other Useful Information FAQS Specifications Customer Helpline... -
Page 4: General Safety
GENERAL SAFETY INSTRUCTIONS IMPORTANT INFORMATION Read this manual thoroughly before you start using the Clothes Dryers. The safety precautions instructions reduces the risk of fire, electric shock and injury when correctly complied to. Please follow all instructions and take notice of all warnings. Pay close attention to messages that follow this safety alert symbol or the words DANGER, WARNING... - Page 5 GENERAL SAFETY INSTRUCTIONS (Cont.) To reduce risk of fire, electric shock or injury, always follow these basic precautions and accident prevention measures when using this appliance, including the below: INSTALLATION • The product is heavy, be careful when moving it. To avoid back or other injury, have 2 people lift or mechanical aid when installing.
- Page 6 GENERAL SAFETY INSTRUCTIONS (Cont.) USAGE CONDITIONS AND RESTRICTIONS • Supervision over children is to ensure that they do not play with the appliance. Never allow them to use, play with or crawl inside the appliance. Cleaning and maintenance must not be done by children. •...
- Page 7 GENERAL SAFETY INSTRUCTIONS (Cont.) CAUTION ITEMS BELOW ARE NOT SUITABLE FOR DRYING. IT CAN CAUSE FIRE IN THE APPLIANCE OR EXTENSIVE DAMAGE. DO NOT PLACE FOLLOWING IN THE APPLIANCE • Items containing rubber or foam like rubber or any other similar textured materials.
-
Page 8: Product Overview
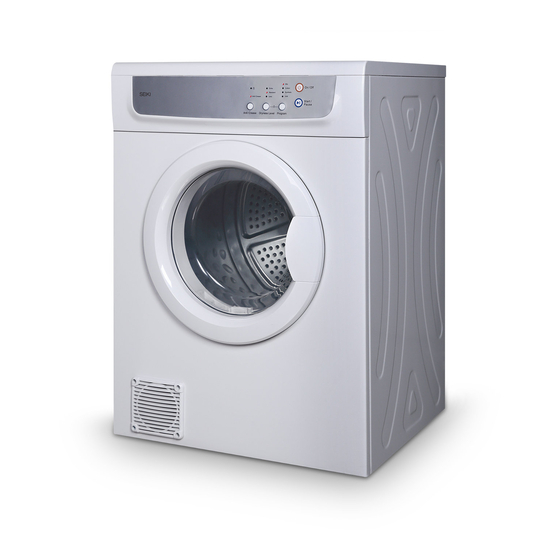
PRODUCT OVERVIEW 1. Top Board 2. Control Panel 3. Door 4. Front Panel 5. Side Panel 6. Filter 7. Flex Tube (only to back vent) 8. Power Plug 9. Switch 10. Tumbling Box 11. Front Vent 12. Front Vent Flange (only to front vent) - Page 9 PRODUCT OVERVIEW (Cont.) CONTROL PANEL On/Off Button: Turn on/off the power supply. Start/Pause: To start the selected washing program or pause while in operation. Program Button: Repeatedly press this button to select desired program. Dryness Level: Select between Extra, Standard or Less. Anti-Crease: Press to turn on Anti-Crease funciton.
-
Page 10: Getting Started
GETTING STARTED Before installing your appliance, read all safety instructions in this manual, especially the sections on electrical safety and installation. INSTALLATION • This clothes dryer can be installed on the floor (as supplied), or wall mounted. • This appliance can not be installed behind a lockable door, sliding or a door with a hinge on the opposite of the clothes dryer. - Page 11 GETTING STARTED (Cont.) WALL MOUNTING INSTRUCTIONS • If wall mounting above a washing machine make sure there is enough room for the lid to open. • Allows 5-10cm ontop of the dryer for ease of installation if you are installing the appliance near the ceiling.
- Page 12 GETTING STARTED (Cont.) 4. According to the guidance drawings you have positioned on the wall. Drill 8 holes (Ø12mm) within the specified holes once you have aligned the Hooks and Support parts. 5. Now that you have drilled the holes, use the 8x Expansion Screws bolts provided and 2 hooks (upper part) and the left and right supports at the bottom, to screw into the holes.
-
Page 13: Instructions
INSTRUCTIONS CAUTION! Make sure you read all safety precaution in this manual that cause a hazard if placed in the clothes dryer. LOADING THE DRYER • Before loading the dryer, check that none of the clothes you are inserting into the dryer have any symbols anywhere on them. -
Page 14: Operation
OPERATION DRYING CLOTHES CLOTHING APPROXIMATE CAPACITY DRYNESS PROGRAMS NOTE TYPE HUMIDITY (KG) LEVEL 80%~90% Cotton Extra COTTON 7 / 3.5 Cotton Standard 60%-70% According to Cotton Less the type and capacity of 7 / 3.5 Extra the clothing, select the 7 / 3.5 Standard most suitable... -
Page 15: Other Useful Information
OTHER USEFUL INFORMATION CLEANING THE FILTER 1. Clean the lint filter before each use. Remove it by pulling it straight up and unbolt the filter. 2.The lint filter is located in the door opening, remove the lint filter. 3.When you remvoe the filter by squeezing the sides, and use a damp cloth to wipe the filter. -
Page 16: Faqs
FAQS TROUBLESHOOTINTING GUIDE Use the below list to identify if your clothes dryer is having any issues and to identify and solve any problems. If you cannot solve the problem, contact our call centre on 1300 296 699. PROBLEM POSSIBLE CAUSE SOLUTION Ensure that the power plug No response from... -
Page 17: Specifications
SPECIFICATIONS Dimensions 595 x 555 x 840 mm Weight 35kg Rated Input Power 220-240V ~ 50Hz Rated Volume of Dryer 7kg (dry clothes) Ambient Temperature +5˚C ~ +35˚C NOTE: The rated capacity is maximum capacity, make sure that the dry clothes which are loaded in to the appliance do not exceed the rated capacity each time. -
Page 20: Customer Helpline
CUSTOMER HELPLINE: 1300 296 699 DISTRIBUTED BY: Ayonz Pty Ltd...
Need help?
Do you have a question about the SC-70AU6DR and is the answer not in the manual?
Questions and answers