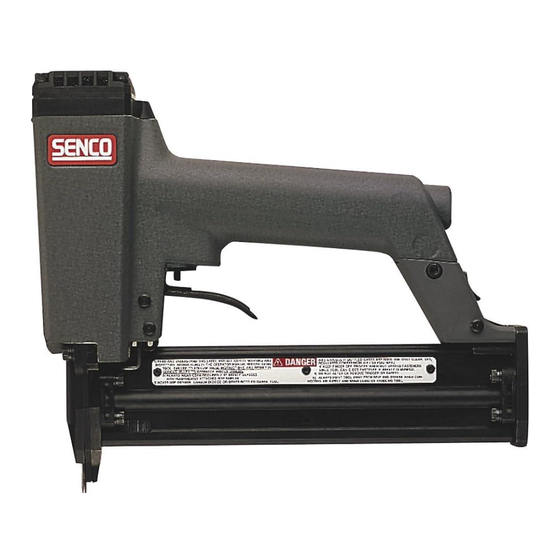
Summary of Contents for Senco SHP10
- Page 1 © 2000, 2001 by Senco Products, Inc. BRNA070 Revised February 27, 2001 (Replaces 9/14/00)
-
Page 2: Table Of Contents
English TABLE OF CONTENTS Uso de la Tool Use Herramienta Maintenance Mantenimiento Options Opciones Troubleshooting Specifications Identificación de Fallas Especificaciones RESPONSABILIDADES DEL EMPLOYER’S RESPONSIBILITIES El empleador debe hacer Employer must enforce cumplir las advertencias de compliance with the safety seguridad y todas las otras warnings and all other instrucciones que acompañan instructions which... -
Page 3: Tool Use
Set magazine height adjustment lever (A) before loading AX17 fasteners. AX13 AX15 Adjust magazine before loading. SHP10 Remove magazine rail stop by pressing down on the top of the rail stop. Depress latch and remove magazine rail. Move the adjustment insert to... - Page 4 Do not load with trigger depressed. SHP10 Lay strip of fasteners into magazine. Use only genuine SENCO fasteners. Do not load with trigger depressed. Push rail forward until it latches. Place strip of fasteners into SLP20 & LS magazine with points facing direction shown.
- Page 5 Utiliser uniquement des finettes d’origine SENCO. Vielles à ne pas appuyer sur la détente ou sur le palpeur de sécurité quand vous chargez. Pousser le rail jusqu’a encliquetage.
- Page 6 FinishPro™ 25 1.) Disconnect the air from the tool. If the air is not removed from the tool, the adjustment cannot be made. 2.) Using wrenches provided with Standard Standard Turbo urbo Setting Setting Setting Setting the tool, insert in hole and move For or For or most...
-
Page 7: Entretien
Keep the tool pointed away from yourself and others and connect air to tool. To adjust the direction of the FinishPro™ 25 exhaust air, turn the exhaust deflector to the desired location. Read and understand “SAFETY INSTRUCTIONS” manual shipped with this tool before using tool. -
Page 8: Options
Maintenance English SHP10 & LS Squirt Senco pneumatic oil (5 to 10 drops) into the air inlet twice daily (depending on frequency of tool use). Other oils may damage O-rings and other tool parts. Wipe tool clean daily and inspect for wear. -
Page 9: Troubleshooting
WARNING Las reparaciones, fuera de aquellas descritas aquí, deben de ser llevadas a cabo solamente por personal entrenado y calificado. Póngase en contacto con SENCO para información 1-800-543-4596. Antes de usar la herramienta lea y comprenda el manual “INSTRUCCIONES DE SEGURIDAD”... -
Page 10: Especificaciones
MODEL: 430001N MODEL: 430001N .050 in. 1,27 mm Inches ⁄ ⁄ Code AX13 AX15 AX17 AX18 Specifications Espanol SHP10 75–100 psi 5.2–7 bar 0.76 scfm 21.6 liter ⁄ in. NPT ⁄ in. NPT ⁄ in. NPT 2.4 lbs. 1.1 kg ⁄... - Page 11 Specifications MODEL: 760002N FinishPro™25 Code AY10 AY11 AY13 AY15 AY17 AY18 MODEL: 200001N (LS1) Code AZ08 AZ11 AZ13 Especificaciones Espanol English MODEL: 760002N .050 in. 1,27 mm Inches ⁄ ⁄ Code Inches ⁄ AX10 ⁄ AX11 ⁄ AX13 AX15 AX35 AX17 AX18 AX40...
- Page 12 The length of this guarantee is one year from date of purchase by the original retail purchaser. During this period, Senco Products, Inc., will repair or replace at Senco’s option, any original part or parts for the original retail purchaser. This will be done free of charge, provided the parts are determined defective in materials or workmanship upon examination by a Senco Authorized Warranty Service Center (exception: rubber o-rings and seals, driver blades).


Need help?
Do you have a question about the SHP10 and is the answer not in the manual?
Questions and answers