
Subscribe to Our Youtube Channel
Related Manuals for Victrola V50-250

Summary of Contents for Victrola V50-250
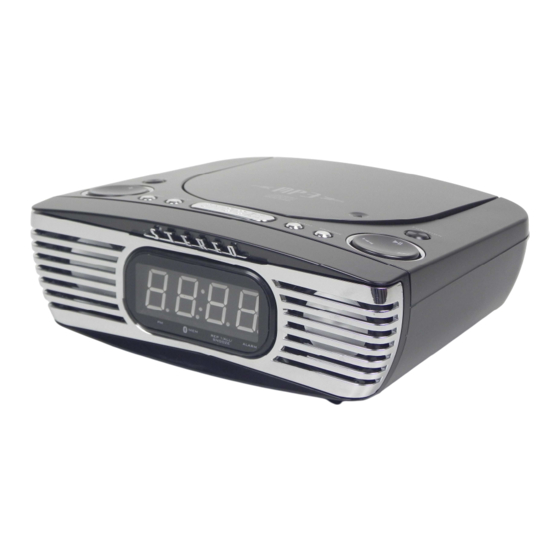
- Page 1 CD PLAYER WITH ALARM CLOCK AND BLUETOOTH FUNCTION V50-250 INSTRUCTION MANUAL PLEASE READ THIS USER MANUAL COMPLETELY BEFORE OPERATING THIS UNIT AND RETAIN THIS BOOKLET FOR FUTURE REFERENCE.
-
Page 2: Important Safety Instructions
WARNING PREVENT FIRE SHOCK HAZARD, THIS PLUG WITH AN EXTENSION CORD, RECEPTACLE OR OTHER OUTLET UNLESS THE BLADES CAN BE FULLY INSERTED TO PREVENT BLADE EXPOSURE. TO PREVENT FIRE OR SHOCK HAZARD, DO NOT EXPOSE THIS APPLIANCE TO RAIN OR MOISTURE. The Caution Marking is located at the bottom enclosure of the apparatus. - Page 3 19. Power Sources - This product should be operated only from the type of power source indicated on the marking label. If you are not sure of the type of power supply to your home, consult your product dealer or local power company. For products intended to operate from battery power, or other sources, refer to the operating instruction.
-
Page 4: Compliance With Fcc Regulations
SAVE THESE INSTRUCTIONS COMPLIANCE WITH FCC REGULATIONS This device complies with Part 15 of the FCC Rules. Operation is subject to the following two conditions: (1) This device may not cause harmful interference, and (2) This device must accept any interference received, including interference that may cause undesired operation. -
Page 5: Location Of Controls
LOCATION OF CONTROLS 1) Rod antenna 2) On/ Standby 3) Volume knob 4) Alarm button 5) Repeat 6) Dimmer / Snooze button 7) CD Door Open button 8) Function button 9) Play/Pause button 10) Skip up button /down 11) Stop button 12) Memory/Pre button 13) Clock adjust button... -
Page 6: Listening To Radio
Battery Connection (Clock time backup) To use the unit on battery power, open the battery compartment cover (23) by pressing and pushing it according to the indicated direction “ ” and insert 2 x 1.5V /‘AA’ Size batteries (Alkaline recommended - not supplied) into the battery compartment, in the direction as shown in the line drawing. -
Page 7: Bluetooth Connection
Switch the Bluetooth function of your Bluetooth device on (such as a mobile phone) and select the Bluetooth equipment code “V50-250” to connect. When the Bluetooth device has connected successfully, the LED display will show “ bt “ and the Bluetooth/MEM LED indicator (17) will no longer flash but be static. -
Page 8: More Features
The LED display may change to show the time and the Bluetooth/MEM LED indicator (17) will keep showing the Bluetooth connection status. More features A. Setting the Clock Set the unit to standby mode Press and hold the Clock Adjust button (13) and the LED display will show “ 24 H “ or “ 12 H” and flash. Press Skip up /down button to select 24 hour display or 12 hour display and press the Clock Adjust button (13) to...
Need help?
Do you have a question about the V50-250 and is the answer not in the manual?
Questions and answers