Table of Contents
Advertisement
INSTALLATION AND OPERATION INSTRUCTIONS
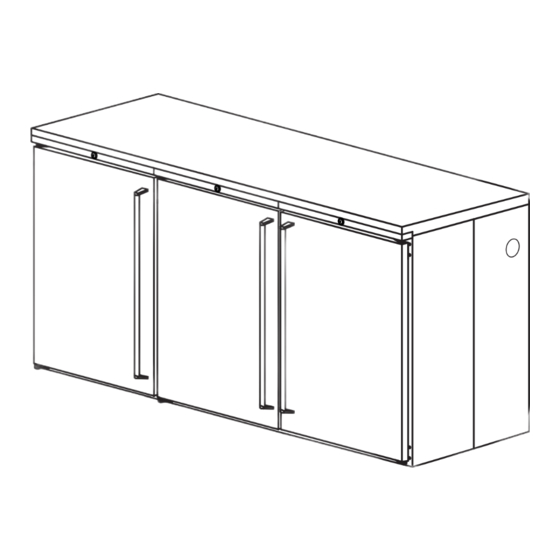
CUSTOM BACK BAR CABINETS – SELF CONTAINED AND REMOTE
US
C
BR72
IMPORTANT INFORMATION
To register your product, visit our web site at
(www.perlick.com). Click on "Commercial", then "Service".
You will see the link to "Warranty Registration Form". You
must complete and submit this form or the installation
date will revert back to the ship Date.
This manual has been prepared to assist you in the
installation of your Cabinet and to acquaint you with its
operation and maintenance.
We dedicate considerable time to ensure that our
products provide the highest level of customer
satisfaction. If service is required, your dealer can provide
you with a list of qualified service agents. For your own
protection, never return merchandise for credit without
our approval.
We thank you for selecting a Perlick product and
assure you of our continuing interest in your
satisfaction.
WARNING: When lifting, the full weight of the
cabinet must be supported. Lift from the cabinet
base and not from the top. Improper lifting can
result in severe damage to the cabinet.
8300 West Good Hope Road • Milwaukee, WI 53223 • Phone 414.353.7060 • Fax 414.353.7069
Toll Free 800.558.5592 • E-Mail perlick@perlick.com • www.perlick.com
Systems and Products for the Food Service and Beverage Industries Since 1917
BS84
Table of Contents
PREPARING THE CABINET
List of Included Parts ............................................................... 2
Tools Required ............................................................................ 2
Plumbing ...................................................................................... 2
Electrical ....................................................................................... 2
Uncrating and Inspection ...................................................... 2
Placing the Cabinet .................................................................. 2
Leveling the Cabinet ................................................................ 2
Installing Casters or Legs ....................................................... 2
Installing the Base Plate .......................................................... 2
Refrigeration and Temperature Control ............................ 3
Cleaning the Cabinet ............................................................... 3
Cleaning the Condenser ......................................................... 3
Stainless Steel Care Guide ..................................................4/5
Replacement Parts .................................................................... 6
Reversing Door Swing ............................................................. 7
Cleaning Stainless Steel .......................................................... 7
Wiring Diagram (BS Series) .................................................... 8
Wiring Diagram (BR Series) .................................................... 9
MODELS
BR Series
BS Series
Form No. Z2278
Rev. 10.04.10
Advertisement
Table of Contents

Related Manuals for Perlick BR Series

Summary of Contents for Perlick BR Series
- Page 1 Cleaning the Cabinet ............... 3 our approval. Cleaning the Condenser ............3 Stainless Steel Care Guide ..........4/5 We thank you for selecting a Perlick product and Replacement Parts ..............6 assure you of our continuing interest in your Reversing Door Swing ............. 7 satisfaction.
-
Page 2: Parts List
24 hours before plugging in and running the unit. Perlick is committed to continuous improvement. Therefore, we reserve the right to change specifications without prior notice Form No.Z2278 Rev. 10.04.10... -
Page 3: Refrigeration And Temperature Control
If defrosting is necessary, turn the control knob to the OFF position until coil is defrosted. Perlick is committed to continuous improvement. Therefore, we reserve the right to change specifications without prior notice Form No.Z2278 Rev. 10.04.2010... -
Page 4: Stainless Steel
After wiping equipment down, allow it to air dry; oxygen helps maintain the stainless steel’s passive film. NEVER use hydrochloric acid (muriatic acid) on stainless steel! Perlick is committed to continuous improvement. Therefore, we reserve the right to change specifications without prior notice Form No.Z2278 Rev. 10.04.10... -
Page 5: Recommended Cleaners For Specific Situations
Use non-chlorinated cleaners with a soft cloth and RINSE, RINSE, RINSE to maintain the natural qualities of your stainless steel equipment! Perlick is committed to continuous improvement. Therefore, we reserve the right to change specifications without prior notice Form No.Z2278... - Page 6 63019-3 63019-3 63019-3 *Replacement Door RND-NL2 RND-NL2 RND-NL2 *Contact Perlick Milwaukee for complete door replacement. Cabinet serial no. required. Perlick is committed to continuous improvement. Therefore, we reserve the right to change specifications without prior notice Form No.Z2278 Rev. 10.04.10...
- Page 7 Reinsert the bottom hinge pin hinge holes. to complete the door switching operation. Step #6 Perlick is committed to continuous improvement. Therefore, we reserve the right to change specifications without prior notice Form No.Z2278 Rev. 10.04.2010...
- Page 8 LIGHT LIGHT EVAPORATOR FAN EVAPORATOR FAN BLACK WHITE THERMOSTAT BLACK POWER CONNECTION CONDENSING UNIT BLACK WHITE GREEN JUNCTION BOX Perlick is committed to continuous improvement. Therefore, we reserve the right to change specifications without prior notice Form No.Z2278 Rev. 10.04.10...
-
Page 9: Field Installed
JUNCTION BOX LOCAL AND NATIONAL ELECTRICAL CODES. CONDENSING UNIT BLACK WHITE GREEN POWER CONNECTION JUNCTION BOX FIELD INSTALLED PRESSURE SWITCH Perlick is committed to continuous improvement. Therefore, we reserve the right to change specifications without prior notice Form No.Z2278 Rev. 10.04.2010...
Need help?
Do you have a question about the BR Series and is the answer not in the manual?
Questions and answers