Table of Contents
Advertisement
Quick Links
REQUIRED TOOLS:
MASONS
STRING
PHILLIPS
SCREWDRIVER
HAMMER
PLEASE NOTE: Additional accessories are required if installing on hard surface, such as a deck, or
if mounting the end panel to a wall. Please consult with your local store for information regard-
ing the necessary materials.
STEP 1: PLAN YOUR DESIGN
Decide on your layout and remember to consider where the gate will be installed. Regular posts should be
set 72" apart, measuring from center to center of each post, while gate posts should be set 48" apart,
center to center.
POSTS FOR PANELS
72"
Post
Layout the perimeter of determined fencing area with stakes and masons string to keep posts in line when
installing. Place the wood stakes where you intend on installing the posts.
Euro Fence Installation Instructions
2" x 2"
WOOD
STAKES
WOOD
BLOCKS
WHEEL
BARROW
Center of Post
Post
POST HOLE
SHOVEL
DIGGER
ADJUSTABLE
HEX
WRENCH
WRENCH
HANDHELD
DRILL
SAW
POSTS FOR GATES
48"
Post
IronCraft Customer Service
CONCRETE
TAPE
MEASURER
RECIPROCATING
SAW
Center of Post
Post
1-888-662-1788
Monday - Friday
8am - 5pm EST
Advertisement
Table of Contents

Subscribe to Our Youtube Channel
Summary of Contents for IronCraft Euro
- Page 1 IronCraft Customer Service 1-888-662-1788 Monday - Friday 8am - 5pm EST Euro Fence Installation Instructions REQUIRED TOOLS: 2” x 2” MASONS CONCRETE WOOD POST HOLE SHOVEL STRING STAKES DIGGER PHILLIPS ADJUSTABLE TAPE WOOD SCREWDRIVER WRENCH MEASURER BLOCKS WRENCH WHEEL RECIPROCATING...
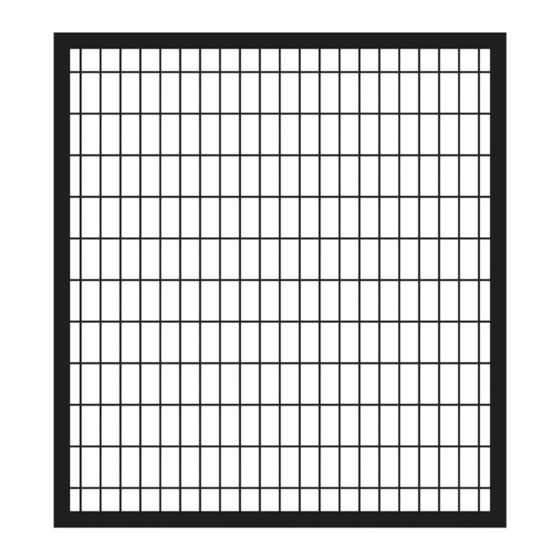
- Page 2 STEP 3: PANEL INSTALLATION Each Euro fence post has pre-drilled dimples to mark the drilling location for a standard install. Using the clamps, nuts and bolts included, mount the panel to the post, aligning the edge of the panel in the center of the...
- Page 3 CORNER PANELS If installing on a corner, holes must be drilled on the appropriate side to make a 90° angle. When drilling, make sure they are aligned with the pre-drilled dimples. Once holes are drilled, install panels in the same manner as mentioned above.
- Page 4 LATCH INSTALL Attach latch and striker to post and gate at preferred height using self tapping screws. CUTTING PANELS When you reach an area that is shorter than 72” wide, you can cut the panels using a hand saw or reciprocating saw to the desired width.
Need help?
Do you have a question about the Euro and is the answer not in the manual?
Questions and answers
can a euro gate be attached to a 4 x 4 wood post?