Table of Contents
Advertisement
Advertisement
Table of Contents

Subscribe to Our Youtube Channel
Summary of Contents for EQUISO Streaming smart stick
- Page 1 Streaming Smart Stick Quick Start Guide...
-
Page 2: Table Of Contents
1.7 Connecting the Equiso to Your TV 1.8 Settings 1.9 Wireless Network Configuration 1.10 Access the On-screen Keyboard 1.11 Using Your Equiso Remote to Control Your TV WATCH 2.1 Sensitivity of Remote 2.2 Add a Google Account 2.3 Access the Google Play Store 2.4 Download and Install Apps... - Page 3 TROUBLESHOOTING 3.1 The Basics 3.2 Remote Connectivity 3.3 Unable to Locate Wi-Fi Network 3.4 No Sound GENERAL CARE ADDITIONAL SUPPORT...
-
Page 4: Getting Started
GETTING STARTED 1.1 Inside the Box Equiso Streaming Remote Remote Receiver Smart Stick (Already Installed on Equiso) Power Adapter Mirco USB Cable HDMI Cable (Pro Unit Only) -
Page 5: Equiso Streaming Smart Stick
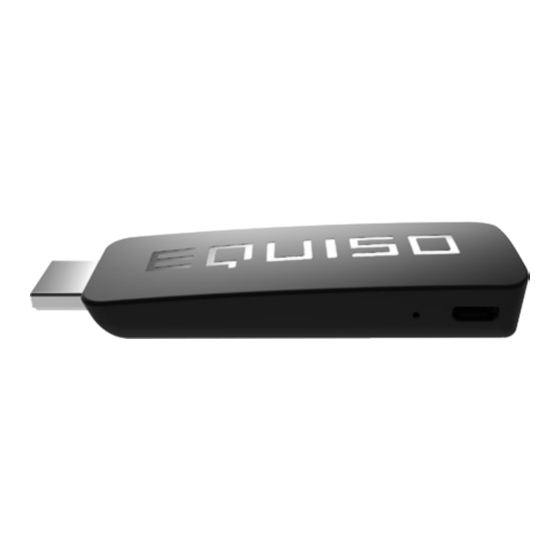
1.2 Equiso Streaming Smart Stick 1. Male HDMI port 5. MicroSD card slot 2. Reset button 3. Micro USB port 4. USB port... -
Page 6: Equiso Remote
1.3 Equiso Remote 1. Battery status light 2. QWERTY keyboard 3. Micro USB charging port Notes: Blue light indicates fully charged. Blue blinking light indicates power is low. Red light indicates charging. -
Page 7: Using Your Equiso Remote
1.4 Using Your Equiso Remote turn TV on/off apps * hold for 3 seconds to navigate between most recent apps move through the menu options return to the previous screen return to the Home screen context menu turn volume up or down... -
Page 8: What You Need
1.5 What You Need High-Definition TV A high-definition TV with an HDMI port. Wireless Network An 802.11b/g/n Wi-Fi wireless network (wireless video streaming requires 802.11g or 802.11n), or 10/100 Base-T Ethernet network (requires adapter, not included). A broadband Internet connection (DSL, cable or LAN). Login Information User names and passwords needed to access apps (Facebook, Gmail, Spotify). -
Page 9: Charging The Remote
1.6 Charging the Remote 1. Connect the USB cable to the A/C adapter. 2. Connect the micro USB cable end to the micro USB port on the remote. 3. Charging is complete when light is blue. Notes: Blue light indicates fully charged. Blue blinking light indicates power is low. -
Page 10: Connecting The Equiso To Your Tv
Equiso Smart Stick. 3. Plug the Equiso into the HDMI port of your TV. 3a. If it is difficult to access the HDMI port, use the supplied HDMI cable to connect the Equiso Smart Stick to your TV. 4. Make sure your TV or home theater receiver is set to the HDMI input where the Equiso is connected. -
Page 11: Settings
Home screen. 1.9 Wireless Network Configuration 1. Click the Setting Icon > Wi-Fi. Make sure the switch is highlighted “ON”. 2. Equiso will search available Wi-Fi networks. 3. Select your wireless network. 4. Enter your wireless password (if needed). -
Page 12: Access The On-Screen Keyboard
1.10 Access the On-screen Keyboard 1. Click the Settings Icon > Display > Status Bar and make sure the box is checked. 2. Hit the Home button on the remote to go back to the Home screen. 3. Open the browser and click on the address bar. 4. -
Page 13: Using Your Equiso Remote To Control Your Tv
While holding the Home button press the power button and hold until the blue light continuously stays on. 3. Place the Equiso remote and your TV remote on a flat, stable surface with the IR sides facing each other. 4. Press the power button on the Equiso remote you want to teach. The blue light will begin to flash. -
Page 14: Watch
WATCH 2.1 Sensitivity of Remote 1. Click the Settings Icon > Language and Input > Mouse/Trackpad > Pointer Speed. 2. Slide the sensitivity bar to adjust the speed of the pointer. 2.2 Add A Google Account 1. Click the Settings Icon > Accounts & Sync. 2. -
Page 15: Access The Google Play Store
2.3 Access the Google Play Store 1. Click the Google Play Store icon located at the bottom of the Home screen. 2. Create or sign in with your Google account and follow the prompts. 2.4 Download and Install Apps 1. Click the Google Play Store icon located at the bottom of the Home screen. -
Page 16: Factory Reset
1. Scroll down the left side menu, click the Settings Icon > Backup & Reset > Factory Data Reset. 2. Select “Erase SD card”, and click on the ““Reset Equiso Stick” button. 3. Reset will take several minutes. Please be patient. -
Page 17: Troubleshooting
Troubleshooting Most problems with Equiso can be solved quickly by following the advice in this chapter. For additional tips and troubleshooting information, contact Equiso support support@equiso.com or go to support.equiso.com. -
Page 18: The Basics
1. Your TV is on. 2. Your remote has been charged. 3. Both ends of the USB cable are connected to the Equiso Smart Stick and the TV USB or A/C power adapter. 4. The Equiso Smart Stick is properly connected to the HDMI port of your TV. -
Page 19: Remote Connectivity
1. Make sure your wireless router is functioning properly. 2. Try resetting the router. Wait 5-10 minutes and try to connect again. 3. Make sure the correct user name/password combination has been entered. 4. Use the supplied HDMI cable to move your Equiso away from the TV. -
Page 20: No Sound
1. Make sure the volume on the TV is turned up and the mute option is not selected. 2. Make sure your TV or home theater receiver is set to the correct HDMI output where the Equiso Smart Stick is connected. 3. Make sure the volume on the Equiso remote is turned up. -
Page 21: General Care
General Care When the Equiso Smart Stick is not being used please store in a safe area. Do not expose it to harsh conditions such as water, extreme heat or colds. Additional Support For assistance, please contact us at support@equiso.com support. - Page 22 FCC Statement This device complies with Part 15 of the FCC Rules. Operation is subject to the following two conditions: (1) this device may not cause harmful interference, and (2) this device must accept any interference received, including interference that may cause undesired operation. Note: This equipment has been tested and found to comply with the limits for a Class B digital device, pursuant to Part 15 of the FCC Rules.
Need help?
Do you have a question about the Streaming smart stick and is the answer not in the manual?
Questions and answers