Advertisement
Table of Contents
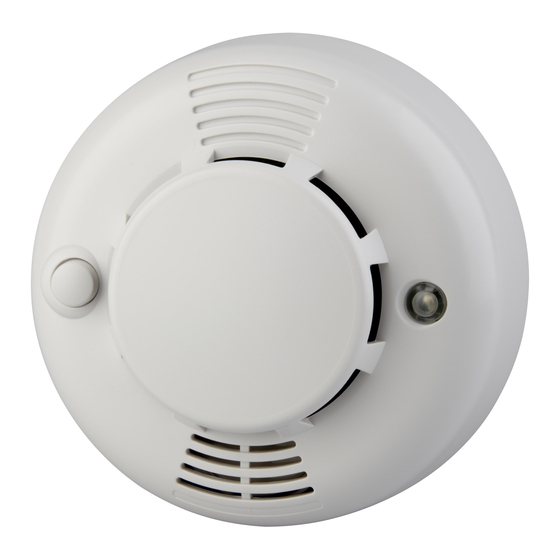
SD-S1
ENGLISH
Smoke Detector
Follow instruction in this document to
setup and use the accessory, refer to
illustration on the right for detail. For
further setting or operation information,
please visit Blaupunkt website
http://www.blaupunkt.com
to download
the complete manual.
Getting Started
1. Remove the mounting bracket
(Figure 1)
2. Insert the supplied batteries. The
Smoke Detector will emit 2 beeps
(Figure 2)
3. The Smoke Detector enters
self-calibration process for 8-22
minute and will emit 2 beeps upon
complete. Proceed to learn the
Smoke Detector during this period.
4. Put the Control Panel into learning
mode.
5. Press the learn button in the front
(Figure 3)
6. Refer to Control Panel manual to
complete learning process.
Mounting Location
Mount the Smoke Detector at
center
of
ceiling,
or
top
stairway.
Do not mount the Smoke Detector at
the following locations
Kitchen and garage – The smoke
from cooking or vehicle may
trigger false alarm.
Near
ventilating
fan
or
conditioner - Air draft may affect
sensor sensitivity
Corner, top of an "A" frame type
ceiling, near ceiling beams or over
a cabinet – The stagnant air may
affect sensor sensitivity.
Installation
1. Use the two mounting holes on the
mounting bracket (Figure4) and
mark position on the ceiling.
(Figure 5)
2. If required, drill holes into marked
location and insert wall plug.
(Figure 6)
3. Screw the bracket onto the wall.
(Figure 7)
4. Hook the Smoke Detector main
body on the mounting bracket and
turn clockwise to secure.(Figure 8)
Battery
4 x AAA alkaline batteries
ESPAÑOL
Detector de humos
Siga las instrucciones del documento
para configurar y operar éste
accesorio, consultando las gráficas de
la derecha para ver detalles. Para
obtener más información de
configuración y operación, por favor
visite la página web
http://www.blaupunkt.com
descargar el manual completo.
Pasos iniciales
1. Retirar el soporte de montaje.
(Figura 1)
2. Introducir las pilas suministradas, el
detector de humos emitirá 2 pitidos
(Figura 2)
3. El detector de humos entra en un
proceso de auto-calibración que
dura entre 8-22 minutos y una vez
completado se emitirán 2 pitidos.
Proceder con el aprendizaje del
detector de humos.
4. Colocar el panel de control en
modo de aprendizaje.
5. Oprimir el botón de prueba que
está al frente.(Figura 3)
6. Consulte el manual del panel de
of
control para completar el proceso
de aprendizaje.
Ubicación de montaje
Ubicar el detector de humos en el
centro del techo o arriba de las
escaleras.
No ubicar el detector de humos en los
siguientes lugares:
air
Cocina y garaje– El humo de la
cocina o del vehículo puede
disparar falsas alarmas.
Cerca de ventiladores o aire
acondicionado- Las corrientes de
aire pueden afectar la sensibilidad
del sensor.
Esquinas de techos con marcos
tipo "A", cerca de vigas del techo
o sobre armarios – El aire
estancado
puede
sensibilidad del sensor.
Instalación
1. Utilice los 2 orificios del soporte de
montaje (Figura4) para marcar la
ubicación en el techo.(Figura 5)
2. Si es necesario, perforar los
orificios de montaje sobre las
marcas realizadas e insertar los
tacos de pared.(Figura 6)
3. Atornillar el soporte sobre la pared.
(Figura 7)
4. Enganchar el detector de calor
sobre el soporte de montaje y
girarlo hacia la derecha para
asegurarlo.(Figura 8)
Baterías
4 x pilas alcalinas AAA
Figure 1 / Figura 1
para
Figure 3 / Figura 3
Figure 5 / Figura 5
afectar
la
Figure 2 / Figura 2
Figure 4 / Figura 4
Figure 6 / Figura 6
Figure 7 / Figura 7
Figure 8 / Figura 8
Advertisement
Table of Contents

Subscribe to Our Youtube Channel
Related Manuals for Blaupunkt SD-S1


Summary of Contents for Blaupunkt SD-S1
- Page 1 éste illustration on the right for detail. For accesorio, consultando las gráficas de further setting or operation information, la derecha para ver detalles. Para please visit Blaupunkt website obtener más información de http://www.blaupunkt.com to download configuración y operación, por favor the complete manual.
- Page 2 SD-S1 FRANCAIS PORTUGUÊS Détecteur de fumée Detector de fumaça Suivre les instructions de cette notice Siga as instruções neste documento Figure 2 / Figura 2 Figure 1 / Figura 1 pour enregistrer et utiliser le détecteur ; para instalação e uso do acessório.
Need help?
Do you have a question about the SD-S1 and is the answer not in the manual?
Questions and answers