Table of Contents
Advertisement
Quick Links
Advertisement
Table of Contents

Summary of Contents for TEControl UNI MIDI Breath Controller
- Page 1 TEControl UNI MIDI Breath Controller User Guide...
- Page 2 The information in this document is subject to change without notice and does not repre- sent a commitment on the part of TEControl AB. No part of this publication may be copied, reproduced or otherwise transmitted or recorded, for any purpose, without prior written permission by TEControl AB.
-
Page 3: Table Of Contents
Contents Contents Introduction 1 Overview System requirements ....... . . 2 Getting started Deliverables . -
Page 4: Introduction
Introduction With sample libraries getting better and better and physical modeling advancing to incred- ible realism, the need for good controllers is obvious. Our breath controllers fill the gap left by Yamaha when they discontinued production of the BC3 breath controller. We like to think that we took over where Yamaha left, providing the MIDI community with not only a replacement but taking it to a new level. -
Page 5: Overview
MIDI data corresponding to the amount of breath pressure applied to it. The UNI MIDI Breath Controller can be programmed to send any CC, Pitch Bend or Aftertouch message on any MIDI channel, including but not limited to:... -
Page 6: Getting Started
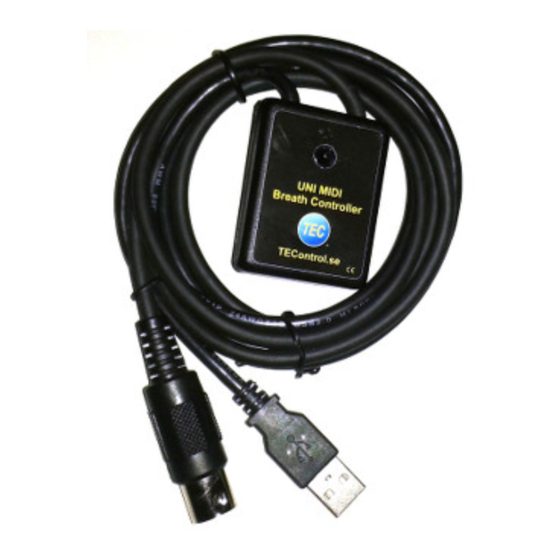
flow passing though the mouthpiece. Connect the UNI MIDI Breath Controller to a USB port on your computer (No software or driver installation is required) and it will show as “Breath Controller X.Y-NNNNNNNN”... -
Page 7: Configuration Utility
The Configuration Utility is required for changing the settings and is available from our support webpage: http://www.tecontrol.se/products/uni-midi-breath-controller/support Once you have downloaded the software, unzip the file and run the installer (Windows) or drag and drop the application in your favourite location (Mac). On Windows the installer will create a shortcut in the Start menu. -
Page 8: How To Configure
It has been reported to us that on some Windows installations, the operating system may report the Breath Controller as “USB Audio Device” instead of “Breath Controller”. For those rare instances, we have added an option “Show all MIDI devices” to the “Select controller”... - Page 9 • The Enable/Disable Monitor button enables a circular marker that is displayed along the sensitivity curve and indicates the actual sensor input. This is very useful for tailoring the sensitivity to suit your playing style. Note that when either Aftertouch or any of the Pitch Bend options are selected the MIDI CC drop down is grayed out.
-
Page 10: Configuring Your Daw And
4 Configuring your DAW and VI 4.1 DAW In your DAW/player software the breath controller must be selected as a MIDI input device in order to work. In your DAW you must also configure the MIDI input of the track you are playing or recording to “MIDI omni”, “All MIDI inputs”... - Page 11 • Adagio violas • LA Scoring Strings LASS • East West Quantum Leap (EWQL) • Berlin Woodwinds. • Symphobia 1 & 2 and True Strike 1 & 2 • All instruments, both Kontakt based and SWAM based • Omnisphere, Trilian and Stylus RMX •...
-
Page 12: Declaration Of Conformity
5 Declaration of conformity...
Need help?
Do you have a question about the UNI MIDI Breath Controller and is the answer not in the manual?
Questions and answers