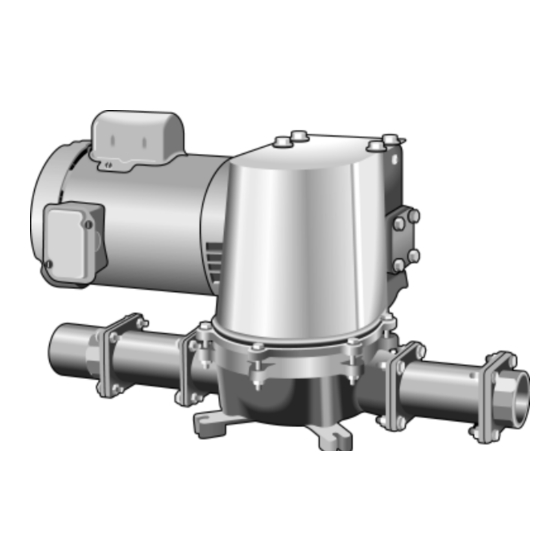
Summary of Contents for SeaLand Vacuum Pump
- Page 1 M-Series Vacuum Pump OWNER’S MANUAL Dometic Corporation 13128 State Rt 226, P.O. Box 38 Big Prairie, Ohio 44611-0038 USA SeaLand Product Hotline 1-800-321-9886 (8:00 a.m. - 5:00 p.m. ET)
-
Page 2: Safety Instructions
TABLE OF CONTENTS Safety Instructions ... 2 Models ... 2 Installation Instructions... 2 Maintenance ... 3 Troubleshooting ... 7 SAFETY INSTRUCTIONS WARNING: When using this product, always exercise basic safety precautions including the following: • Read all instructions before use or installation. •... -
Page 3: Maintenance
Electrical Wiring It is imperative that adequate wire size and proper over-current protection (fuse or circuit breaker) sizes are used. The following chart can be used as a guideline. Refer to chart on page 10 for solenoid/relay information. PUMP VOLTAGE 12 VDC 24 VDC 32 VDC... - Page 4 4. Disconnect electrical source to motor, following lock-out/tag-out procedure. 5. Remove the six (6) 5/16" fasteners around the circumference of the pump top. 6. Carefully remove the pump top from the pump body. 7. Turn the pump top upside down to expose the diaphragm and rod bolt. (See Fig. 3) 8.
- Page 5 3. Install and adjust first hex nut for proper bushing clearance of 0.020" [.50mm]. 4. Hold adjustment nut from turning and install and tighten the lock nut. 5. Recheck bushing clearance. IMPORTANT: INADEQUATE CLEARANCE OR LOOSE LOCK NUT WILL CAUSE THE ECCENTRIC TO BIND, RESULTING IN PUMP STALLING AND PREMATURE BUSHING WEAR.
-
Page 6: Motor Replacement
F. SPEED (GEAR) REDUCER REPLACEMENT To Remove: 1. Turn off electrical power to pump and remove pump cover (not supplied on some models). 2. Remove the motor from the reducer. (See Section G) 3. Loosen output shaft set screws. 4. Remove the four (4) 3/8" bolts that secure the reducer to the pump top using a 9/16"... -
Page 7: Troubleshooting
TROUBLESHOOTING WARNING Before attempting to open or service the pump: 1. If possible, flush pump with clean water and disinfectant. 2. Allow motor to cool if overheated. 3. Disconnect power supply to pump before servicing unit. Follow proper lock-out/tag-out procedures. Problem 1. -
Page 8: Dimensional Specifications
DIMENSIONALSPECIFICATIONS WIRING DIAGRAMS M-Series Vacuum Pump Wiring Schematic (VacuFlush System) NOTE: Vacuum tank pressure switches are wired in parallel for multiple toilet installations. Wire to B connections only. -
Page 9: Parts List
PARTS LIST PART NUMBER Item *30:1 *20:1 310537 310538 342812 342813 342814 342815 342816 342817 342818 341792 342820 342821 342822 342823 341797 340704 Speed (Gear) Reducer Description Seal and Gasket Kit Bearing and Race Kit Input Shaft 920 MDSN *(SPECIFY RATIO, SERIAL/MODEL NUMBERS TO ORDER) Worm Gear 920 MDSN *(SPECIFY RATIO, SERIAL/MODEL NUMBERS TO ORDER) Output Shaft Cover (800519) - Page 10 PARTS LIST Parts Below Not Shown 12VDC SOLENOID 24VDC SOLENOID 32VDC SOLENOID 115VAC RELAY 50/60 HZ 220VAC RELAY 50/60 HZ M-Series Vacuum Pump 3/4HP 1/2HP 345831 345831 346900 346900 346530 346530 341431 342479 342478 342478...
- Page 11 PARTS LIST PART NUMBER ITEM 1/2HP 3/4HP 342469 341598 342422 342466 342770 342454 340689 640286 340720 342413 342472 342759 342404 342405 342419 342406 346604 346615 346795 340687 342459 342675 342757 640321 348702 342684 342456 342449 342402 342403 342467 342688 342462 342675 342756 640321...
-
Page 12: Manufacturer's One-Year Limited Warranty
If this SeaLand product is placed in commercial or business use, it will be warranted, to the original purchaser only, to be free of defects in material and workmanship for a period of ninety (90) days from the date of purchase.

Need help?
Do you have a question about the Vacuum Pump and is the answer not in the manual?
Questions and answers