Motorola GP328 User Manual
Professional two-way radio
Hide thumbs
Also See for GP328:
- Detailed service manual (272 pages) ,
- Quick reference card (23 pages) ,
- Specifications (4 pages)
Table of Contents
Advertisement
Advertisement
Table of Contents

Related Manuals for Motorola GP328


Summary of Contents for Motorola GP328
- Page 1 Motorola Inc. FCC ID: AZ489FT4826 GP328 Professional Two-Way Radio EXHIBIT 12...
- Page 2 2-YEAR LIMITED WARRANTY FOR RADIOS We thank you for purchasing our Motorola radios. Should you have any queries, please contact: These radios are manufactured according to the highest quality standards set and are backed by Singapore - Telephone/Fax: (65) 3810408&9/2871068 Motorola’s two (2) year warranty.
- Page 3 MOTOROLA. MOTOROLA cannot be responsible in any way for any ancillary equipment not furnished by MOTOROLA which is attached to or used in connection with the Product, or for operation of the Product with any ancillary equipment, and all such equipment is expressly excluded from this warranty.
-
Page 4: Table Of Contents
Contents CONTENTS Sending a Call......13 Receiving a Call ......13 Radio Overview . - Page 5 Safety Information ....23 Safe And Efficient Operation Of Motorola Two- Way Radios ......23 Exposure To Radio Frequency Energy .
-
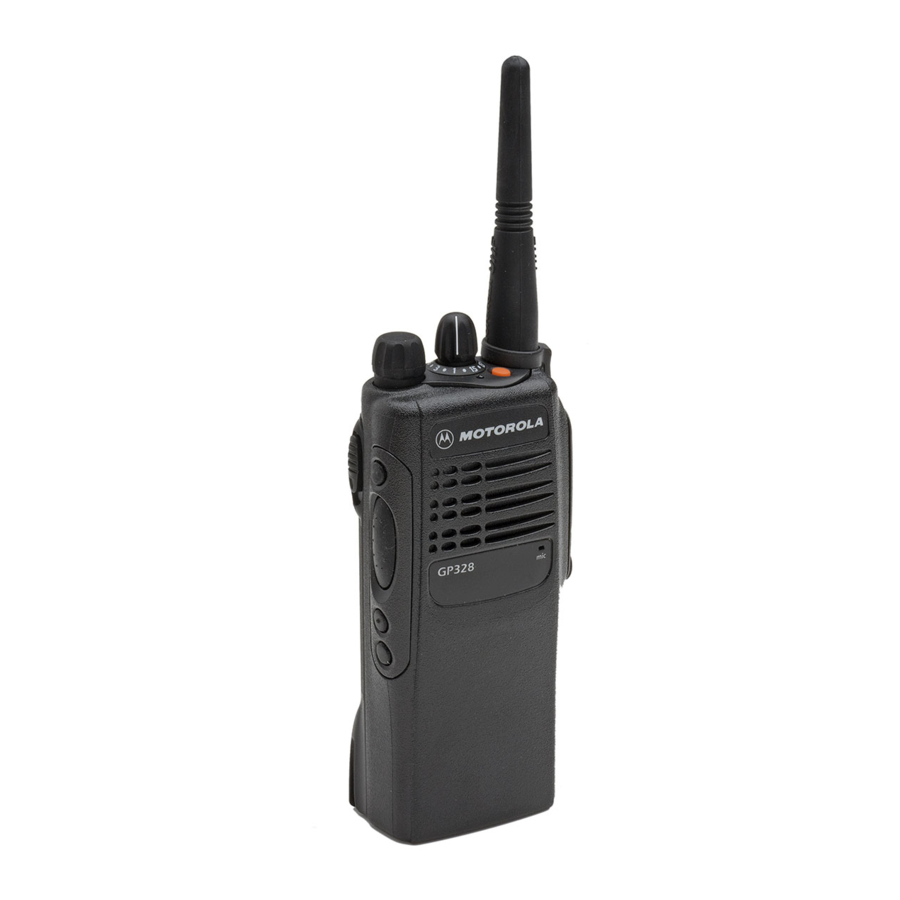
Page 6: Radio Overview
Radio Overview RADIO OVERVIEW PARTS OF THE RADIO Channel Selector Knob On/Off/Volume Knob Top Button (programmable) Side Button 1 (programmable) Dust Cover LED Indicator covering the Accessories Microphone Port Push-to-Talk (PTT) Button Front Buttons Side Button 2 (programmable) (programmable) Keypad Side Button 3 (programmable) English... -
Page 7: On/Off/Volume Knob
Radio Overview On/Off/Volume Knob The three Front Buttons (not available for radios without the keypad), as shown, the top button and the three side buttons can be programmed as Used to turn the radio on or off, and to increase short-cut buttons for many of the radio’s the radio’s volume. - Page 8 Radio Overview Short Press Long Press Press and Hold Scan/Nui- To toggle between the To delete a nuisance chan- sance Chan- start/stop of the Scan oper- nel while scanning. nel Delete ation. Tx Power To toggle your radio’s To toggle your radio’s transmit power level transmit power level between High and Low...
-
Page 9: Push-To-Talk (Ptt) Button
Radio Overview Short Press Long Press Press and Hold Phone † † To make a Phone Call. To make a Phone Call. Speed Dial To easily access the phone To easily access the phone numbers in your phone numbers in your phone †... -
Page 10: Keypad Keys (For Keypad Radios Only)
Radio Overview Keypad Keys (for keypad radios only) Programmable Buttons Audio Indicators Some programmable keys function as toggles. 1 2 3 These keys use audio indicators to indicate the 4 5 6 change. 7 8 9 Positive Negative Programmable Indicator Indicator * 0 # Buttons... - Page 11 Radio Overview Positive Negative Programmable Indicator Indicator Buttons Tone Tone Keypad Lock Radio’s key- Radio’s key- pad is pad is locked unlocked Repeater/ Radio Radio uses Talkaround DOES the repeater NOT use the repeater English...
-
Page 12: Getting Started
Getting Started Charging your Battery GETTING STARTED When the battery level is very low, you need to BATTERY INFORMATION recharge the battery before you can continue to use your radio. Battery Status 1. Place the radio with the battery attached or the battery alone in the charger. -
Page 13: Accessory Information
Getting Started ACCESSORY INFORMATION Removing the Battery battery latches Attaching the Battery 1. Turn off the radio, if it is turned on. 2. Slide the battery latches, on both sides of the slots battery, downwards. 3. Pull the top part of the battery away from the Fit the extensions at the bottom of the battery radio’s body, and lift the battery from the into the slots at the bottom of the radio’s body. -
Page 14: Attaching The Antenna
Getting Started Attaching the Antenna Attaching the Belt Clip attaching Align the threaded end of the antenna with the radio’s antenna connector. Align the grooves of the belt clip with those of Turn the antenna clockwise to fasten it. the battery. Press the belt clip downwards until a click is heard. -
Page 15: Removing The Belt Clip
Getting Started TURNING THE RADIO ON OR OFF Removing the Belt Clip belt clip tab • Turn the On-Off/Volume Control knob clockwise to turn on the radio. • Turn the On-Off/Volume Control knob counter-clockwise, until a click is heard, Use a key to press the belt clip tab away from to turn off the radio. -
Page 16: Selecting A Radio Channel
Getting Started SELECTING A RADIO CHANNEL Your radio offers sixteen (16) channels for easy access to required conventional channels. Some channels on your radio may not programmed. Check with your dealer for more information. Turn the Channel Selector knob clockwise or counter-clockwise until you reach the desired channel. - Page 17 Getting Started English...
-
Page 18: Radio Call Information
Radio Call Information tightening the channel’s squelch. However, RADIO CALL INFORMATION tightening squelch could cause calls from members of your communications group that TALKAROUND are farther away to be filtered out as well. Press the programmed Squelch button to toggle In your communications network, you may be between the options of having normal squelch using a repeater to cover a larger area than what... - Page 19 Radio Call Information indicates that the radio is operating in low power mode. English...
-
Page 20: Scan
Scan TALKBACK SCAN If the programmable Talkback option is set, you You can monitor several channels in order to can respond to any calls received during the receive any call that is transmitted on any of scan operation by pressing the PTT before the these channels. -
Page 21: Scan List
Scan ADDING A DELETED NUISANCE SCAN LIST MEMBER PRIORITY CHANNEL BACK TO THE SCAN A channel in your scan list may be prioritized LIST (check with your dealer for details). In such a case, the radio will check that prioritized Press the Scan key to stop the scan operation. -
Page 22: Phone
Phone Entering the Phone Mode PHONE You can use your radio to connect to a phone Before you can make a phone call, you must line to make a phone call. You need a radio with enter the radio’s phone mode. a keypad to do this. -
Page 23: Sending The Phone Number
Phone • live dial Method Steps to Take • buffered dial. Used Check with your dealer for details. Automatic You do not have to do anything; Immediate the radio immediately sends the Sending a Stored Phone Number access code when it enters phone You can access the stored phone numbers by mode. - Page 24 Phone Sending a New Number (for radios with Method keypad only) Steps to Take Used You enter the phone number by pressing the relevant keys on the keypad. Speed 1. Press and release the pro- Dial grammed Speed Dial button. 2.
-
Page 25: The Phone Conversation
Phone The Phone Conversation The radio can send the deaccess code in any of the following ways: Once the radio has connected to the intended • manual (for radios with keypad only) party, you can begin the conversation. Even • automatic. -
Page 26: Safety Information
(August 1996) This document provides information and instructions for the safe and efficient operation • American National Standards Institute of Motorola Portable and Mobile Two-Way (C95.1 - 1992) Radios. • National Council on Radiation Protec- The information provided in this document... -
Page 27: Portable Radio Operation And Eme Exposure
Safety Information • If you wear a portable Two-Way radio on •Proceedings of “Safety Considerations for your body, ensure that the antenna is at SC211/B 1996 Human Exposure to EMFs least 2.5 centimeters (one inch) from the from Mobile Telecommuni- body when transmitting. -
Page 28: Operational Warnings
Safety Information Operational Warnings or removing batteries and cause an explosion. Vehicles with an air bag W A R N I N G Blasting caps and areas • Do not place a portable radio • To avoid possible interference with blast- in the area over an airbag or in the air bag ing operations, turn off your radio when deployment area. - Page 29 Safety Information a damaged antenna comes into contact with your skin, a minor burn can result. Batteries • All batteries can cause property damage and/or bodily injury such as burns if a conductive material such as jewellery, keys or beaded chains touch exposed ter- minals.
- Page 30 Motorola Penang Bayan Lepas Free Industrial Zone Phase III 11900 Penang Malaysia May, 1998...
Need help?
Do you have a question about the GP328 and is the answer not in the manual?
Questions and answers