Advertisement
Quick Links
IMPORTANT INSTRUCTIONS READ & SAVE THESE INSTRUCTIONS
Owner's Manual & Installation Instructions
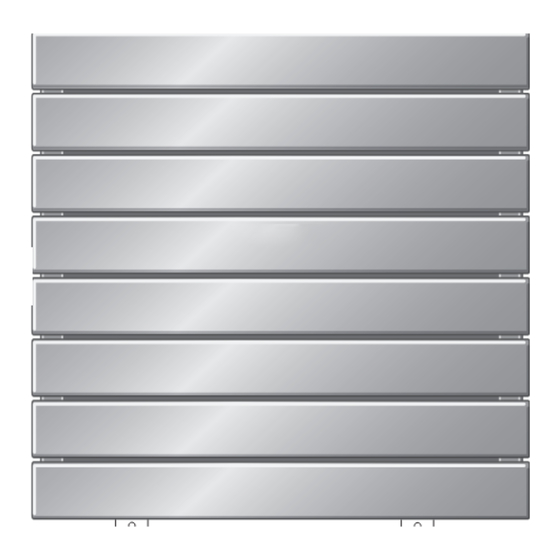
8 Element Wall Panel Front View
EWP 8
23
⁄
"
1
8
T
hank you for purchasing the Runtal Electric Wall Panel. We are very proud of our workmanship and
quality, and we are certain that you will be thoroughly satisfied with your new Runtal Electric Wall
Panel. We urge you to contact your local Runtal representative if you have comments or questions.
This manual is intended to show installation and care for your Runtal Electric Wall Panel. The
electrical wiring connections must be made by a qualified professional electrician. Wiring procedures
and connections must be in accordance with the National Electric Code (NEC) and local codes.
The Electric Wall Panel must be installed in a horizontal orientation as shown below.
Correct Orientation
o
i
peRating
nstRuCtions
Runtal Electric Wall Panel must be properly installed before it is used.
1.
Runtal Electric Wall Panel must be connected to a switching device,
2.
thermostat / relay switch, etc.
The heating element and high-limit thermostat should not be tampered with.
3.
Individual thermostats used in conjunction with the EWP will determine operational use.
4.
R
n
a
, i
untal
oRth
meRica
Electric Wall Panel
8 & 6 Element Wall Panel Side View
L
Incorrect Orientations
Proper installation requires the
Runtal Electric Wall Panel to be in the
horizontal position as shown. No other
orientations are acceptable.
.
US Tel: 800-526-2621
nc
2
⁄
"
3
8
2
⁄
"
3
8
1
Canadian Tel: 888-829- 4901
s
6 Element Wall Panel Back View
Top
EWP 6
Bottom
L
L = 24", 36", 48"
C
:
ontents
1 Electric Wall Panel (EWP)
1 Mounting Hardware Package
1 Owner's Manual
t
R
:
ools
equiRed
Screw Drivers
Electric Drill
www.runtalnorthamerica.com
s
17
⁄
"
1
4
Advertisement

Related Manuals for Runtal EWP series


Summary of Contents for Runtal EWP series
- Page 1 ⁄ ” hank you for purchasing the Runtal Electric Wall Panel. We are very proud of our workmanship and quality, and we are certain that you will be thoroughly satisfied with your new Runtal Electric Wall Panel. We urge you to contact your local Runtal representative if you have comments or questions.
-
Page 2: Mounting And Installation
Simply choose an appropriate location, attach wall brackets to the wall, make the electrical connection, hang the unit on the wall and screw in the lockdowns. Please note that all installations of the Runtal EWP should be in accordance with local building and electrical codes and performed by a licensed installer. - Page 3 A line voltage thermostat or a low voltage thermostat with a relay is recommended for room temperature regulation, and for switching off the Electric Wall Panel when not in use. Thermostat and /or relay are by others, and is not supplied with the Runtal Electric Wall Panel. Note: Thermostat location recommendations Locate the thermostat away from the heater and other appliances that give off heat.
- Page 4 Thermostat to insure against overheating. Should the radiator stop Mounting Screw and Cap Floor working for any reason, Runtal recommends that the power to the unit be shut off at the source (circuit breaker) and a licensed electri- Add Decorative Screw Cap Before cian be contacted for service.
- Page 5 IMPORTANT INSTRUCTIONS READ & SAVE THESE INSTRUCTIONS ounting nStRuctionS foR igid onduit WheRe equiRed Illustration A Secure the Rigid Conduit Wall Plate (illustration A) Conduit Nipple and connections in selected wall location, allow six (6”) inches of supply wire (illustration B) to estab- Locknut lish a connection to the radiators junction box.
-
Page 6: Operation And Maintenance
Your Runtal Electric Wall Panel (EWP) has been designed to require the absolute minimum maintenance and care under normal use. However, care should be taken when cleaning the surface of the panel. Periodically vacuum across the top of the grille to remove dust from the grille. -
Page 7: Important Instructions
To disconnect heater, turn controls to off, and turn off power to the heater circuit at main disconnect panel ( or operate internal disconnect switch if provided). The Runtal EWP is equipped with a manual reset High-Limit Thermostat to insure against overheating. Should the radiator stop working for any reason, Runtal recommends that the power to the unit be shut off at the source (circuit breaker) and a licensed electrician be contacted for service.
Need help?
Do you have a question about the EWP series and is the answer not in the manual?
Questions and answers