Table of Contents
Advertisement
Advertisement
Table of Contents

Related Manuals for Oyster Vision

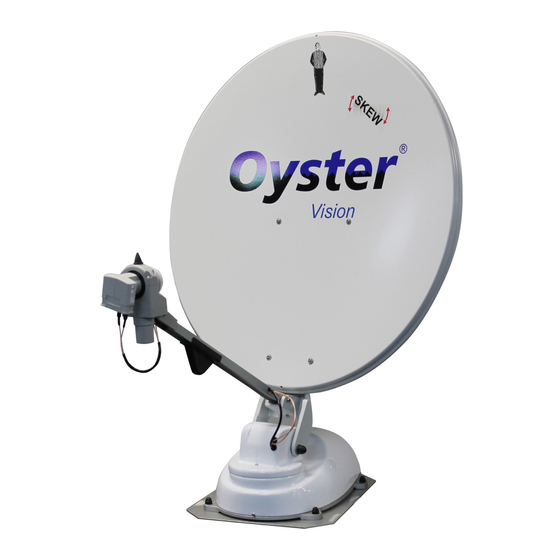
Summary of Contents for Oyster Vision
- Page 1 INSTALLATION INSTRUCTIONS www.ten-haaft.com...
-
Page 2: Table Of Contents
1. General information 1.1 Scope of supply 1.2 Safety precautions 2. Installation preparation 2.1 Installation preparation 2.2 Installation space required for the Oyster® 3. Installation 3.1 Attaching the mounting plate 3.2 Mounting the external unit 3.3 Voltage supply 3.4 Connections 3.5 Safety circuit... -
Page 3: General Information
1. GENERAL INFORMATION 1.1 Scope of supply The following items are included in the supply: • Antenna unit • Parabolic antenna • Mounting plate (fitted to external unit) • Wiring harness to external unit (coaxial cable) • Coaxial cable (connection of satellite receiver to FeatureBox) •... - Page 4 The antenna retracts automatically when the ignition is switched on. Reactivating the antenna requires the "Oyster® TV" Premium system to be rebooted (switch the system off and back on). Ignition / terminal 15...
-
Page 5: Installation Preparation
2. INSTALLATION PREPARATION 2.1. Preparation Before starting the installation, ensure that the roof of your vehicle is sufficiently sturdy. Ensure that the permis- sible roof load of your vehicle is not exceeded when installing the system and accessing the roof. If the roof is not strong enough, or if you are in any doubt, attach a 3-mm sheet-metal panel of 100 x 100 cm to the outer skin of the roof to improve stability. -
Page 6: Installation Space Required For The Oyster
2. INSTALLATION PREPARATION 2.3 Installation space required for the Oyster® Rear view Seitenansicht Lateral view Side view Fahrtrichtung Direction of travel Driving direction... - Page 7 2. INSTALLATION PREPARATION Top view Lateral view of base Datum Name Gewicht Maßstab Bearb. Werkstoff Gepr. Gedr. Benennung ten Haaft GmbH Satelliten - Technologie Neureutstr. 9 Blatt 75210 Keltern Zeichnungs-Nr. Tel. 07231/58588-0 Fax 07231/58588-119...
-
Page 8: Installation
3. INSTALLATION Attaching the mounting plate Once you have determined the final installation position of the system and you have checked again that it is correctly positioned in relation to the direction of travel (system retracting towards the rear of the vehicle, cable outlet pointing towards the rear of the vehicle), mark the corner points of the mounting plate. - Page 9 3. INSTALLATION a) Fabricate a hole of 20 to 30 mm in diameter in the roof for the wiring feed-through. Threaded elbow ø 20-30 mm b) Route the wiring tidily on the roof of the vehicle e.g. using a piece of wiring trunking and guide the wiring coming out of the threaded elbow fitting downwards to the control panel.
- Page 10 3. INSTALLATION Do not tighten the union nut of the elbow fitting before having adjusted the length of the cable on the roof. Sealing the roof gland Sikaflex on screws Sikaflex Adjust cable length around edges on roof Important: After allowing sealant to dry, test for waterproof seal.
-
Page 11: Voltage Supply
3. INSTALLATION 3.3 Power supply 1. A sufficient power supply of the system must be ensured a) The system must be connected to the 12-V or 24-V onboard electric system. b) The minimum cross-section of the wires connecting the satellite system to the power supply is 2.5 mm². For wiring lengths above 6 meters, a cross-section of 4.0 mm²... -
Page 12: Connections
3. INSTALLATION 3.4 Connections Vehicle rear end Vehicle rear end Direction of travel Direction of travel... - Page 13 3. INSTALLATION CONNECTION MARKINGS AT THE VISION CONTROL UNIT Power converters with a rated voltage of 13.8 V and a minimum continuous power output of 6 Amps must be used. We recommend using the power converter available from us. Number...
-
Page 14: Safety Circuit
3. INSTALLATION 3.5 Safety circuit To prevent damage from driving with the external unit unfolded, the black cable of the FeatureBox' power supply must be connected to terminal 15. A line connected to terminal 15 is live when the ignition is switched on and carries no voltage when the ignition is switched off. -
Page 15: Removal
4. REMOVAL 4.1 Removing the system The removal of the exterior unit requires a 13-mm open-end spanner. The supply line does not need to be re- moved. Proceed as follows: • Remove the four M8 nuts securing the base plate to the mounting plate. Lift off the system. •... - Page 16 ten Haaft GmbH Office hours: Neureutstraße 9 Monday – Friday 8:00 a.m. – 12:00 a.m. 75210 Keltern 12:30 a.m. – 4:30 p.m. Germany Telephone: +49 (0) 7231 / 58588-0 Telefax: +49 (0) 7231 / 58588-119 E-mail: service@ten-haaft.com www.ten-haaft.com Release 03/2018 · Part number: 3.150.2103...
Need help?
Do you have a question about the Vision and is the answer not in the manual?
Questions and answers