Advertisement
Quick Links
Wiring Diagram
DS-SB
ON
TIMER
OFF
Remote Air
Sensor
L
N
SL
RT+
L
N
SL
1
2
UH3
Introduction
function automatically reduces the set temperature by 4°C when no time clock signal is detected.
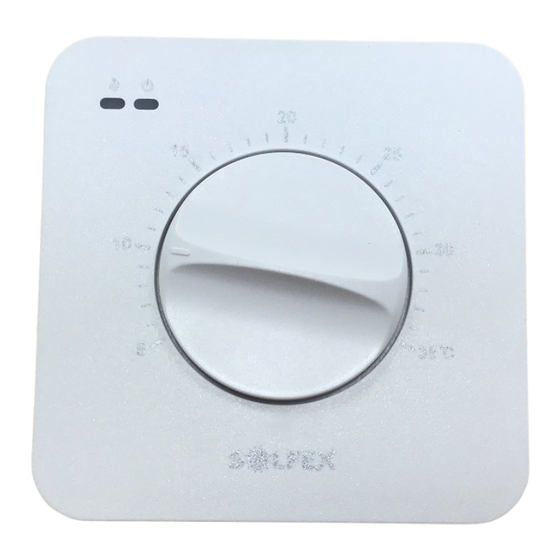
The DS-SB thermostat has been designed to work in conjunction with the Heatmiser UH3 wiring
centre and TM4 Programmer, but can also be used as a standalone dial thermostat.
Remote Sensor
The SOLFEX DS-SB provides the option to work with a remote temperature sensor.
When a compatible remote sensor is connected, the thermostat will automatically switch from
using it's internal sensor to use the remote sensor instead. This function is ideal for controlling
being measured and controlled.
RT-
Want More Information?
Call our support team on:
+44 (0)
directly on our website:
www.solfex
.co.uk
PDF
FA Q
Rev 2.0
Installation
IN ORDER TO AVOID ANY RISK OF ELECTRIC SHOCK, TURN OFF THE POWER TO THE HEATING
SYSTEM BEFORE COMMENCING INSTALLATION.
terminal driver into the slots on the bottom face of the thermostat.
2. Terminate the thermostat as shown in the wiring diagram.
3. Screw the back plate securely back onto the wall.
4. Clip the front part of the thermostat onto the back plate and turn the power back on.
Model: DS-SB
Advertisement

Summary of Contents for Solfex DS-SB
-
Page 1: Wiring Diagram
4°C when no time clock signal is detected. terminal driver into the slots on the bottom face of the thermostat. The DS-SB thermostat has been designed to work in conjunction with the Heatmiser UH3 wiring 2. Terminate the thermostat as shown in the wiring diagram. -
Page 2: Setting The Temperature
Setting The Temperature Set-back Operation To change the set point, rotate the dial until it points to the desired temperature. temperature by 4°C. To make use of the set-back function, a 230v time clock is also required on the system. Place the thermostat slide switch into the time clock position.

Need help?
Do you have a question about the DS-SB and is the answer not in the manual?
Questions and answers