
Related Manuals for Murphy LM2000


Summary of Contents for Murphy LM2000
- Page 1 Lube Level Maintainer Models LM2000/LM2000S Installation Instructions 00-02-0423 Revised 08-12-09 Section 15...
- Page 2 The latest version of this manual can be found at www.fwmurphy.com. Warranty - A two year warranty on materials and workmanship is given with this FW Murphy product. A copy of the warranty may be viewed or printed by going to www.fwmurphy.com/support/warranty.htm. In the event of a fault or technical query, please contact your Murphy representative for technical support.
-
Page 3: Table Of Contents
Pipe Bracket Mounting (15000238) ..................3 Mounting with Universal Bracket (15000370) ............... 3 Connecting Fittings and Hoses ..................... 4 Connecting the LM2000 to an Oil Supply Tank ..............5 Switch Test ........................... 5 LM2000 Typical Installation Shown with FSV Series Valves ..........6... - Page 4 (THIS PAGE INTENTIONALLY LEFT BLANK)
-
Page 5: General Information
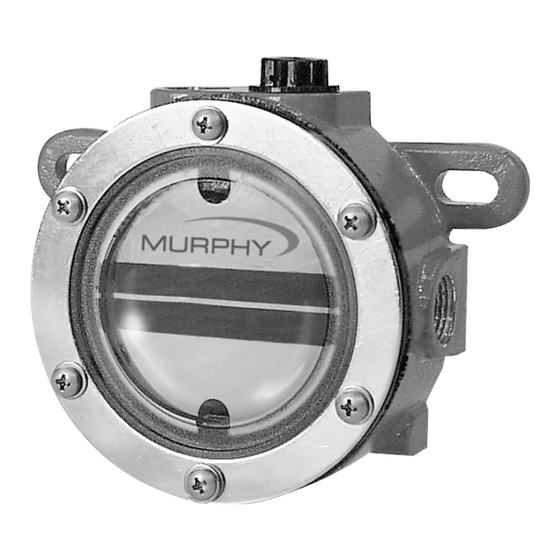
General Information Description The Murphy LM2000 model maintains the crankcase oil level of an engine, pump or compressor. Adjusted to the correct running-oil-level, the LM2000 will replenish oil as it is used. An integral, low-level switch will alarm and/or shutdown the equipment if supply oil is lost and the equipment continues to use oil. -
Page 6: Thumb-Valve™ Operation
General Information—continued Thumb-Valve™ Operation As the equipment uses oil, the float falls, providing immediate level compensation. At FULL position, the float holds the valve closed. If the clean oil supply is depleted and oil level continues to fall, the low level switch will operate an alarm or equipment shutdown. -
Page 7: Typical Installation
See Figure 2A. 3. Slip the LM2000 onto the pipe and install the two adjustment bolts. Each bolt consists of a 1/4-20 UNC x 1 in. bolt, nuts and lock washers. See Figure 2B. DO NOT tighten the adjustment screws too tightly because you will have to adjust the LM2000 later in the installation process. -
Page 8: Connecting Fittings And Hoses
3. Install the 1/2 inch (13 mm) I.D. x 3 ft. (914 mm) hose to the vent connection on the LM2000 and to the vent connection on the crankcase. See Figure 5. The vent connection on the crankcase must be well above the regulated oil level. -
Page 9: Connecting The Lm2000 To An Oil Supply Tank
4. Fill the crankcase to the proper oil level. With the engine running and warm, loosen the mounting bracket adjustment bolts and adjust the LM2000 so that the oil level in the sight gauge is aligned with the white “index line”... -
Page 10: Lm2000 Typical Installation Shown With Fsv Series Valves
Typical Installation—continued LM2000 Typical Installation Shown with FSV Series Valves WARNING: Perform this installation using appropriate protection. Trapped air and hot oil may cause burns. Section 15 00-02-0423 08-12-09 - 6 -... -
Page 11: Specifications
Specifications Crankcase Balance Vent Connection: 1/2 NPTF (top). Inlet Connection: 1/2 NPTF with removable screen (side). Outlet Connection: LM2000 3/4 NPTF (bottom). LM2000S 2 x 3/8 NPTF (side) 1 x 3/4 NPTF (bottom) Thumb-Valve™ Material: Viton. Snap-switch: SPDT rating 10 A, 125 VAC; 0.5 A, 125 VDC; 10 A, 30 VDC. - Page 12 (THIS PAGE INTENTIONALLY LEFT BLANK)
- Page 13 MURPHY, and the Murphy logo are registered and/or common law trademarks of Murphy Industries, Inc. This document, including textural matter and illustrations, is copyright protected by Murphy Industries, Inc., with all rights reserved. (c) 2007 Murphy Industries, Inc. Other third party product or trade names referenced herein are the property of their respective owners and are used for identification purposes only.
Need help?
Do you have a question about the LM2000 and is the answer not in the manual?
Questions and answers