
Summary of Contents for PB TEEN Grand Cordless Phone
- Page 1 Retro_EN.book Page 1 Thursday, September 3, 2009 9:50 AM Grand Cordless Phone Instruction manual www.pbteen.com...
-
Page 2: Important Safety Instructions
Retro_EN.book Page 1 Thursday, September 3, 2009 9:50 AM English IMPORTANT SAFETY INSTRUCTIONS When using your telephone equipment, basic safety precautions should always be followed to reduce the risk of fire, electric shock and injury to persons, including the following: 1. -
Page 3: Consumer Information
Retro_EN.book Page 2 Thursday, September 3, 2009 9:50 AM English CONSUMER INFORMATION This equipment complies with Part 68 of the FCC rules and with technical requirements adopted by the Administrative Council for Terminal Attachments (ACTA). The label on the back or bottom of this equipment contains, among other things, a product identifier in the format US:AAAEQ##TXXXX. -
Page 4: Technical Specifications
Retro_EN.book Page 3 Thursday, September 3, 2009 9:50 AM English This equipment has been tested and found to comply with the limits for a Class B digital device, pursuant to Part 15 of the FCC Rules. These limits are designed to provide reasonable protection against harmful interference in a residential installation. - Page 5 Retro_EN.book Page 4 Thursday, September 3, 2009 9:50 AM English...
- Page 6 Retro_EN.book Page 5 Thursday, September 3, 2009 9:50 AM English...
-
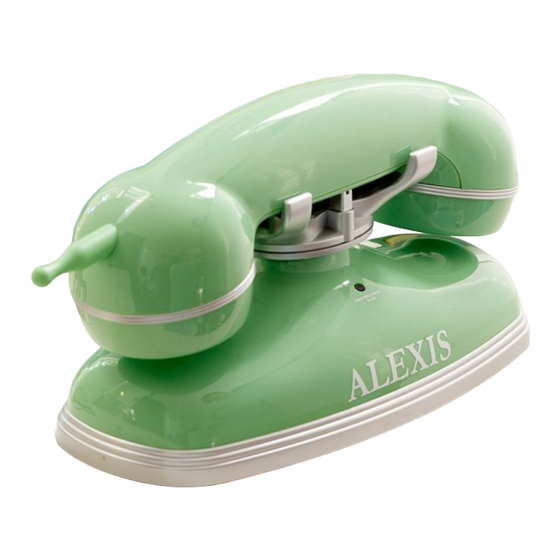
Page 7: Main Features
Retro_EN.book Page 6 Thursday, September 3, 2009 9:50 AM English CONTROLS Handset Antenna 12. Pause Button Ear Piece Cover 13. Talk Button LCD Display 14. Format Button Redial Button 15. Charge Indicator Memory Button 16. Charging Contact Plate Caller ID/Volume ( ) Button 17. -
Page 8: Installation
Retro_EN.book Page 7 Thursday, September 3, 2009 9:50 AM English INSTALLATION Modular Jack • To properly connect your phone to your analog (non digital) telephone lines, you will need an RJ11 type modular phone jack. If you do not have a modular jack, call your local phone company to find out how to get one installed. -
Page 9: Getting To Know Your Phone
Retro_EN.book Page 8 Thursday, September 3, 2009 9:50 AM English Important:- Do not connect the telephone line to the modular jack until the phone has been charged for 24 continuous hours. - Charge the handset battery for 24 continuous hours prior to first use. The initial battery charge is important for best performance. - Page 10 Retro_EN.book Page 9 Thursday, September 3, 2009 9:50 AM English Menu/ Select In idle mode: press to access menu list. In menu/editing mode: press to confirm and save the settings. During a call: press to hold a call. In calls list entry: press to save the entry to the phonebook. In phonebook entry: press to go to phonebook editing mode.
-
Page 11: Handset Lcd Display
Retro_EN.book Page 10 Thursday, September 3, 2009 9:50 AM English Handset LCD display Indicates when new call is received. Off when new call has been viewed. On when ringer volume is turned off. On when there is received new voice mail not yet listened to. Off when new voice mail has been listened to. -
Page 12: Character Map
Retro_EN.book Page 11 Thursday, September 3, 2009 9:50 AM English Paging is a useful way of finding lost handsets. 1. Press on the base. - All handsets ring. 2. To stop the paging call, press again, or place the handset on the cradle or press any key on the handset. -
Page 13: Using The Phone
Retro_EN.book Page 12 Thursday, September 3, 2009 9:50 AM English Lowercase Character versus key press number space ‘ & USING THE PHONE Calls Make a call 1. Press 2. Dial the phone number. Predial 1. Enter the phone number (maximum 32 digits). If you make a mistake, press to delete a digit. -
Page 14: View An Entry
Retro_EN.book Page 13 Thursday, September 3, 2009 9:50 AM English Call from the redial list The last five numbers called are saved and can be redialed later. 1. Press . The first entry in the redial list is displayed. 2. Scroll to the entry you want. -
Page 15: Edit An Entry
Retro_EN.book Page 14 Thursday, September 3, 2009 9:50 AM English Add an Entry 1. Press 2. If the list is empty, LIST EMPTY is displayed. Press to select ADD. If there are entries in the phonebook, press to the entry you want. Press to select ADD. -
Page 16: Calls List
Retro_EN.book Page 15 Thursday, September 3, 2009 9:50 AM English Store a Phonebook Entry as a One Touch Number 1. Press 2. Press to select SPEED DIAL. 3. Press to select the speed dial key 1 to 9. 4. Press to the entry you want. -
Page 17: Personal Settings
Retro_EN.book Page 16 Thursday, September 3, 2009 9:50 AM English Save a number from the calls list to the phonebook 1. Press to enter calls list. 2. Press to the entry you want. 3. Press and enter the name. 4. Press and edit the number. -
Page 18: Handset Name
Retro_EN.book Page 17 Thursday, September 3, 2009 9:50 AM English Handset Tones WARNING: When the phone is ringing, avoid holding the earpiece too close to your ear as it may damage your hearing. Set the ringer tone 1. Press to select SETUP HS. 2. -
Page 19: Auto Talk On/Off
Retro_EN.book Page 18 Thursday, September 3, 2009 9:50 AM English Auto Talk On/Off With auto talk is turned on, you can answer a call just by lifting the handset off the base or charger. If turned off, you will have to press to answer a call. -
Page 20: Default Settings
Retro_EN.book Page 19 Thursday, September 3, 2009 9:50 AM English DEFAULT SETTINGS Items Default values Date & Time YEAR: 2009 DATE: 01/01 TIME: 12:00 AM Ringer tone MELODY 1 Key tone Battery low tone No coverage tone Handset name HANDSET Language ENGLISH LCD contrast... -
Page 21: Maintenance
Retro_EN.book Page 20 Thursday, September 3, 2009 9:50 AM English Registration When the handset lost its link with the base during a call • Check the power cord is connected properly into the base. • Check the power adapter is connected properly into an electrical outlet. •... - Page 22 Retro_EN.book Page 1 Thursday, September 3, 2009 9:50 AM www.pbteen.com Ref. PBTRCP(0809)-M4...
Need help?
Do you have a question about the Grand Cordless Phone and is the answer not in the manual?
Questions and answers