Advertisement
Table of Contents
- 1 Table of Contents
- 2 Be Familiar with the System before Installation
- 3 Inspection & Preparation
- 4 Understanding How the Water Softener Works
- 5 System Operation Parameter and Installation Checklist
- 6 Installation Safety Guide
- 7 Installing the System
- 8 STEP 1. Shutting off the Main Water Supply Valve
- 9 STEP 2. Softener Preparation
- 10 STEP 3. Connecting the System
- 11 STEP 4. System Startup
- 12 Total Gallon Calculation
- 13 Feature & Display
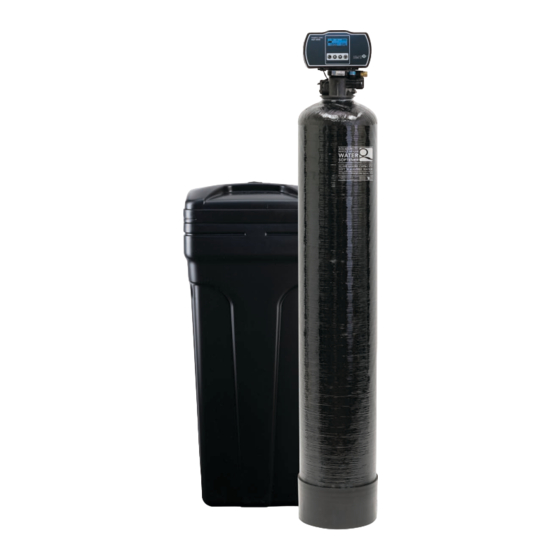
- 14 Product Dimension
- 15 System Troubleshoot
- 16 Limited Product Warranty
- Download this manual
Advertisement
Table of Contents


Need help?
Do you have a question about the AS-HS32D and is the answer not in the manual?
Questions and answers
drain line is a pust in with clip its not big enough for half inch line
The correct size of the drain line for the AquaSure AS-HS32D model is a minimum of 1/2 inch. If the drain line runs more than 20 feet, it is recommended to increase the hose size to 3/4 inch.
This answer is automatically generated