Table of Contents
Advertisement
Quick Links
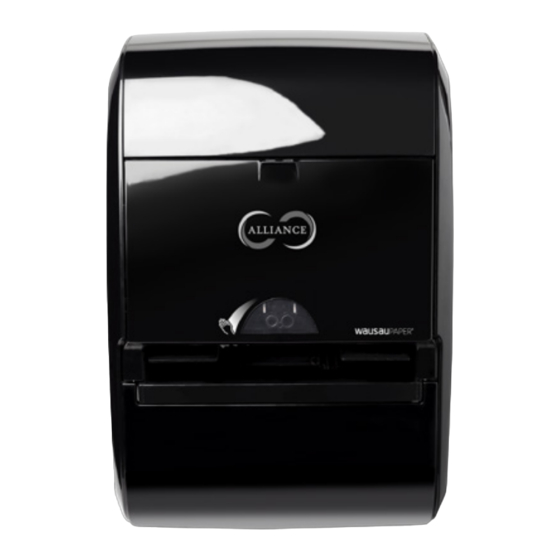
Alliance
Dispensing System Specifications
®
• Dispenser Size: 12.7"W x 19.3"H x 11"D
• Dispenser Weight: 10.6 lb
• Voltage: 6 VDC
• Towel lengths: 11" & 18"
• Modes: Valet & On Demand
• Capacity: Two full rolls 8" diameter x 7.5" or 8" width
— Up to 2,000 ft of toweling
Fig 1
Locking Tabs
Fig 3
Alliance
Special Feature
®
The Alliance
Dispenser was designed so that dispenser body can detach from the wall
®
mounting plate (via the locking tabs) for easy removal during re-painting or remodeling
of restroom facility wall structures.
Wall Plate
48"– 54"
Floor
Fig 4a
Top Flange
Optional
Mounting
Holes
Locking Tabs
Batteries
Safety Information
Read all instructions before mounting and using this dispenser. Save these instructions for future reference.
Warning
• Do not use liquids or chemical cleaners to clean the dispenser
• Only use the dispenser for the intended purpose of dispensing roll towels
• Do not use outdoors
• Do not operate the dispenser with any dispenser door open
• Dispenser must be securely attached to the wall bracket or a potential injury may occur
Caution
• This dispenser contains electronics and batteries. Batteries must not be exposed to extreme heat
• Do not mix old and new batteries. When batteries require replacement, use four new D-Cell batteries
(alkaline)
• Dispenser contains blades for cutting towels. Do not stick fingers in the dispenser
Items included in this box:
•
Dispenser
•
Dispenser key
•
4 D-Cell batteries (alkaline)
•
Hardware pack – includes four screws
NOTE: Appropriate anchors must be supplied by installers
Required Tools: Drill and drill bits, phillips screwdriver, measuring tape and a leveling device
Unit Mounting
Fig 2
1. Open the front door using the key provided, then open one of the side doors.
2. Remove the wall plate from the back housing by depressing the lock tabs from the inside of the
dispenser. Lay dispenser on flat surface before pressing lock tabs. See Fig 1
3. Use the wall plate as a drill template for the mounting anchors. The bottom of the wall plate is to be 6
inches above the bottom of the dispenser. Also, the bottom of the wall plate is approximately the same
height as the discharge of the paper. For ADA compliance the bottom of the wall plate should be
mounted 48" from the floor. See Fig 2
4. Use (4) screws to secure the wall plate. Alternative screws and anchors may be necessary for various wall
materials.
NOTE: THE WALL PLATE MUST BE MOUNTED LEVEL, PLEASE USE A LEVELING DEVICE TO ENSURE THE UNIT
IS LEVEL
5. Attach the dispenser to the wall plate. Ensure proper alignment and that the back housing is behind the
front tabs (See Fig 3) and under the release tabs. Ensure the top is hooked behind the top flange.
WARNING: THE DISPENSER MUST BE SECURELY ATTACHED TO THE WALL PLATE, INJURY MAY OCCUR IF
NOT PROPERLY SECURED TO WALL AREA
6. Insert the batteries with + on the left and – on the right. Upon installation, please ensure batteries are
straight and insert them from the left to right of the dispenser. See Fig 4
Mounting Option
The dispenser's back housing includes mounting holes on each corner. These can be used in place of or in
addition to the wall plate for added security. See Fig 4a
NOTE: THIS OPTION DOES MAKE IT MORE DIFFICULT TO DETACH UNIT DURING ROUTINE MAINTENANCE
PROCEDURES.
Optional Mandrel Position
Mandrel Position: The dispensers are shipped with the mandrels facing the right; the default paper loading
is by opening the door on the right. If the dispenser placement dictates, the mandrel set can be easily and
quickly reversed.
1. Remove two screws that secure the mandrel set to the frame. See Fig 4b
2. Push to release the lock tab and push the bottom over ¼". Then, do the same for the top lock tab.
Fig 4
See Fig 4c
3. Slide the mandrel set out of the frame
4. Install the mandrel set in the opposite side of the dispenser. Ensure both locking tabs have seated
completely
5. Install the two screws through the mandrel set into the frame. See Fig 4d
Fig 4b
Mandrel
Set
Screws
Fig 4d
Fig 4c
Locking Tab
Screws
Advertisement
Table of Contents

Summary of Contents for Wausau Paper Alliance series
-
Page 1: Safety Information
Safety Information Read all instructions before mounting and using this dispenser. Save these instructions for future reference. Warning • Do not use liquids or chemical cleaners to clean the dispenser • Only use the dispenser for the intended purpose of dispensing roll towels •... -
Page 2: Problem Solving
Paper Loading Fig 5a Fig 5b 1. Insert new rolls of paper onto mandrels. Notched end of paper is to face outward. See Fig 5a 2. Turn each roll of paper until the roll cup fingers spring into the notches. See Fig 5a NOTE: THE SIDE DOORS WILL NOT CLOSE IF THE FINGERS ARE NOT ALIGNED WITH THE NOTCHES.
Need help?
Do you have a question about the Alliance series and is the answer not in the manual?
Questions and answers