Table of Contents
Advertisement
Quick Links
Road Shower.
For one year from date of purchase, Road Shower will repair, help you repair, or replace this
Road Shower, free of charge, if defective in material or workmanship. Service is available by
contacting Road Shower by phone or email and obtaining and Return Merchandise Authoriza-
tion (RMA) before returning a Road Shower to Road Shower, LLC. Units will not be replaced,
refunded, or repaired without an RMA. We will give you the return address with the RMA. Once
you have your RMA, attach to your Road Shower and include your name, address, and tele-
phone number, description of the problem and proof of date of retail purchase (sales slip).
Package and send transportation prepaid to Road Shower, LLC. You may also return Road
Shower to your Road Shower dealer.
99% of the problems can be handled by obtaining a spare part from us. Just call or email,
and we will get that part to you.
Road Shower, LLC shall not be liable for any incidental or consequential damages. Some
states do not allow the exclusion or limitation of implied warranties, incidental or consequen-
tial damages, so the above limitations and exclusions may not apply to you. This warranty does
not cover damage resulting from misuse, abuse, neglect, alteration or modification, improper
installation or operation, failure to tighten mounting hardware, or unauthorized repair or ser-
vice. This warranty does not cover any representation or warranty made by dealers beyond the
provisions of this warranty.
Road Showers out of warranty. Contact us for repair charges. We may be able to ship you the
part that you need. Check our website for parts available from other sources.
The warranty gives you certain legal rights, and you may also have other rights which may vary
from state to state.
Road Shower is manufactured in China and was invented, designed and engineered in the US.
Road Shower LLC
Santa Fe, NM - only online sales.
Check our website for current telephone number
Email: info@roadshower.com | Website: www.roadshower.com
4
com
US Patents#8225436 and 9629508
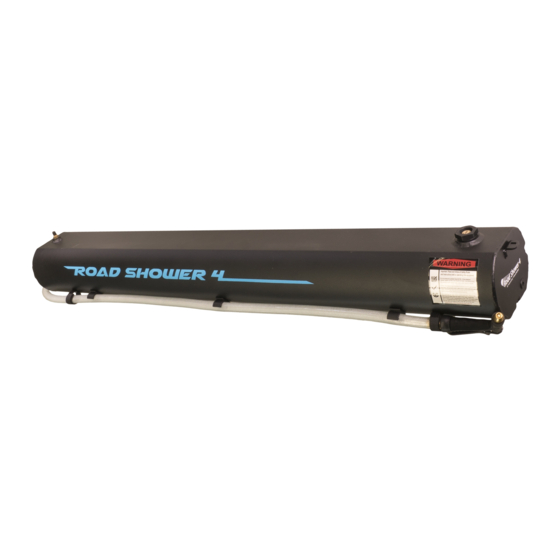
Road Shower Owner's Manual.
Safety Rules and Instructions - Read Before Use
This safety alert symbol indicates important safety messages in this manual. When you see this
symbol, be alert to the possibility of personal injury and carefully read the message that follows.
Congratulations! You have purchased the finest portable camping shower/water supply on the market
today. This shower uses the renewable energy of the sun to heat the water. Please read this manual.
There are also several instructional videos at www.roadshower.com that will help you get the most
from your Road Shower.
Parts: Each Road Shower comes with the following parts:
1 owners manual.
•
•
Mounting hardware which consists of: (4 long carriage bolts, 4 short carriage bolts, and 2 mounting
brackets).
A spare hose clip.
•
LCD thermometer which you can stick onto the tank anywhere you want. Just remove the backing
•
and stick in on.
Female to female garden hose connector for filling and pressurizing your Road Shower using your
•
garden hose.
Wrench to tighten fill cap—not really necessary for most people.
•
On/off elbow with black handle. (This comes pre-taped with plumbers tape. Thread into the outlet
•
hole carefully to not strip the threads. Tighten with a wrench until firm and the outlet points out. If it
leaks, try to tighten 1 more turn. If it won't tighten anymore, remove and add some plumbers tape
and try again). Attach hose.
Mounting: Road Shower comes with 2 mounting brackets. Each bracket is
secured with 2 carriage bolts. You will find 8 carriage bolts; 4 are extra. Use
either the long ones, if you have a thick rack, or the short ones if you have a
thinner rack. Use the hole that is in the center of the slot to install the bolts.
Slide the bolts down the slot in the Road Shower so that a bolt is on either
side of your cross bar. You may want to apply some tape over the bar where
the Road Shower will rest to protect the paint. Put the mounting bracket curved side up and line the bolts
up through the holes in the bracket. Secure with the nylock nuts. If reusing the nuts use some lock wash-
ers. Lube the bolt to prevent "galling", which stainless steel bolts and nylock nuts are susceptible too.
(Seizing = galling.) Use a 1/2" wrench or a socket wrench to tighten the nuts. They should be very tight.
Once both brackets are secure, push and pull on the Road Shower sideways, and see if it slips along the
bar. If it slips, tighten more. Be sure to use lock washers if you reuse the nylock nuts more than a few times.
Mounting using the side mounting slot: When mounting to a vertical surface such as a roof
top box, using the side mounting slot, be sure to use at least 3 mounting brackets. The unit
comes with 2 mounting brackets, therefore, you will need to purchase an extra set of brackets
from the spare parts section of our online store. Failure to mount using at least 3 brackets may result
in the mounting bolts tearing through your Road Shower or breaking the mounting bolts. Be sure to
keep them tight or they will break off. This is especially important with the side slot mount.
Be sure to mount the Road Shower securely and tightly. Check and tighten the mounting
brackets periodically. In addition, always stop and check and tighten mounting brackets while
driving on rough roads. Failure to do so could result in the Road Shower coming off your vehicle during
a quick stop, a sharp turn or an auto accident. This could cause injury to the unit, people or vehicles.
We shall not be liable for any damage caused by units coming off the vehicle.
Fill Cap: Before removing the cap be sure to open the black on/off elbow handle to the horizontal
Covers Model 4 / 4L / 4S
.
1
Advertisement
Table of Contents

Related Manuals for Road Shower 4


Summary of Contents for Road Shower 4
- Page 1 Check our website for parts available from other sources. the Road Shower will rest to protect the paint. Put the mounting bracket curved side up and line the bolts up through the holes in the bracket. Secure with the nylock nuts. If reusing the nuts use some lock wash- The warranty gives you certain legal rights, and you may also have other rights which may vary ers.
- Page 2 Do not unscrew more until the hissing stops end, in order to use all the water. Each Road Shower comes with the option to add another outlet on the opposite end (sold separately). This allows the hose to be moved to the outlet on the lowest end.
Need help?
Do you have a question about the 4 and is the answer not in the manual?
Questions and answers