Table of Contents

Summary of Contents for Linden L15DPF17
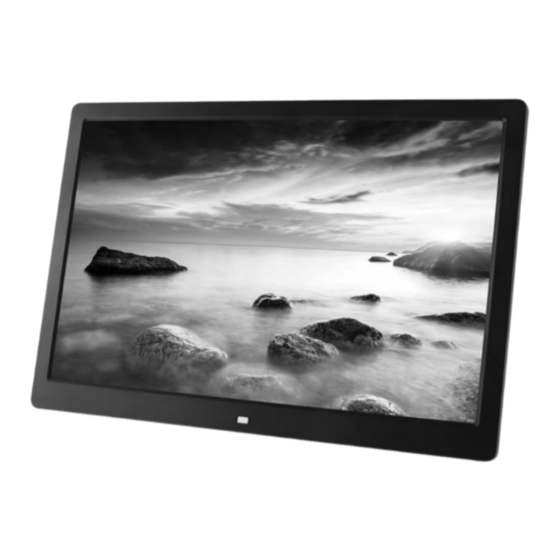
- Page 1 ” Digital Photo Frame Instruction manual -------------------------------------------------------------------------- ---- L15DPF17 -------------------------------------------------------------------------- ---- 12 month manufacturer's warranty...
-
Page 2: Table Of Contents
Contents Safety precautions................ Package contents................Guide to the device............... Remote control................Preparations..................Main menu..................Movie play..................Photo play..................Music play..................Ebook....................Setting....................Calendar..................... 14 Explorer....................16 Troubleshooting................17 Specifications.................. 18... -
Page 3: Safety Precautions
Safety precautions Congratulations for purchasing your new digital photo frame. With this Digital Photo Frame, you can easily and quickly view photos directly from your digital camera’s memory card. You can even create a slide show with multiple transition effects. The Digital Photo Frame is compatible with the following memory cards and device: SD, MMC and USB device. - Page 4 • Button Battery Warnings 1. CAUTION: Do not ingest battery, Chemical Burn Hazard 2. The remote control supplied with this product contains a coin/button cell battery. If the coin/button cell battery is swallowed, it can cause severe internal burns in just 2 hours and can lead to death.
-
Page 5: Package Contents
Package contents Please make sure the following items are included in the package. If an item is damaged or missing, please contact your dealer. Main Unit Stand Remote Control AC Adaptor User Manual Items not shown: Statutory notice Warranty card... -
Page 6: Guide To The Device
Guide to the device Digital Photo Frame view 3 4 5 6 7 8 1. Remote sensor 9. Speaker 2. MENU 10. Stand hole 3. Return 1 1. Mini USB 4. UP/Previous 12. SD/MMC card slot 5. Down/Next 13. USB port 6. -
Page 7: Remote Control
Remote control Preparation of the Remote Control 1. Loosen the screw at the rear of the remote control. 2. Push the button towards left. 3. Pull the battery loader out. 4. Insert the battery into the receptacle make sure the polarity matches the marks inside the component. - Page 8 : Power on/off. : Background music for slideshow mode. : Mute the audio of the digital photo frame, press it again to activate the sound. 4. PHOTO: Enter the Photo mode directly. : Play or pause the file. : Move the cursor in the menu upward, downward, to the left, or to the right, respectively.
-
Page 9: Preparations
Preparations Getting started: Step 1: Install the stand at the rear of the digital photo frame. Step 2: Insert the DC plug of adaptor to the unit and plug the power adaptor into an available AC 100-240V wall outlet. Step 3: Insert memory devices into the correct slot and turn power to ON position on the side Of the unit. - Page 10 Notes: 1. This unit can play picture, video and music in USB device or memory card. 2. If your USB device or memory card is loaded with images but do not display, the format of your USB device or memory card might not be compatible with the unit. 3.
-
Page 11: Main Menu
Note: The Digital Photo Frame may be slow to read some large capacity memory cards and USB devices. Please wait for the device to be recognized. 1. Press key to choose an input source : Memory Card or USB device. 2. - Page 12 Movie play When a SD/MMC card or USB device containing video is inserted, press key to select Movie mode on the main menu and press ENTER key to enter into movie interface, a video playlist will appear. Press key to select the desired video. Press ENTER key or press MOVIE directly on the remote control to start playing the video.
-
Page 13: Music Play
Press key to select the desired photo. Press ENTER key or press PHOTO directly on the remote control to start slideshow. Press key to pause or play the slideshow. Press ENTER key to enter the single picture mode, and press key to skip pictures. -
Page 14: Ebook
Press key to select the desired music or press directly on the remote control to MUSIC start playing music. Press key to pause or play the music. Press VOL+/VOL- to turn up or turn down the volume. Press to skip backward or forward the music. Press to play the previous or next music. -
Page 15: Setting
Setting The Setting interface lets you customise and configure the digital photo frame. 1. Press key to select Other mode on main menu key or press key directly 2. Press key to select Setting mode and press ENTER SETUP on the remote control to enter into setting interface. 3. - Page 16 Press ENTER key to select the calendar display mode.
-
Page 17: Explorer
Long press EXIT key, the Date/Mode/Time setting menu will appear. Press key to select Date/Mode/Time, press ENTER key to confirm, press to adjust the desired option. Explorer When a SD/MMC card or USB device containing photo/music/video is inserted, press to select Other mode on main menu. press key to select Explorer mode, press ENTER to enter into explorer interface, press... -
Page 18: Troubleshooting
Troubleshooting Symptom or problem Possible cause/solution No power The power connector is not completely inserted into the unit. Screen freezes The unit may have malfunctioned. Switch it off and wait for a few minutes before turning it on again. Characters in display are Make sure that you have selected the correct language. -
Page 19: Specifications
Specifications Display Screen size: 15” color TFT LCD Screen resolution: 1280 x 800 pixels Power adaptor Input: AC100-240V, 50/60Hz, 0.65A Max Output: DC 12V 1.5A For use only with Audio/Video or similar equipment. USB port USB port 2.0 supports most of the USB device Support memory cards SD, MMC Support picture format... - Page 20 Distributed by: M.E.W. (Australia) Pty Ltd, 15 Vaughan St, Essendon Fields, Vic 3041 ACN 152 719 036 Customer care: Aus-1300 530 800 customercare@lindenproducts.com.au lindenproducts.com.au While every effort has been made in the preparation of this instruction manual the publishers cannot be held responsible for the accuracy of the information contained herein or any consequence arising from it.
Need help?
Do you have a question about the L15DPF17 and is the answer not in the manual?
Questions and answers
How do you stop photos being displayed sideways
To fix a sideways photo display on the Linden L15DPF17, follow these steps:
1. While the photo is playing, long press the EXIT key to enter the photo adjusting interface.
2. Use the navigation key to select "Rotate."
3. Press the ENTER key to rotate the photo to the correct orientation.
This answer is automatically generated
Can I get a replacement remote?