
Related Manuals for Akaso A21


Summary of Contents for Akaso A21
- Page 1 USER MANUAL A21 DRONE Please read this manual before operating your drone, and keep it for further reference.
-
Page 2: Table Of Contents
CONTENTS Warning Parts of choose and buy The drone Transmitter Battery installation Charging the battery Ready to fly Insert battery & Open the power Calibration drone One key take off / Landing & E-stop Optical flow positioning Headless mode function One key return Flight control Problem solving guidelines... -
Page 3: Warning
* It is necessary to regularly check the charger, wires, plugs, housings and other components. If any damage is found, it should be stopped until it is properly repaired. A21 drone Remote Control Lithium Battery * Chargers, battery case and other charging devices need to be inserted info the same specified power supply as the product’s designation. -
Page 4: The Drone
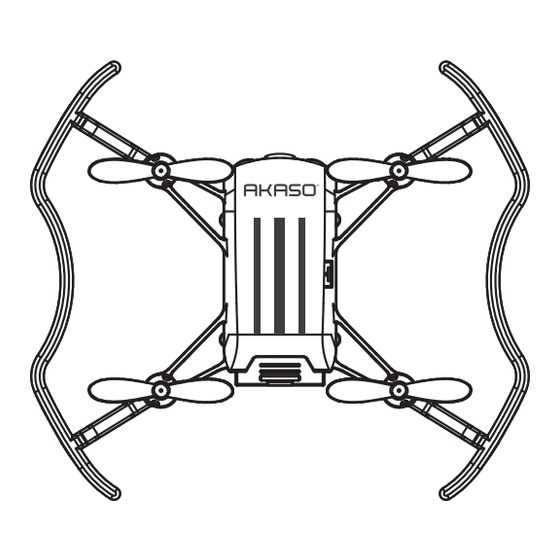
THE DRONE BATTERY INSTALLATION Open up the battery cover at the back of Propeller B Propeller A the remote control, Correctly place 3xAAA Front Camera batteries in the battery box in strict adherence to the polarity instructions, install the battery cover and tighten the screw (AAA battery not included). -
Page 5: Ready To Fly
READY TO FLY ① Turn on the transmitter. (The LED indicator will flash.) ② Connect the power of the drone; the drone lights will flash. 1. Insert Battery & Open The Power ③ Quickly push the left stick up and down, then push the stick down to the right 45 degree at the same time. -
Page 6: Optical Flow Positioning
4. Optical Flow Positioning ② Use headless mode function ① Optical flow hover system automaticlly turns on once the drone takes off. Press down the headless mode button to enter into headless mode. The ② The optimum height of optical flow hover is 3 meters, maximum can up to transmitter will keep beeping slowly in headless mode, the lights of the drone 8 meters. -
Page 7: Problem Solving Guidelines
Move Forward Forward Left Side Fly Right Side Fly Press Flip Button Forward Backward Move BackWard When offset forward, fine tune backward adjustment until it is repaired. When offset backwards, fine tune forward adjustment until repaired. Backward Press Flip Button Turn Left To The Left To The Right... -
Page 8: Control By App
5. Do not allow the drone to crash or collide seriously from high altitude, Question Reason Solution which may damage the drone or shorten the service life of the drone. Drone can't The drone did not calibrationing or failed. According to the calibration drone steps to 6. - Page 9 About the app FREE FLIGHT: Open the operation interface. Photo Video G-sensor Speed 360 Flip Flight route setting 360° Hidden Interface Setting Altitude Hover Mode Balance Mode Rotation Mode VR Mode Headless Mode Stop One Key Flight STOP FOLDER: Photos and videos will be saved here. One Key Landing None...
-
Page 10: Contact Us
CHOREOGRAPHY: Open the choreographer flight interface SET UP: Right hand mode Language switching ( only Chinese and English) Automatic preservation Sound HELP: 1. Open the power supply for the drone and put it on the horizontal plane. 2. Open APP and click “connect WiFi”. 3.
Need help?
Do you have a question about the A21 and is the answer not in the manual?
Questions and answers