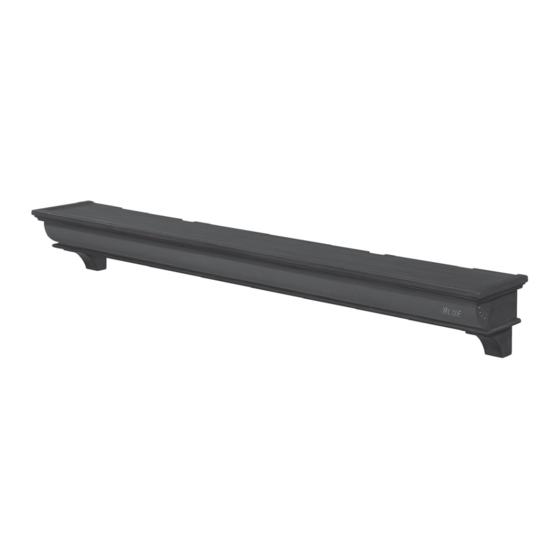
Summary of Contents for Bello Digital Sound Shelf
- Page 1 Sound Shelf 1-888-235-7646 www.bello-digital.com www.tsicustomerservice.com support@bello.com A316...
- Page 2 Precautions If at any time you are unclear about the directions and believe you need further assistance, contact customer service at: 1-888-235-7646 (US/Canada) from 9am – 5pm EST, Monday through Friday. NEVER EXCEED THE MAXIMUM LOAD CAPACITY OF: 80 lbs (36.3kg) WHEN INSTALLED INTO 2 OR MORE STUDS, CONCRETE OR CONCRETE BLOCK WALLS.
-
Page 3: Packing Content
Packing Content Desciption Installation Template Wall Bracket Sound Shelf Right Corbel Hardware Kit Description Quantity Washer Anchor Bolt 0.25 in. x 1.1 in. support@bello.com A316... - Page 4 Hardware Kit Description Quantity Transformer Remote Control support@bello.com A316...
- Page 5 Necessary Tools 1/2” Drill Bit Screwdriver Masking Tape Drill support@bello.com A316...
- Page 6 Remove the wall plate the bolt EE on the wall plate and remove the wall plate B from the speaker shelf C. support@bello.com A316...
- Page 7 Attaching The Corbel screw the corbels in as shown using screws DD. E Right Corbel C Sound Shelf DD Bolt 0.35 cm x 1.6 cm support@bello.com A316...
- Page 8 Installing The Sound Shelf Bracket In Wood Using a stud finder, find the exact location of the studs to which you want to attach the wall FOR WOOD STUD WALLS INSTALLATIONS, SEE PAGE 8. FOR MASONRY INSTALLATIONS, SEE PAGE 11.
- Page 9 Installing The Sound Shelf Bracket In Wood Use the Installation Template in order to determine the location on the wall that you want to install the shelf. installation template. Mount into 3 studs as shown below. If the bracket will not line up with 3 studs, center the bracket on 2 studs.
- Page 10 Installing The Sound Shelf Bracket on Wall to make sure the Wall Bracket B is level and make any necessary adjustments. Once straight, support@bello.com A316...
- Page 11 Installing The Sound Shelf Onto The Wall Bracket been loosen from the wall bracket from step on page 5, to secure the sound shelf to the wall properly installed. support@bello.com A316...
- Page 12 Installing The Sound Shelf Bracket In Masonry plate to ensure you will not drill into any mortar joints. Tape the Installation Template in wall. 60mm support@bello.com A316...
- Page 13 Installing The Wall Bracket To The Wall Use a level to make sure the Wall Bracket B is level and make anynecessary adjustments. NOTE: If you were only able to use 2 wood studs on the these 2 studs to evenly support the weight. support@bello.com A316...
- Page 14 Operation Instruction Product Specifications Adapter Input Adapter Output < 1 W 200 W Wiring 2. DC IN - Connect the power supply support@bello.com A316...
- Page 15 Operation Instruction on or off 2. SOURCE Button - To scroll through the AU - AUX Input - Mute - Optical in Blue - AUX Input 00-30 00-30 Works with Bluetooth devices only. Remote Control is normal. support@bello.com A316...
- Page 16 Operation Instruction Continued Select an input: Use the SOURCE Button on the control panel to scroll through the inputs, or select the input on the remote control. the manual that came with your device. 2) To start the pairing process: when it is paired.
- Page 17 Operation Instruction Continued Learning Function buttons. These buttons can also be used for any of the learning options below. Some of the programmable functions need to be selected from the remote contol as noted below. To start the learning function: and VOL on the control panel or remote.
-
Page 18: Battery Replacement
FCC/IC connected. operation. This Class B digital apparatus complies with Canadian ICES-003. Battery Replacement When the remote control stops operating or its range seems reduced, it is time to replace the battery with a new one. 1. The battery compartment is located on the back end of the remote. compartment. -
Page 19: Troubleshooting
Troubleshooting SOLUTION 1a. Decrease the volume. distortion and noise are easily noticed with high-power speakers. 1. Sound is distorted. Try a different audio source such as a music CD. 1c. If you are using an external sound source like volume on the device itself. 1d.Turn off voice enhance and/or bass enhance. -
Page 20: Year Limited Warranty
1-Year Limited Warranty The manufacturer warrants that your new Media Shelf is free from manufacturing and material defects for a period of one year from date of puchase, subject to the following conditions and limitations. 1. Install and operate this Electric Appliance in accordance with the installation and operating instructions furnished with the product at all times.

Need help?
Do you have a question about the Sound Shelf and is the answer not in the manual?
Questions and answers