Table of Contents
Advertisement
Quick Links
PTZOptics SDI Camera Quick Start Guide
Step 1: When you first receive your PTZOptics SDI Camera, the first thing you should do is read
the included manual.
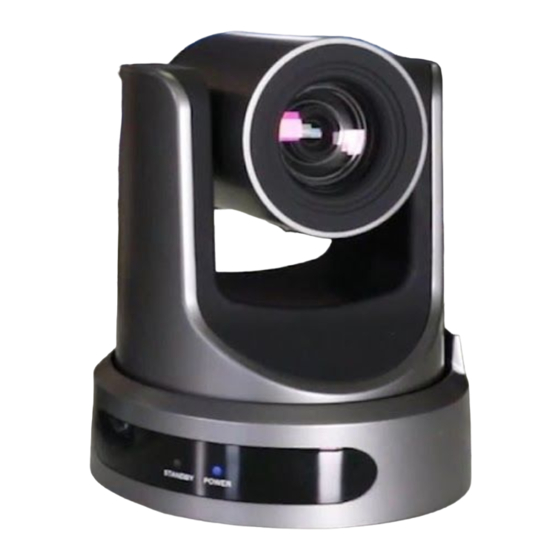
Step 2: Inside your box you will find your camera, the manual, the power supply, a remote
your camera.
NOTE: The default dial setting is "0" which is 1080p60fps. This is ideal for sports but you may
want to consider setting "6" for 1080p30fps for the classic natural video look depending your
application.
control, two AAA batteries and a serial
connection cable used for joystick controllers.
Step 3: Once you have read the manual, it is
helpful to select the video resolution and frame
rate you would like to use with your camera. The
camera's resolution is set by a yellow dial on the
back Interface board of the camera. You can
reference the available frame rates in your
manual or on a table printed on the bottom of
Advertisement
Table of Contents

Subscribe to Our Youtube Channel
Related Manuals for PTZOptics SDI


Summary of Contents for PTZOptics SDI
- Page 1 PTZOptics SDI Camera Quick Start Guide Step 1: When you first receive your PTZOptics SDI Camera, the first thing you should do is read the included manual. Step 2: Inside your box you will find your camera, the manual, the power supply, a remote control, two AAA batteries and a serial connection cable used for joystick controllers.
- Page 2 Step 4: Once you have set your resolution dial, can turn on your PTZOptics camera. If your network switch provides PoE (Power over Ethernet), you will not need to use the included power supply. NOTE: Only PTZOptics SDI and NDI cameras support PoE power.
- Page 3 change the speed settings in the camera menu. You can access the OSD Menu which stands for (On Screen Display) for this camera by pressing the “menu” button. This is where you can navigate into the advanced features such as iris, shutter speed, gain, color balance, contrast, luminance and much more with the arrow keys.
- Page 4 The new apps available for both Mac and PC. When you first open the PTZOptics Control App you should click the “Settings Tab” to enter your camera's name and IP Address. Once you have done this you can click the camera name to select this camera.
- Page 5 saved. You will notice that the program automatically enters “recall” mode. When you are in recall mode, clicking these preset buttons will recall your saved pan, tilt and zoom presets. Step 13: L et’s connect to the RTSP video stream from our camera with Open Broadcaster Software also known as OBS.
- Page 6 PTZOptics User Group at facebook.com/groups/ptzopticspals and if you have any follow up questions do not hesitate to reach out. If you encounter any issues during this setup process feel free to submit a support ticket at help.ptzoptics.com or simply call the phone number listed on our website. Enjoy!
Need help?
Do you have a question about the SDI and is the answer not in the manual?
Questions and answers